Table of Contents
Advertisement
Advertisement
Table of Contents

Subscribe to Our Youtube Channel
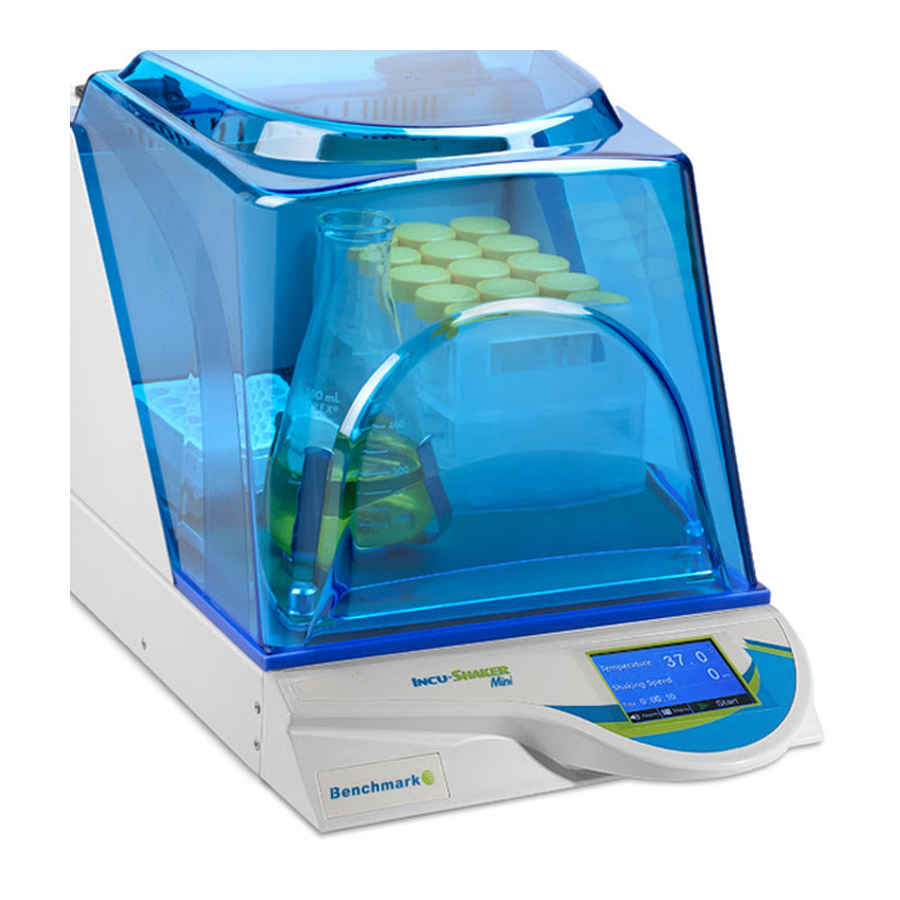
Summary of Contents for Benchmark Scientific Incu-Shaker Mini
- Page 1 Operations Manual OM-BENCHMARK T205 (Ver. 2017.12.12)
-
Page 2: Table Of Contents
Table of Contents PAGE Precaution for safety 1. General information and and precaution 1.1 Precaution related to power cable 1.2 Precaution for use 2 Feautures and specification 2.1 Features 2.2 Specification 3. OPERATION 6-14 ▶Booting ▶Basic screen explanation ▷Temperature setting change ▷RPM setting change ▷Time setting change ▶Screen change order... - Page 3 OM-BENCHMARK T205 (Ver. 2017.12.12)
-
Page 4: Precaution For Use
1. General Information and Precautions Safety Symbols: 1.1. Precautions related to the power cable Always allow at least 3cm between the power cable and the back wall to prevent the back wall from causing pressure on the power cable. Always use the electrical plug that was supplied with this instrument. Never touch the power cord with wet hands. - Page 5 ALWAYS ensure that the instrument is connected to an outlet with specifciations that match those of the serial number label. (Over-voltage or under-voltage can damage the product and result in poor performance.) When installing the instrument, always allow a distance of at least 30cm from the back wall. Install the unit in the way that the power plug is easily accessible and can be easily pulled in case of danger.
-
Page 6: Features
2. Feature & Specification 2.1 Feature ● Magnetic induction drive & Brush less DC motor provides less vibration and maintenance. ● No interference with uniformity for cell culture by BLDC motor ● User friendly, intuitive LCD touch panel ● Moisture resistant structure by Epoxy – coated ●... -
Page 7: Operation ▶Booting
3. Operation ▶ Booting Press the power switch into the ON position, the display illuminates and the booting screen is displayed for 2 seconds before showing the “Basic View” screen. NOTE: If the shaker has been powered off before the completion of a run, the unit will automatically power on to the previous settings. -
Page 8: Temperature Setting Change
▷ Temperature setting change ⓐ TOUCH the temperature value, The numbers become red ⓑ “SET MODE” is displayed (flashes) ⓒ Input the desired value by pressing UP(▲)/DOWN(▼) buttons NOTE: Press and hold the buttons to increase or decrease the value quickly. - Page 9 ▷The end of setting time ⓐ After the set time is over, time is displayed as 0:00:00 ⓑ Shaker is stopped and the message “Shaker end” is displayed ⓒ Heating LED continuously runs until the STOP button is pressed to keep the set temperature NOTE: The Heating is maintained even after the set time...
-
Page 10: Temperature Calibration
ⓐ ▶Tempearture calibration ⓐ To enter the calibration mode enter the menu ⓑ and press ⓑ Press the rectangular “Set ℃” box. ⓒ Input the calibrated (measured) value by using key pads and TOUCH ⓒ ⓓ Apply: When you TOUCH ,the changed setting values are saved and the screen turns to the previous screen. - Page 11 Adjusting the Time of the Temperature ⓑ ⓐ TOUCH the temperature value, the screen turns to the temperature settings screen. ⓐ ⓑ TOUCH the “Time Set” value to adjust the set time of the heater. ⓒ Input the desired value by using the key pads in the setup screen ⓒ...
-
Page 12: Shaker Setting(Advanced Screen)
▷ Alarm Off The alarm can be deactivate in both the BASIC View and the ADVANCED View by TOUCHING the key to toggle on or off. ▶ Shaker setting (Advanced) ▷RPM setting change ⓐ TOUCH the RMP Shaker value, the screen turns to ⓑ... -
Page 13: Alarm Setting Change
▶ Shaker setting (Advanced) ▷Alarm setting change The alarm value is the difference between ⓒ the set speed and the measured (displayed) ⓐ ⓑ speed. If the difference exceeds this value (once the temperature has been reached) the alarm will trigger. ⓐ... -
Page 14: Temperature Step Setting
▶Temperature step setting ▷Temp, time setting ⓐ TOUCH the temperature value to enter the temperature setup screen. ⓐ ⓑ Select , the screen moves to the temperature step & setup screen ⓒ You can select/link up to 4 desired temperatures. Choose each of the 4 desired temperatures by pressing on the value. -
Page 15: Shaker Step Setting
▶Shaker step setting ▷RPM, time setting ⓐ TOUCH the RPM Shaker value to enter the shaker setup screen. ⓑ Select , the screen moves to the shaker step & setup screen ⓒ You can select/link up to 4 desired shaking speeds. Choose each of the 4 desired speeds ⓐ... -
Page 16: Step One Cycle Ending Screen
▶Step Cycle Ending Screen ⓐ When the time for each step has expired, the “End” message ⓐ ⓐ is displayed ⓑ “Set” displays the setting value of 1 step (Default value is displayed when Step Off) Time is displayed as 0 ⓑ... -
Page 17: Event View
Maintenance: The platform of the Incu-Shaker Mini should be cleaned regularly with a soft cloth dampened with water or alcohol. (Always ensure that the machine has been powered down prior to cleaning. In the event of a spillage: Power down the unit, remove the platform and dry the internal chamber with a soft cloth. DO NOT attempt to operate the unit until the spillage had been properly dried.


Need help?
Do you have a question about the Incu-Shaker Mini and is the answer not in the manual?
Questions and answers