Subscribe to Our Youtube Channel
Summary of Contents for Xena Networks ValkyrieCompact
- Page 1 Quick Start Guide ValkyrieCompact & ValkyrieBay chassis This guide shows you how to: 1. Install the latest software 2. Connect to the chassis 3. Change the chassis IP address 4. Update firmware 5. Recover the IP address 6. Recover the chassis password...
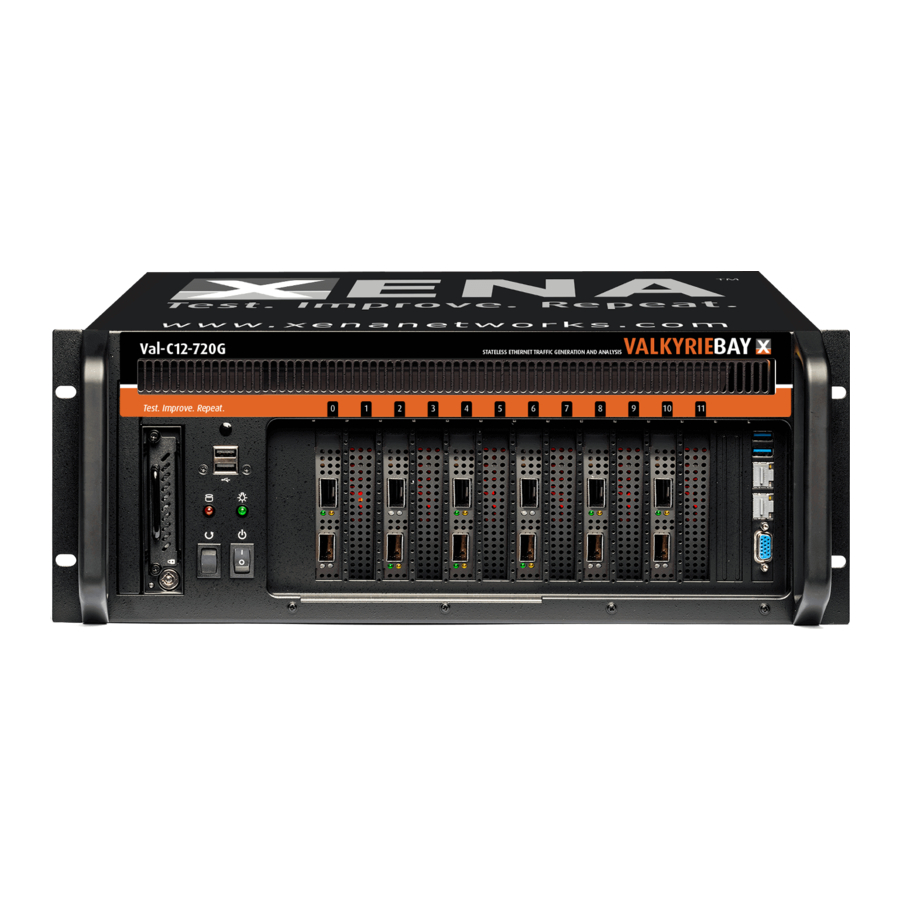
- Page 2 Power-On switch ValkyrieBay A 4U chassis with 12 slots for up to 12 test modules (some test modules occupy 2 slots). Functionally 100% identical to the ValkyrieCompact testers. Red LED = HD activity Two RJ-45 ports for connection to VGA Port...
- Page 3 1. Install the latest software To ensure you have the latest version, please visit this URL: www.xenanetworks.com/l23-downloadsw/ The release is distributed as a standard Windows Installer executable file named L23XenaRelease-<releasenumber>. msi where <releasenumber> is the unique release number assigned to the release. You should download this file to a temporary location on your PC.
- Page 4 A Xena tester chassis have two RJ-45 interfaces for managing the unit. The Mgmt port (left-most on ValkyrieCompact, top-most at ValkyrieBay) has a configurable static IP address, for connecting to the tester from a laptop or stationary PC, at a local or remote location.
- Page 5 Make a point-to-point connection from your PC to the Ext Ethernet port. On the ValkyrieCompact this is positioned to the right of the Mgmt port on the chassis front panel, while on the ValkyrieBay is it positioned below the Mgmt port.
-
Page 6: Need More Information
6. Recover the chassis password In the first two minutes after the tester has booted (when the test-port LEDs start flashing) you can also use the chassis serial number as the password. The serial number is printed on the label on the back of the chassis. Once logged on, you can then (re)set the forgotten password.


Need help?
Do you have a question about the ValkyrieCompact and is the answer not in the manual?
Questions and answers