Table of Contents
Advertisement
Advertisement
Table of Contents

Related Manuals for Parasound 200 Pre


Summary of Contents for Parasound 200 Pre
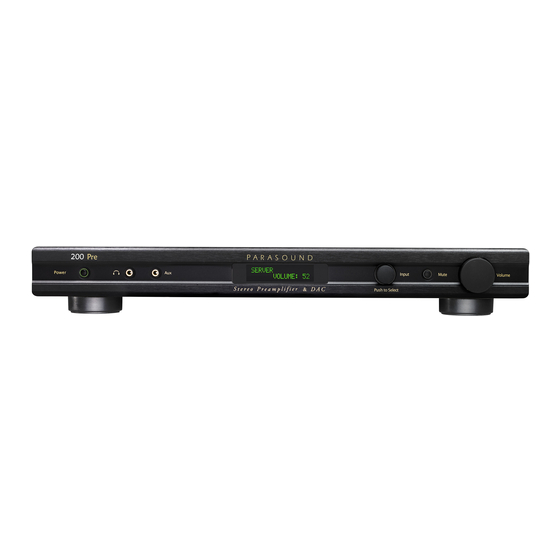
- Page 1 ® 200 Pre Stereo Preamplifier & DAC Owner’s Manual...
- Page 2 19. Wall or Ceiling Mounting — Mount the product to a wall or ceiling only as recommended. 20. Heat — The product should be situated away from heat sources such as radiators, heat registers, stoves, and other products (including amplifiers) that produce heat. Parasound ® 200 Pre Owner’s Manual Page 2...
-
Page 3: Introduction
Keep the carton in the event it is needed in the future Record the 5 digit serial number located on the bottom side of your 200 Pre in the space below. Also note your Parasound dealer’s name and telephone number. Your purchase receipt-dealer invoice is required to determine if your 200 Pre is eligible for Parasound warranty service. -
Page 4: Table Of Contents
........Parasound ® 200 Pre Owner’s Manual Page 4... -
Page 5: Placement And Ventilation Guidelines
If you are installing the 200 Pre yourself, use input and output cables that are long enough to leave at least two feet of slack; that will enable you to pull the 200 Pre out of a cabinet to check or to change connections without inadvertently disconnecting cables. -
Page 6: Front And Rear Panel Illustrations
Parasound ® 200 Pre Owner’s Manual Page 6... -
Page 7: Inputs
Front Panel Aux Input For your convenience, the 200 Pre includes this input jack on the front panel for a mobile phone or portable music player. Use any standard 3.5 mm stereo aux cable to connect your portable player or phone’s headphone jack to the 200 Pre. -
Page 8: Bypass Input
The Bypass input works by passing the incoming L, R and Sub channels directly through to the L, R and Sub output jacks. None of the 200 Pre circuits or controls has any effect on the bypassed signals. The 200 Pre is thus transparent to the Left, Right and Subwoofer(s) outputs from your surround sound processor or receiver and passes them on to your amplifier(s) and Subwoofer(s). -
Page 9: Digital Inputs (Opt, Coax, Usb)
The 200 Pre’s built in DAC (Digital to Analog Converter) uses a high resolution 192kHz Burr-Brown DAC IC. Since the 200 Pre’s DAC is superior to the DAC in most source components, they will sound better if you connect them via their digital output rather than their conventional analog line output. -
Page 10: Audio Output Connections
12 volt trigger input, connect the included trigger cable between the 200 Pre’s 12V Out jack and the power amplifier’s 12 volt trigger input. When the 200 Pre is powered on, 12 volts will be present at the 12V output jack and your amp will turn on automatically. When the 200 Pre is powered off your amp will automatically turn off. -
Page 11: High Pass Crossover
6.5”/165 mm or smaller) and you have a subwoofer. The most common settings are between 50 Hz and 80 Hz. If you are not using a subwoofer you will get better results by turning the 200 Pre High Pass Crossover off or setting it at 40 Hz or lower. -
Page 12: Front Panel Display And Controls
The maximum adjustment is 15dB to the Left or Right. Sub Level Press the knob again and rotate it to adjust the level of the Subwoofer outputs. The maximum adjustment is +/- 15dB. Parasound ® 200 Pre Owner’s Manual Page 12... -
Page 13: Remote Control
Bass & Treble +/- Raise or lower the amount of bass and treble with these buttons. Subwoofer +/- Raise or lower both subwoofer #1 and #2 output levels simultaneously with these buttons. Parasound ® 200 Pre Owner’s Manual Page 13... -
Page 14: Turn On Volume And Favorite Volume
You may wish to cancel the “Turn On Volume” feature. In this case, when the 200 Pre turns on the volume will be at the same level as when it was turned off. Follow these steps to have the 200 Pre turn on to the... -
Page 15: Renaming Inputs
3) Press the volume up or volume down buttons. [the display will show current setting] 4) After selecting the desired offset press “Set” again to memorize. Repeat steps 1 through 4 for the other inputs as needed. Parasound ® 200 Pre Owner’s Manual Page 15... -
Page 16: Troubleshooting
Make sure the stereo power amp’s stereo/mono switch is set to stereo. The USB input is not playing audio from my Computer Look in the sounds options of your computer and select “PARASOUND” as the output Ensure the USB cable is connected between the 200 Pre and your computer. -
Page 17: If You Require Assistance Or Warranty Repair
1. Unit was not purchased from a Parasound Authorized Dealer. 2. You do not have the original bill of sale or sales receipt from a Parasound Authorized Dealer. 3. You are not the original owner. The Parasound warranty is not transferable. -
Page 18: Specifications And Details
Rack mounting requires the RMK-11 rack mount kit (sold separately) Weight: Net: 11 lbs (5 kg) Shipping: 17 lbs (7.7 kg) Specifications and features subject to change or improvement without notice. Rev 1.0, Copyright 2018 ® Parasound 200 Pre Owner’s Manual Page 18... - Page 19 ® Parasound 200 Pre Owner’s Manual Page 19...
- Page 20 Parasound Products, Inc. 2250 McKinnon Ave, San Francisco, CA 94124 Customer Service & Tech Support: 415-397-7100 www.parasound.com ® Parasound 200 Pre Owner’s Manual Page 20...
Need help?
Do you have a question about the 200 Pre and is the answer not in the manual?
Questions and answers