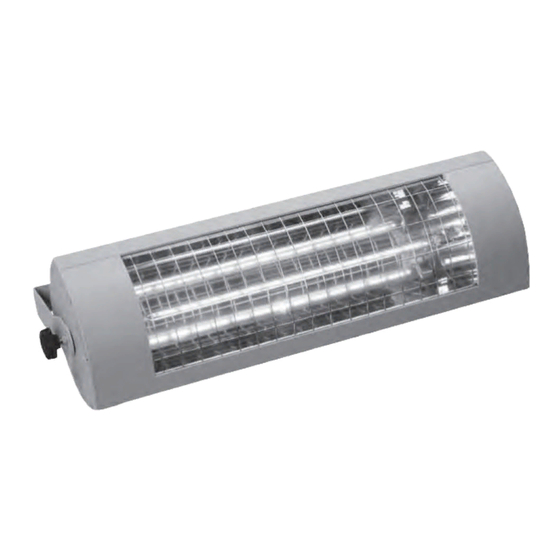
Summary of Contents for solamagic IR 02004
- Page 1 500 W, (IR 02004 / IR 02016) 1000 W, (IR 02007 / IR 02010) 1400 W kompakt, (IR 02001) 2000 W Basic, (IR 03002) 2000 W RC, ECO+, (IR 04003) 2000 W IP65 ECO+, (IR 04006) 2800 W, (IR 04009)
- Page 2 Safety and operating instructions ........97 Scope of supply ..............98 Installation instructions............99 Initial operation..............104 Cleaning instructions.............104 Troubleshooting ............106 Guarantee conditions............107 Additional instructions ...........108 Appendices • Appendix 1: Surface mounted heaters Technical data, safety distances • Appendix 2: Ceiling mounted heaters Technical data, safety distances •...
- Page 3 Please observe the following instructions: Carefully read through the instruction manual prior to installation and store the manual safely. This heater can be used by children aged 8 years or older and persons with reduced physical, sensory or mental capabilities or lack of experience and know- ledge, provided they have been given supervision or instruction regarding the safe use of the device and that they understand the resulting risks.
- Page 4 • This heater is not equipped with a room temperature control unit and must not be used in small rooms that are inhabited by people who cannot leave the room independently, unless constant supervision is ensured. • To adjust the radiation direction, switch the heater off and allow to cool. •...
- Page 5 • The heater must only be installed using suitable fastenings (e.g. use M6x60 • If heater and socket are not installed on the same surface, it must be ensured it must be ensured that the socket cannot heat up to more than 70°C during heater operation.
- Page 6 • Fasten the bracket taking into consideration the safety distances (Appendix 1) and safety and operating instructions. • Unscrew the star grip nuts and hexagon nut from the threaded spindles • Mount the heater while slightly bending the bracket • On one side, screw the hexagon nut on to the threaded bolt and tighten against the bracket •...
- Page 7 • Mount the T-bracket with the underlying silicone plate on the fastening surface using 2 screws while adhering to the safety distances and safety instructions (see Appendix 1) • Centre the clamping slide on the heater and secure by tightening the clamping screws.
- Page 8 • Determine the appropriate mounting sepa- ration of the pivoting hinges on the heater. • Secure the ceiling plates at the selected separation using suitable fasteners on the wall/ ceiling. • Tighten the hinges on the t-nuts until they can no longer move relative to the heater, tighten the M3 grub screws.
- Page 9 General instructions • The installation must not change or impair the existing ceiling stand. • The electrical connection must be made outside the installation frame (inspec- tion access). • The minimum distances given in appendix 2 indicate the free space for air circu- lation.
- Page 10 The heater must be connected to the mains. For those models without a wall or pull switch, heating starts as soon as the plug is plugged into the socket. For models with a wall or pull switch or a wireless switch, heating starts when the switch is turned on or via the remote control.
- Page 11 („All in one“ version) 1. Hold the rotating housing on the activation hook, turn the glass retaining ring with glass to the left. 2. Take out the glass and retaining ring. Pull out the bulb. 3. Insert new bulb and reassembly the lamp in reverse order.
- Page 12 • In the case of switch-activated models, the switch must be switched on after connection to the mains. • Have you checked your fuse rating? You require a 16 amp slow fuse for troub- le-free operation of your heater. • Please check whether the IR halogen lamp is broken. If yes, please contact either customer service or the manufacturer.
- Page 13 1. We will repair, free of charge, in accordance with the following provisions, dama- ge or defects to the heater, which can be proven to be due to a factory defect, if they are reported to us immediately upon discovery on the heater. The duration of the guarantee for the heater is 2 years, for heaters labelled ECO+ we offer a guarantee extended by 1 year, that is a total of 3 years.
- Page 14 request of the customer. In case of replacement, we reserve the right to enforce a reasonable usage charge for time of use up until the time of replacement. Re- placed heaters become our property. 6. The guarantee only comes into force when the customer has registered their heater with the manufacturer by means of the guarantee card.
-
Page 15: Appendix 1: Surface Mounted Heaters - Technical Data, Safety Distances
Please note the following terminology in the appendix: Appendix 1: Surface mounted heaters - technical data, safety distances Heater type Dimensions (mm) Product group Weight (kg) Power connection Average service life (h) Degree of protection Distance (mm) * IP 21 for devices with pull switch Power (W) Ceiling installation Protection rating...


Need help?
Do you have a question about the IR 02004 and is the answer not in the manual?
Questions and answers