Table of Contents
Advertisement
Quick Links
Table of Contents
Operator/Rate Manual
Read the operator manual entirely. When you see this symbol, the
subsequent instructions and warnings are serious - follow without
exception. Your life and the lives of others depend on it!
Illustrations may show optional equipment not supplied with standard unit or
may depict similar models where a topic is identical.
ORIGINAL INSTRUCTIONS
© Copyright 1998
Table of Contents
Index
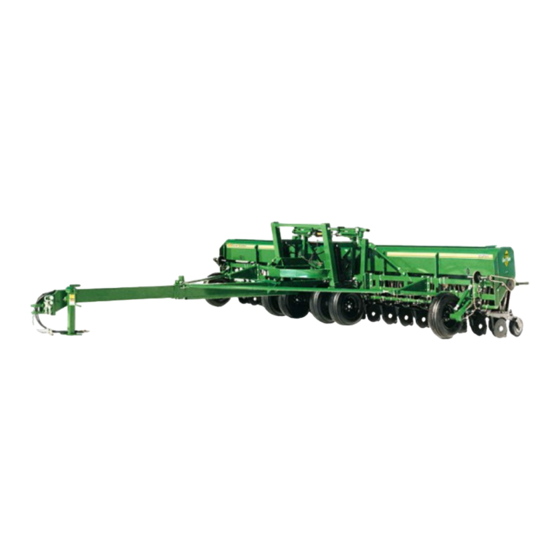
2SF24 and 2SF30
Two Section Folding Drill 1994+
Manufacturing, Inc.
www.greatplainsmfg.com
Printed 2018-08-02
Index
36149
EN
155-015M-A
Advertisement
Table of Contents


Need help?
Do you have a question about the 2SF24 and is the answer not in the manual?
Questions and answers