Advertisement
Quick Links
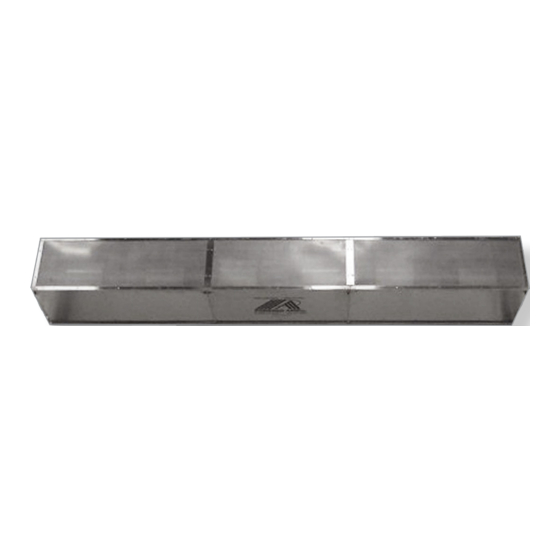
Air Curtain
Owner's Manual
Models:
TFD | TSD | EHD |BPA | XPA
IMPORTANT!
1.
CHECK FOR DAMAGE: When you receive your air cur-
tain, immediately check for visible or concealed dam-
age. Claims should be made immediately to the trans-
portation company. Powered Aire will not be liable for
damage claims submitted late.
2.
LOCATE AND RETAIN THE SERIAL NUMBER: The
unit's serial number is necessary to request technical
support, order replacement parts or to acquire a wir-
ing diagram. The serial number is located on a silver
sticker located on the right side end cap when facing
the front of the air curtain.
For PARTS, TECHNICAL SUPPORT or INFORMATION
call: 1-888-321-2473
1
Trained and experienced mechanic/electrician required
for installation.
Powered Aire will not be responsible for misplaced
switches.
Please review the following instructions for unpacking your air curtain and pre-
paring it for installation.
1.
Remove shrink-wrap and wood slats from
top and sides of crate.
The air curtain has rear flanges with six holes for
2.
1/2 inch bolts which are used to lag the unit to the
bottom of the crate frame. Unscrew to remove air
curtain. For convenience, these same holes can
used if mounting the air curtain directly to the
wall.
Location of
Remote Switches
If remote switches are supplied with
the air curtain they are shipped inside
the Control Panel enclosure.
Electrical Installation:
Units must be field wired in accordance with all local and national electric
codes, including wire size and materials.
2
Advertisement

Subscribe to Our Youtube Channel
Summary of Contents for Powered Aire TFD
- Page 1 Remove shrink-wrap and wood slats from Models: top and sides of crate. TFD | TSD | EHD |BPA | XPA The air curtain has rear flanges with six holes for 1/2 inch bolts which are used to lag the unit to the bottom of the crate frame.
-
Page 2: Installation Options
Replacement Parts Model: TFD Mounting Option 1: Top Mount - Unit has four 17/32 inch holes (TFD 15/32 inch) for installing one end of 1/2" (TFD 7/16 inch) threaded rods. The other ends of the threaded rods can be attached to the ceiling. -
Page 3: Troubleshooting
INCORRECT Installation CORRECT Installation INSTALLATION RETURN POLICY CEILING CEILING NOTE • For all warranty issues contact factory at 724-985-4183. The bottom of the air • All returns must be approved in advance and accompanied by an RGA number or curtain should be flush will not be accepted. -
Page 4: Limited Warranty
All other Powered Aire heated air curtains are warrantied for 18 months assembly can be removed without lowering the unit or lowering the bottom half from the date of shipment. All warranty claims must be submitted to Powered Aire prior to the of the unit.


Need help?
Do you have a question about the TFD and is the answer not in the manual?
Questions and answers