
Subscribe to Our Youtube Channel
Related Manuals for Torklift D3109


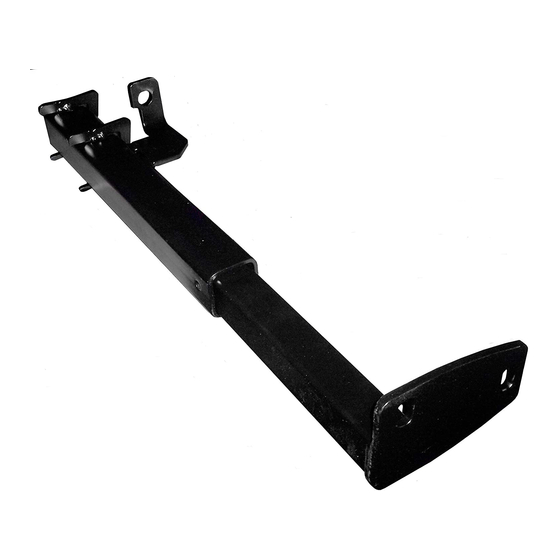
Summary of Contents for Torklift D3109
- Page 1 IMPORTANT OWNER-OPERATOR INSTALLATION INSTRUCTIONS D3109 REVISED vers11 BY: JL 8/6/2015 TECH SUPPORT (800) 246-8132 AFTER INSTALL, PLEASE GIVE THIS BOOKLET TO YOUR CUSTOMER...
- Page 2 Warnings Truck Bed and Camper Protection Torklift does not recommend installing your camper on top of a plastic bed liner (or other compressible material such as foam). These materials can act as a spring, causing increased vertical truck camper movement independent of the vehicle. Plastic bed liners can slide on the truck bed surface, and the truck camper can slide on top of the bed liner.
-
Page 3: Installation Instructions
D3109 PARTS INVENTORY 2- Tie Down Receiver 2- Bent Insert 17-7/8” 2- 1/2” x 2” Hex Bolt 4- 1/2” Flat Washer 2- 1/2” Star Washer 2- 1/2” Lock Washer 2- 1/2” Hex Nut 2- 1” x 2” Plate Washer 2- 1/4” Snapper Pin... - Page 4 PHOTO 2.1 PASSENGER SIDE REMOVE THESE THREE FACTORY FRAME TRUCK CROSS TUBE FROM HITCH BUMPER BRACKET PHOTO 2.1 Additional Factory bolt Original Factory bolt...
- Page 5 Step 3- Locate the oval hole on the inside of the frame. The oval hole is located on a piece of metal material that drops down from the factory hitch. Slide the Tie Down Receiver onto the outside of the frame. Line up the holes with the bumper bracket, Tie Down Receiver, and the frame then reinstall the factory fasteners (Photo 3.1 &...
- Page 6 PHOTO 3.2 CROSS TUBE FROM 2013 AND LATER VEHICLES HITCH USE THE OUTSIDE HOLE BUMPER BRACKET Step 4- Line up the inside bracket with the oval hole on the hitch. Assemble one 1/2” X 2” Hex Bolt, one 1” X 2” Plate Washer, and one 1/2" Star Washer, and install through the oval hole and the Tie Down Receiver plate.
- Page 7 PHOTO 4.1 PHOTO 4.2 INSIDE OF FRAME ON PASSENGER SIDE OVAL HOLE AND THE TIE-DOWN PLATE MEET, A 1” X 2” PLATE WASHER IS NEEDED. TIE DOWN RECEIVER...
- Page 8 PHOTO 4.3 1/2” X 2” HEX BOLT WITH TWO 1/2”FLAT WASHER,ONE 1/2” LOCK WASHER, ONE 1/2” HEX NUT. TIE DOWN RECEIVER Step 5- Line up the holes with the bumper bracket, Tie Down Receiver, and the frame then re-install the factory fasteners. Torque all hardware to 60 ft-lbs. (81nm) INSTALLATION INSTRUCTIONS 2003-2009: Step 6-...
- Page 9 PHOTO 7.1 PASSENGER SIDE OF FRAME VIEWOUTSIDE LOOSEN THESE BOLTS BUMPER SUPPORT BRACKET REMOVE THESE 5 BOLTS Step 8- Move the bumper bracket away from the frame and locate the oval hole on the inside of the frame. The oval hole is located on a piece of metal material that drops down from the factory hitch.
- Page 10 PHOTO 8.1 PASSENGER SIDE OF FRAME VIEW FROM THE REAR FACTORY CROSS TUBE BUMPER SUPPORT BRACKET TIE DOWN RECEIVER PLATE TO BE INSTALLED BETWEEN FRAME AND BUMPER SUPPORT BRACKET. Step 9- Slide the outside of the Tie Down Receiver between the bumper bracket and the outside of the frame.
- Page 11 PHOTO 9.1 PASSENGER SIDE OF FRAME VIEWING FROM THE INSIDE OF THE FRAME TO THE OUTSIDE SUPPLIED 2” X 1/2 HEX BOLT, 1” X 2” PLATE WASHER, & 1/2” STAR WASHER PHOTO 9.2 PASSENGER SIDE OF FRAME VIEWING FROM THE BACK TO THE FRONT FACTORY CROSS TUBE TIE DOWN RECEVIER...
- Page 12 PHOTO 9.3 TWO 1/2” FLAT WASHER, ONE 1/2” LOCK WASHER AND ONE 1/2” HEX NUT INSTALLED. Step 10- Line up the holes with the bumper bracket, Tie Down Receiver, and the frame then reinstall the factory fasteners as well as the 1/2” fasteners and torque to 60 ft-lbs(81nm).
- Page 13 PHOTO 10.1 May need to re-align holes with screw driver or drill out slightly with ½” drill. PHOTO 10.2...
- Page 14 On one end of each of your tie down inserts is a triangular plate referred to by Torklift as a bullet plate. Your tie down inserts should be installed with the shorter side of the bullet plate facing away from each other, i.e.. The shorter side of the front insert should point to the front of the truck and the shorter side of the rear insert should point towards the rear of the truck.
- Page 15 If your camper does not come with Rubber Bumpers on the front lower portion of the camper, installing Rubber Bumpers (Torklift has Rubber Bumpers available Part A7001) or using a block of wood such as a 2 x 4 in the bed, will prevent the camper from damaging the front bulk head of the truck bed.
-
Page 16: Warranty Information
Warranty Information 322 Railroad Ave North, Kent, WA 98032 Torklift will require proof of purchase to register, with pictures of any defective product before issuing a replacement. Torklift will not register any product without proof of purchase, which can be faxed, scanned, emailed, or mailed to the information provided below. - Page 17 Thank you for making TorkLift your choice for truck, camper packages and accessories for your vehicle. By choosing TorkLift products, you have chosen a company that has been serving the RV industry for nearly 40 years and whose name has become synonymous with strength, quality and advanced design and installation.
- Page 18 OFFICIAL WARRANTY REGISTRATION CARD PLEASE FILL OUT THIS FORM COMPLETELY AND RETURN TO TORKLIFT WITHIN 30 DAYS OF PURCHASE ACCOMPANIED BY A COPY OF YOUR ORIGINAL RECEIPT TODAY’S DATE: _________________________ 1. PART(S) PURCHASED PART#: ___________________ PART#: _______________________ PART#: ___________________ PART#: _______________________ 2.
Need help?
Do you have a question about the D3109 and is the answer not in the manual?
Questions and answers