Table of Contents
Advertisement
Quick Links
Advertisement
Table of Contents

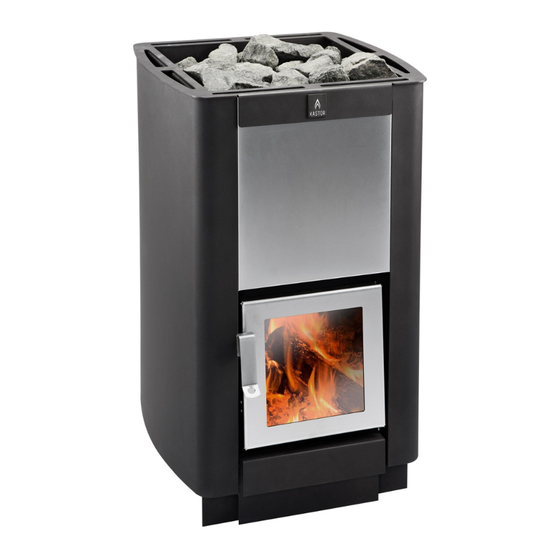
Summary of Contents for KASTOR KS-20
- Page 1 KASTOR KS (KS-20, KS-20V, KS-27V) 4211-61 Kastor KS 3/25/11 Rev. 1...
-
Page 2: Table Of Contents
KASTOR KS- series wood burning sauna stoves installation and usage manual (KS-20, KS-20V, KS-27) 1. Before you install ........................4 1.1. Package contents and its inspection ..................4 1.2. Important matters and regulations..................4 2. Installation and preparation for use ..................4 2.1. - Page 3 Please read these instructions prior to installation and first use! KASTOR WOOD BURNING SAUNA STOVES We thank you for your confidence in Kastor’s products. We have manufactured wood burning sauna stoves for nearly a century now, longer than any other company in the world. Over these years, we have learned a lot about fire, its handling and its precariousness.
-
Page 4: Before You Install
Continue the burn-in until there are no more fumes rising from the stove. Once the stove has cooled down after the burn-in, move it into the sauna. See to it that the sauna is well ventilated during the first couple of heating. 4211-61 Kastor KS 3/25/11 Rev. 1... -
Page 5: Stones And Their Arrangement
We do not recommend installing the stove directly on a tiled floor, as its moisture sealing, tile glue etc. may contain components that are not heat resistant. Fireproofing of the floor on flammable material: 400 mm (16”) in front of the stove 250 mm (10”) to the sides 4211-61 Kastor KS 3/25/11 Rev. 1... -
Page 6: Safety Distances And Protections
(2”) to the side and 50 mm (2”) at the back are sufficient. If it stands with its back and both sides next to brick wall, 100 mm (4”) should be left on both sides to ensure air circulation. At the back, 50 mm (2”) remains sufficient. 4211-61 Kastor KS 3/25/11 Rev. 1... -
Page 7: Connecting The Stove To A Brick Chimney And Instructions For Jk Stoves
Neaten the hole with a Kastor covering, available at your hardware store. The covering is attached to the brick chimney surface with metal attachments or fireproof glue. (Picture 2.5.1.) Stoves with extended feed doors must only be installed into walls made of non-flammable material (brick, concrete etc.).The non-flammable material must be arranged around the door... -
Page 8: Connecting To A Kastor Chimney
Seal the empty space between connection pipe and chimney with flexible, fireproof material such as stone wool. The lead-through is then tidied up with a Kastor covering plate, which is available at your hardware store. The covering plate is attached to the wall with metal bolts or fireproof paste. -
Page 9: The Stove Door And Changing The Opening Direction
Once the outdoor burn-in has been performed, the stones arranged and the water tank, if installed, filled, your Kastor stove is ready for use. Make sure that the air guide plate is in place as shown in picture 2.8./2. -
Page 10: Using The Stove
3. Using the stove 3.1. Fuel Use only untreated wood in Kastor stoves, preferably sturdy split logs of various woods, such as birch or alder. The logs should at most be 35 cm (13 5/8”) long. Wet or foul wood does not heat very well. -
Page 11: Maintenance
4.2. Ash removal Excessive ash shortens the grate’s lifespan and weakens the burning. Remove the ash while it is cold, always before the next heating, using a metal container to avoid a fire hazard. 4211-61 Kastor KS 3/25/11 Rev. 1... -
Page 12: Sweeping
First, to make sure you have chosen the correct stove for your sauna’s requirements, look through the stove choosing instructions on our internet pages at www.kastor.fi -> “wood burning” -> “select your stove”. Smoke leaks into the sauna, bad draft. - Page 13 The metal flakes off and the stove will break down prematurely. There is a smell of sulphur in the sauna. Traces of sulphur have remained on the stones from the quarry’s explosion or the stones are naturally sulphurous. 4211-61 Kastor KS 3/25/11 Rev. 1...
-
Page 14: Manufacturer Identification
For troubleshooting or service questions call 1-888-780-4427 and ask to speak with tech support. Prior to calling please have the Model number available. You may also email us at techsupport@saunatec.com. 7. Pictures Picture 1 4211-61 Kastor KS 3/25/11 Rev. 1... - Page 15 Make sure that there is sufficient air between the stones. Sectional view of the stove’s stone compartment. 10” 2.3. Picture Installation of Kastor stove using a protective stove base. 1. Concrete floor or tiled, waterproofed floor 2. Protective stove base 3. Wooden floor 4.
- Page 16 4. 1mm (1/16”) thick metal sheet or 7mm (5/16”) of fiber- reinforced board 5. Stainless steel attachment screw 2.5.1 Picture 2.5.2 Picture Connecting the stove from the Connecting the stove from the back to a brick chimney. top to a brick chimney. 4211-61 Kastor KS 3/25/11 Rev. 1...
- Page 17 2.6 Picture Connecting to a Kastor chimney. Measurements in millimeters. 1. Chimney valve device 2.8/1 Picture 2.8/2 Picture 1. Air guide plate 1. Air Guide plate 2. Grate 2. Grate 3. Grate support 4211-61 Kastor KS 3/25/11 Rev. 1...
- Page 18 D = Protective distance forward 1000mm (40”) E = The stove’s non-combustible foundation’s minimum 250mm (10”) to the side of the stove. F = The stove’s non-combustible foundation’s minimum 400mm (16”) to the front. v.3.2-10-1-2011.doc 4211-61 Kastor KS 3/25/11 Rev. 1...


Need help?
Do you have a question about the KS-20 and is the answer not in the manual?
Questions and answers