Table of Contents
Advertisement
Quick Links
Download this manual
See also:
User Manual
Advertisement
Table of Contents

Subscribe to Our Youtube Channel
Summary of Contents for Arlo Pro 2
- Page 1 Arlo Pro 2 Camera System With Arlo Audio Doorbell Quick Start Guide...
- Page 3 To view useful tutorial videos, find troubleshooting tips, or get support, navigate in your www.arlo.com/support. browser to For more information look for How do I set up my Arlo Pro 2 camera with an Arlo Audio Doorbell?. Scan the QR code...
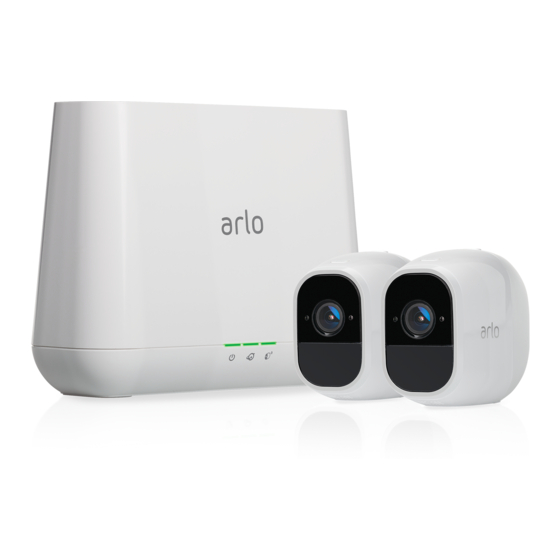
- Page 4 What’s in the box Base station AC Arlo Pro base station Ethernet power adapter cable Rechargeable Arlo Pro 2 camera Camera power battery adapter Wall mount Camera cable Mounting screws and anchors...
- Page 5 Doorbell AA batteries Screwdriver Wall screws and anchors Wire extensions Wire screws Wire nuts...
- Page 6 Get the Arlo mobile app The app provides the step-by-step instructions that you need to install your Arlo Pro 2 System and your Arlo Audio Doorbell.
- Page 7 Install your Arlo devices in this order Arlo Pro base station Arlo Pro 2 camera Arlo Audio Doorbell...
- Page 8 1. Power your base station Select your Arlo device.
- Page 9 For AC power indoor use, connect the AC power adapter to an indoor electrical outlet. If you want to use an outdoor AC power connection, you need the Arlo Pro 2 outdoor power adapter (sold separately). Use the Arlo app to add the camera to your Arlo account.
- Page 10 3. Place or mount your camera You can place your camera on a flat surface, such as a shelf or desk, or you can mount it on a wall. Choose a location with a clear, unblocked field of view and with a good signal to your base station.
- Page 11 4. Power your doorbell and add it to your Arlo account Insert two AA batteries; your doorbell runs on battery power. Use your app to set up your Arlo Doorbell and add it to your account. Select your Arlo device.
- Page 12 5. Mount your Arlo doorbell without wiring Mount your doorbell without wiring Secure the battery cover on your wall using the screws we provide. Attach the doorbell to the battery cover. Note: To connect your Arlo doorbell to trigger your existing chime, go to page 14.
- Page 13 Secure the doorbell Secure the Arlo doorbell with the screw on the bottom of the battery cover.
- Page 14 5. Connect your Arlo doorbell to trigger your existing chime (Optional) You can connect your Arlo doorbell to existing mechanical or electronic doorbells if they operate at a voltage between 8 and 24 volts AC. Once connected, pressing the button on your Arlo doorbell will trigger your existing chime.
- Page 15 Remove your current doorbell. Connect the wires coming out of the wall to the terminals on the back of the Arlo doorbell battery cover with the screws we provide. If the wires are too short, use the accessories we provide.
- Page 16 Feed the wires back into your wall. Secure the Arlo battery cover to the wall using the mounting screws. Turn the power on at the breaker.
- Page 17 Attach the doorbell to the battery cover Attach your doorbell to the battery cover. Press the doorbell button, listen for a chime: If you don’t hear a chime, remove the doorbell from the battery cover and adjust the chime switch to position 3. Re-attach the doorbell, press the doorbell button, and listen for a chime.
- Page 18 Secure the doorbell Secure the Arlo doorbell with the screw on the bottom of the battery cover.
- Page 19 Use your Arlo app Use your app to set up and manage all your Arlo devices and your Arlo account. To view useful tutorial videos, find troubleshooting tips, or get support, scan the QR code www.arlo.com/support. or navigate in your browser to visit...
- Page 20 ©2018 Arlo Technologies, Inc. Arlo, Arlo logo, and Every Angle Covered are trademarks of Arlo Technologies, Inc. . Other trademarks are for reference purposes only. Si ce produit est vendu au Canada, vous pouvez accéder à ce document en français canadien à arlo.com/docs.


Need help?
Do you have a question about the Pro 2 and is the answer not in the manual?
Questions and answers