Arlo Go Quick Start Manual
Teleguard
Hide thumbs
Also See for Arlo Go:
- User manual (68 pages) ,
- Quick start manual (17 pages) ,
- Faq (3 pages)
Table of Contents
Advertisement
Quick Links
Download this manual
See also:
User Manual
Advertisement
Table of Contents

Related Manuals for Arlo Arlo Go


Summary of Contents for Arlo Arlo Go
- Page 1 Arlo Go Quick Start Guide...
-
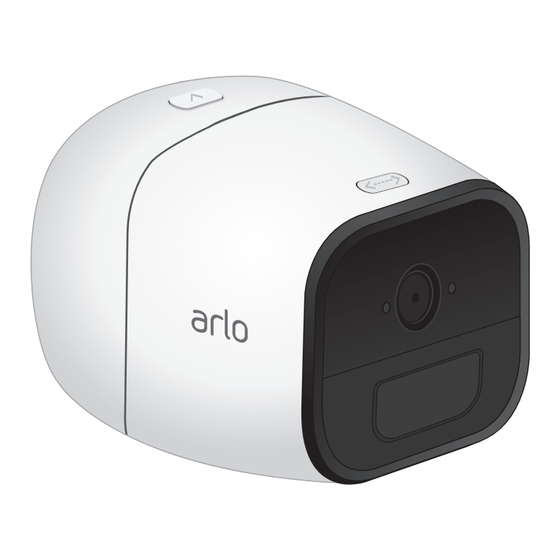
Page 2: What's Included
What’s Included Power adapter Arlo Go camera with SIM card Mount screws Rechargeable Mount battery... - Page 3 Only authorized Telguard dealers can activate Telguard services. ¾ To activate your Telguard service plan: Locate your camera’s ICCID. This number appears on the bottom of the Arlo Go box. If you cannot find your Arlo Go box, contact Telguard customer service for assistance.
-
Page 4: Get The Arlo App
Get the Arlo App For the best experience, download the Arlo app for your smartphone by scanning this QR code. arlo.netgear.com... - Page 5 Insert the SIM Card Into Your Arlo Go Camera The Arlo Go camera comes with a SIM card installed. If a SIM card is not installed, insert a card into the SIM card slot. ¾ To insert a SIM card:...
- Page 6 Into Your Arlo Go Camera If power is available, you can plug your camera in and use it in powered mode. Best practice is to insert the battery into your Arlo Go camera even if you plan to power the camera using the power adapter.
- Page 7 Set Up Your Arlo Go Camera Use the Arlo app and your Arlo account to set up your Arlo Go camera. If you already set up an Arlo account, you can add the Arlo Go camera to your account. During set up, your Arlo Go camera must be connected to the mobile network coverage area.
- Page 8 ¾ To create a new Arlo account: Launch the Arlo app from your smartphone, tap the New System Setup button, and select Arlo Go. arlo.netgear.com If you are using a computer, visit Follow the on-screen instructions.
- Page 9 ¾ To add an Arlo Go camera to an existing Arlo account: If you already set up an Arlo account, log in and click or tap Add Device. Follow the on-screen instructions.
-
Page 10: Place Your Camera
Place Your Camera You can place your camera on a flat surface or mount it. - Page 11 ¾ To mount the camera on a wall: Place the wall plate and secure it with three screws. Attach the camera to the wall plate. If you’re mounting the camera to drywall, be sure to use the included plastic drywall anchors.
- Page 12 Charge Your Arlo Go Battery The Arlo Go battery is partially charged when it leaves the factory. ¾ To recharge the battery: Connect the power adapter to the camera. Caution: You must use an Arlo Go power adapter to charge the battery.
- Page 13 The Arlo Go camera is designed to connect to a cellular network Coverage and service are not available everywhere. During set up, the Arlo app uses the cellular network to find your Arlo Go camera so that you can add the camera to your Arlo account.
-
Page 14: You're Done
You’re Done! Congratulations! Your Arlo Go camera is set up and ready to go. The camera comes with an SD card slot that supports SD cards (sold separately) with a capacity of up to 32G of storage. If you inserted an SD card and your camera is offline, the camera recordings are stored on the SD card. -
Page 15: Camera Led Guide
Camera LED Guide Solid amber Very slow blinking blue No SIM card is inserted or the SIM card is The camera is powering damaged. Fast blinking amber Slow blinking amber Slow blinking blue The camera connected Mobile network The camera is ready to to the cellular network coverage is not scan the QR code. - Page 16 ©NETGEAR, Inc., NETGEAR, the NETGEAR Logo, and Arlo are trademarks of NETGEAR, Inc. © In Canada, Telguard products and services are offered and sold under the Telular brand. Telguard, Telular, and the Telguard logo are trademarks of Telguard. Compliance For the current EU Declaration of Conformity, visit http://kb.netgear.com/app/answers/detail/a_id/11621/...
Need help?
Do you have a question about the Arlo Go and is the answer not in the manual?
Questions and answers