Table of Contents
Advertisement
Quick Links
Download this manual
See also:
User Manual
Advertisement
Table of Contents

Related Manuals for Arlo Pro 2


Summary of Contents for Arlo Pro 2
- Page 1 Arlo Pro 2 Quick Start Guide...
- Page 2 Welcome Thank you for choosing Arlo Pro 2. Getting started is easy.
-
Page 3: What's Included
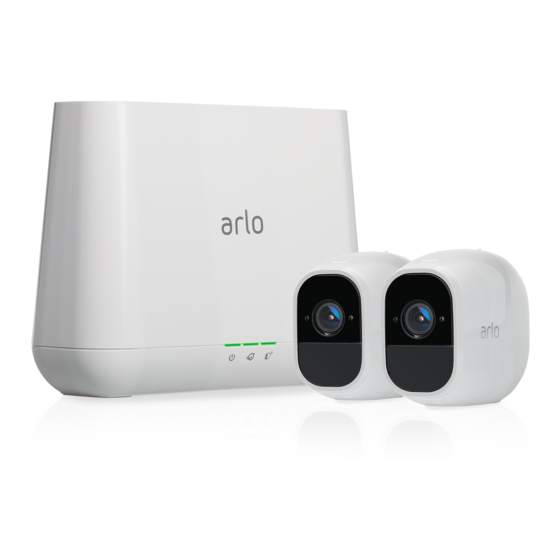
What’s Included Base station AC Ethernet cable power adapter Base station Camera AC power adapter Rechargeable battery Arlo Pro 2 Wire-Free Camera Mounting Camera power Magnetic wall screws adapter cable mounts... -
Page 4: Use Your Camera Wire-Free
AC power outlet. Before using your camera wire-free, you must insert the battery. Note: You do not need to insert the battery if you are connecting your Arlo camera to an AC power outlet. ¾ To install the battery: Unlock the battery compartment by pressing and holding the latch. - Page 5 QR code or searching for Arlo in the app store. https://my.arlo.com/#/login Note: If you already use the Arlo app, make sure that you are using the latest version. To find out if an update is available, go to the app store and search for Arlo.
- Page 6 Connect Your Base Station to the Internet Connect the base station to your Connect the base station AC router using an Ethernet cable. adapter to your base station and plug it in.
- Page 7 Turn the base station on by The Power LED and Internet LED on pressing the On/Off button. the front of the base station light green in about two minutes.
-
Page 8: Get An Account
If you are using a computer, visit https://my.arlo.com/#/login Follow the onscreen instructions. ¾ To add an Arlo Pro 2 camera to an existing Arlo account: If you already set up an Arlo account, log in, and click or tap Add Device. - Page 9 Sync Your Cameras With the Base Station Bring the camera within 1 to 3 feet (30 to 100 centimeters) of the base station. Note: Cameras must be synced one at a time.
- Page 10 Press the Sync button on the top of the base station for about two seconds and then release the button. Wait for the Sync Status LED to blink green. Press the Sync button on top of the camera for about two seconds and then release the button.
- Page 11 A blue LED on the camera blinks slowly when the sync process starts. The blue LED blinks rapidly to confirm syncing. The camera is ready for viewing. The LED blinks amber if the sync is not successful. You must repeat the sync process.
- Page 12 Select a Good Spot for Your Camera Place your Arlo Pro 2 camera in a location with a clear, unblocked field of view and with a good signal to the base station. Note: Your wireless range varies depending on environmental factors, including...
-
Page 13: Place Or Mount Your Cameras
You can place your camera on a shelf or other flat surface, or you can mount it to the wall. Tip: Use the Arlo app in Position mode (found in Camera Settings) to help aim the camera. ¾ To mount your camera to the wall:... - Page 14 Connect the power adapter cable to the camera power adapter. Note: You must use an Arlo Pro 2 power adapter and cable to charge the battery. Connect the other end of the adapter cable to the camera.
- Page 15 Use Your Camera Plugged In ¾ To use your camera plugged in: Place the camera indoors. Connect the power adapter to an AC electrical outlet.
-
Page 16: You're Done
You’re Done! Congratulations! Your Arlo System is set up and ready to go. To view useful tutorial videos, find troubleshooting tips, or get support, visit arlo.com/support/. - Page 17 Base Station LED Guide Power Internet Camera Green Green Green The base station The base station Cameras are is powered on. is connected to connected to the base station. the Internet. Blinking green Blinking green Blinking green The base station A firmware update The base station is in progress.
- Page 18 Notes...
- Page 20 ©2018 Arlo Technologies, Inc. Arlo, Arlo logo, and Every Angle Covered are trademarks of Arlo Technologies, Inc. App Store is a service mark of Apple Inc., registered in the U.S. and other countries. Google Play and the Google Play logo are trademarks of Google Inc. Amazon, Alexa and all related logos are trademarks of Amazon.com, Inc.
Need help?
Do you have a question about the Pro 2 and is the answer not in the manual?
Questions and answers