Advertisement
Table of Contents
- 1 Table of Contents
- 2 Components
- 3 MVS Set up Instructions
- 4 Connecting the Components
- 5 Powering on & off
- 6 Calibrating the Plate Reader
- 7 Measuring the Baseline Plate
- 8 Liquid Handler Setup
- 9 Volume Verification Setup
- 10 Dilution Verification Setup
- 11 Running a Verification
- 12 Alternative Solution Preparation
- 13 Alternative Solution Verification
- 14 Batch Manager Function
- 15 Test Reports
- Download this manual
Advertisement
Table of Contents

Subscribe to Our Youtube Channel
Related Manuals for Artel MVS

Summary of Contents for Artel MVS
- Page 1 Multichannel Verification System Quick Start Guide...
-
Page 2: Table Of Contents
Table of contents Components ............... MVS Set Up Instructions ............ Connecting the Components ..........Powering On & Off ............. Calibrating the Plate Reader ..........Measuring the Baseline Plate ..........Liquid Handler Setup ............Volume Verification Setup ..........Dilution Verification Setup .......... -
Page 3: Components
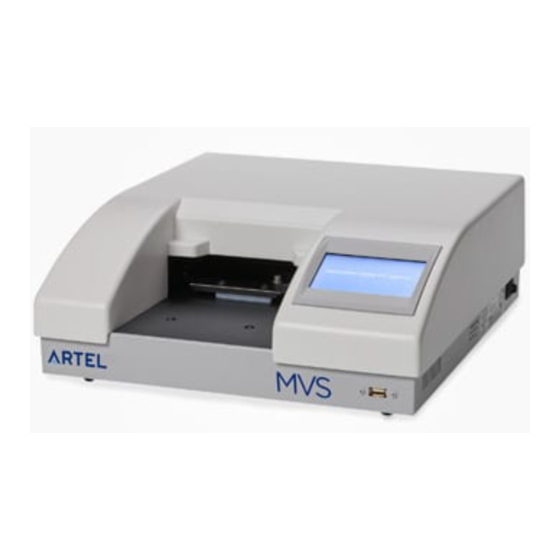
Components Portable Computer with Data Manager software Plate Reader Bar Code Reader Plate Shaker Sample Solutions Mobile Workstation 96- and 384-well Verification Plates Calibrator Plate... -
Page 4: Mvs Set Up Instructions
Set Up Instructions Computer with Data Manager Software USB 3 Port MVS USB Hub MVS Plate Reader MVS Barcode Reader Adapter Connection RS232 MVS Plate Shaker... -
Page 5: Connecting The Components
• Connect one end of the USB cable into the Plate the Portable Computer. Reader and the other end into the MVS USB Hub. • Plug the MVS USB Hub into a USB 3 Port on the • Insert the remaining plug on the power supply Portable Computer. -
Page 6: Powering On & Off
Note: Be sure that the light on the power Wait for the Plate Reader to become ready for strip is illuminated. operation, then click on the MVS Data Manager ® software icon on the desktop of the Portable Computer. -
Page 7: Calibrating The Plate Reader
Calibrating the Plate Reader Initiate calibration • Select File | Plate Reader Calibration to begin calibrating the Plate Reader. The Calibrator Plate will also be requested if it has not been measured for the last 10 hours. Scan the bar code on the Calibrator Plate •... -
Page 8: Measuring The Baseline Plate
Data Manager requires individual Baseline Plate readings for each Plate Type used. • It is recommended that the Plate Reader calibration be repeated if the temperature changes by ± 2 °C or if the MVS is moved to Fill the plate with Baseline Solution and shake a new location. -
Page 9: Liquid Handler Setup
Liquid Handler Setup • At the main screen, select File | Liquid Handler Setup. • The Device Manager will open. • Click Add to open the Device Setup window (see screen image at right). • Enter the required information for the Device ID, number of Channels and a Description. •... -
Page 10: Volume Verification Setup
Volume Verification Setup Plate Layout Setup • At the main Data Manager screen, select File | Plate Layout Setup. • The Layout Manager will open (see screen image at right). Red coded entries indicate volume verification layouts, while blue coded entries indicate dilution layouts. •... - Page 11 Volume Verification Setup (continued) • The Dispense Direction and Device Orientation will determine how the statistics are calculated in the Output Report. For more information, see section 5.3.1 of the Procedure Guide. • Begin entering Group Information: select the Target Volume, the number of Data Points, and set the tolerance limits for Relative Inaccuracy and Coefficient of Variation.
-
Page 12: Dilution Verification Setup
Dilution Verification Setup Plate Layout Setup • At the Main Screen, select File | Plate Layout Setup. • The Layout Manager will open (see screen image at right). • Click Add and select Serial Dilution Layout to display the Layout Configuration window. Add a Dilution Plate Layout •... -
Page 13: Running A Verification
Click OK. This prompt will not appear if a Plate ID other than “MVS Verification Plate” is chosen To add a new Plate ID, cancel the Verification window, select File | Plate Library in the Verification Setup window. - Page 14 G: Scan the bar code on the approriate box of MVS Verification Plates. Default Plate Shaker Speed & Duration (for Standard Profile Plates): Using the Bar Code Reader, highlight the bar code on the appropriate box of MVS Verification Plates until a tone sounds.
-
Page 15: Alternative Solution Preparation
• Refer to the Alternative Solution Table below for the approximate Target Volume limits for each Plate Type. • Enter the Lot Volume. Artel recommends a Lot Volume of at least 30 mL. • Enter the Solvent Density. This value will also need to be entered into the Data Manager software. - Page 16 (continued) Alternative Solution Volume Range per Prepare Alternative Solution: Plate Type Note: Record weights, in grams, of MVS Stock Solution and solvent during sample preparation. Supported MVS Stock • Place a clean, amber bottle with cap on the balance pan and press tare.
-
Page 17: Alternative Solution Verification
• Select Alternative Solution Library from the File menu and click Add. • Enter a unique ID and Description. Click Select Stock Solution and scan the appropriate MVS Stock Solution with the Bar Code Reader. • Enter the Solvent Solution density. - Page 18 Plate Reader. (Skip if a valid Baseline reading is stored for the selected plate type) Scan the MVS Baseline Solution bar code. Verification is complete! Fill the plate as specified with the Baseline Solution and place on the Plate Shaker.
-
Page 19: Batch Manager Function
Batch Manager Function Note: the Plate Reader Type must be set to None/Import from file within the Preferences window in order to see the File Prompt. Batch Verification Setup: • From the Batch menu, select Batch Manager. • Click Add to open the Batch Setup window (see screen image at right). •... - Page 20 Verification: Baseline Plate: Properties for the Verification item can be modified by populating the Properties for the Baseline item can be modified by populating the following fields: following fields: • Device ID: Choose a Device ID from the drop-down list. •...
-
Page 21: Test Reports
Test Reports • After all required microtiter plate readings have been collected, Data • If the Security System is active, Data Manager will prompt for a password Manager will display a Test Report (see screen image on page 21). Reports once all scans are completed. - Page 22 Test Reports (continued) Test Report (partial) Full report also contains lot numbers, materials used, expiration dates, electronic signatures, comments, etc.
- Page 23 25 Bradley Drive, Westbrook, Maine 04092 888-406-3463 | info@artel-usa.com artel-usa.com orders@artel-usa.com | support@artel-usa.com © 2018 Artel, Inc.
Need help?
Do you have a question about the MVS and is the answer not in the manual?
Questions and answers