Advertisement
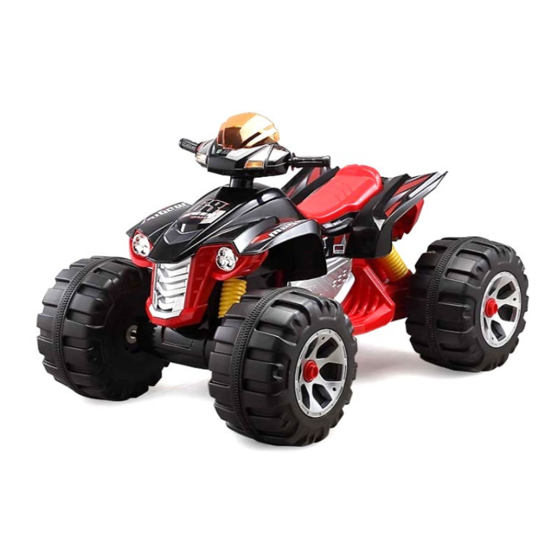
Electric Ride-On Toy ATV
User Manual
[Revision 3.0 May 2018]
READ THIS MANUAL CAREFULLY BEFORE USE – FAILURE TO DO SO MAY RESULT IN INJURY, PROPERTY
DAMAGE AND MAY VOID WARRANTY. • KEEP THIS MANUAL FOR FUTURE REFERENCE. • Products covered by
this manual may vary in appearance, assembly, inclusions, specifications, description and packaging.
THE BATTERY MAY HAVE SOME CHARGE ON ARRIVAL, IT IS IMPORTANT
HOWEVER THAT THE BATTERY IS CHARGED PRIOR TO USE.
E&OE
©2018 Rovokids
Advertisement
Table of Contents

Related Manuals for Rovo Kids Electric Ride-On Toy ATV


Summary of Contents for Rovo Kids Electric Ride-On Toy ATV
- Page 1 Electric Ride-On Toy ATV User Manual [Revision 3.0 May 2018] READ THIS MANUAL CAREFULLY BEFORE USE – FAILURE TO DO SO MAY RESULT IN INJURY, PROPERTY DAMAGE AND MAY VOID WARRANTY. • KEEP THIS MANUAL FOR FUTURE REFERENCE. • Products covered by this manual may vary in appearance, assembly, inclusions, specifications, description and packaging.
-
Page 2: Safety
Electric Ride-On Toy ATV Safety Read and understand all safety warnings and instructions before assembling or using the electric ride-on car ("toy"). The instructions not only specify the assembly process and proper operation, but also help you to avoid injuries or damaging the product due to incorrect operation. -
Page 3: Battery Safety And Charging
Electric Ride-On Toy ATV such as steep slopes or against fixed objects, which can cause the wheels to stop spinning while power is being supplied to the motors. If a thermal fuse in continually trips under normal operating conditions and loads, have the toy inspected by an authorised service centre. -
Page 4: Battery Charging
Electric Ride-On Toy ATV • Periodically examine the batteries (remove the seat) for cracks or damage which may cause sulphuric acid (electrolyte) to leak during charging. If damage is detected, do not charge the battery or use it. Battery acid is highly corrosive and can cause severe injury to persons and damage to surfaces it contacts. -
Page 5: Table Of Contents
Electric Ride-On Toy ATV Table of Contents Safety ..............................2 Battery Safety and Charging ......................3 Battery Charging ............................4 Parts Identification ..........................6 Assembly ............................7 Operation ............................10 Controls ..............................10 Driver Mode Operation ..........................10 Troubleshooting ..........................11 Maintenance ............................. -
Page 6: Parts Identification
Electric Ride-On Toy ATV Parts Identification Identify all parts before assembly and save all packaging material until assembly Is completed to ensure that no parts are discarded. • Metal parts may be coated with lubricant for protection during shipment. Wipe all metal parts with a paper towel to remove any excess lubricant. • Assemble the toy according to instructions. -
Page 7: Assembly
Electric Ride-On Toy ATV Assembly Video Tutorial: Typical Ride-On Car Assembly Children may be harmed by small parts, sharp edges and points or electrical components when the toy is not assembled. Care should be taken to not allow children near parts when unpacking and assembling the toy. • The toy should be assembled by an adult or checked by an adult to ensure that it is properly assembled. - Page 8 Electric Ride-On Toy ATV 3. Install the front wheels. Place an axle washer (E) and axle bush (M) on to each front axle (N). • Place a front wheel (O) onto each axle, then place an axle washer (E) on the axle, then screw (rotate •...
- Page 9 Electric Ride-On Toy ATV 5. Connect the battery. Firmly push the unconnected battery wire (T) onto the free battery • terminal (U). Once connected, the battery can be charged using the toy charging port. 6. Install the seat (this also acts as a battery cover).
-
Page 10: Operation
Electric Ride-On Toy ATV Operation Controls Name Description Direction / Speed Control Use to set the direction of travel and speed: High –Travel forward at highest speed. Low – Travel forward at slowest speed. Backward – Travel backwards at slowest speed. -
Page 11: Troubleshooting
Electric Ride-On Toy ATV Troubleshooting Malfunction Analysis Solution Toy not running or Fuse tripped. Toy overloaded or used on unsuitable surfaces. Fuse was running but resets after 10 seconds. Unload toy (30kg max.) and/or Electrical connections suddenly stopped move to suitable surface. -
Page 12: Maintenance
Electric Ride-On Toy ATV Maintenance • If the toy is damaged, do not use it until it is repaired. • An adult should inspect the toy at regular Intervals for wear or loose fasteners and tighten as required. Do not use the toy if abnormal conditions such as cracks or breaks exist. - Page 13 Electric Ride-On Toy ATV Some experts believe the incorrect or prolonged use of almost any product could cause serious injury or death. For information that may reduce your risk of serious injury or death, consult the points below and additionally, the information available at www.datastreamserver.com/safety •...
Need help?
Do you have a question about the Electric Ride-On Toy ATV and is the answer not in the manual?
Questions and answers