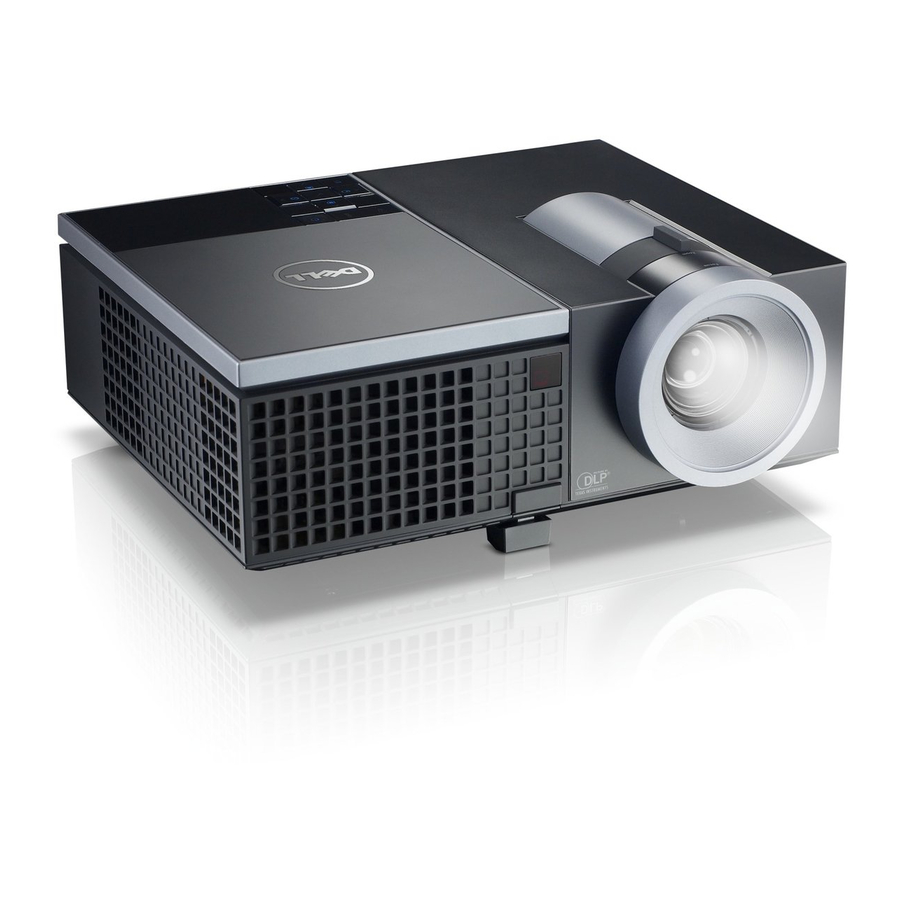
Dell 4220 Quick Setup Manual
Hide thumbs
Also See for 4220:
- Installation manual (190 pages) ,
- User manual (121 pages) ,
- Specifications (2 pages)
Advertisement
1
Connect the power cable and the appropriate signal cables
连接电源线和相应的信号线
連接電源線與信號線
電源ケーブルと適切な信号ケーブルを接続します
4
Press the power button
按下电源按钮
按下電源 (Power) 按鈕
電源ボタンを押します
NOTE:
Connect the Mini USB cable (not included) to use the Page Up
and Page Down options on your remote control.
注意:
连接Mini USB线(未提供)以使用遥控器上的向上翻
页和向下翻页选项。
附註:
請接上 Mini USB 連接線 (未隨附) 以便使用遠端控
制的 [Page Up] (上一頁) 和 [Page Down] (下一頁) 選
項。
注:
リモコンの
および
オプションを
[Page Up]
[Page Down]
使用するには、
ケーブル(別売)を接続しま
Mini USB
す。
NOTE:
If nothing appears on the screen, press <Fn><F8> or
<Fn> <F1> for video redirection (Dell laptops only).
It may take several seconds for the image to appear.
注意:
如果屏幕上不显示任何内容,请按<Fn><F8>或
<Fn><F1>进行视频重定向(仅限Dell笔记本电
脑)。
此过程需要几秒钟,然后才能显示图像。
附註:
若螢幕上未顯示任何東西,請按下<Fn><F8>
或<Fn><F1>重新導向視訊(僅適用Dell筆記型電
腦)。
經過幾秒後,便會顯示影像。
注:
画面に何も表示されない場合、 <Fn><F8>または
<Fn> <F1>を押してビデオの出力先を変更してく
ださい (DellノートPCのみ)
画像が表示されるまで、 数秒かかります。
2
Assemble the wireless dongle
(Optional)
1
2
3
安装无线dongle(可选)
組裝無線傳輸器 (選配)
ワイヤレスドングルの組み立て (オプション)
5
Adjust the image size and focus
Focus Adjust
Zoom Adjust
焦距调整
变焦调整
調整焦距
調整縮放
フォーカス調整
ズーム調整
调整图像尺寸和对焦
調整影像大小與焦距
画像サイズとフォーカスの調整
3
Insert the batteries into the remote
control
将电池装入遥控器
將電池裝入搖控器中
バッテリをリモコンにセッ トします
Press Auto Adjust to re-sync your computer to the projector for
proper image if necessary.
必要时,按自动调整使计算机与投影机重新同步,
从而得到正确的图像。
在必要時,按下自動調整將您的電腦與投影機重新
同步,以獲得更適合的影像。
必要に応じて、 適切な画像が得られるように、 自動
調整を押してコンピュータをプロジェクタに再同期
します。
For more information about your projector, see your User's Guide.
有关投影仪的详细信息,请参阅 用户指南 。
如需投影機的詳細資訊,請參閱《 使用手冊 》。
プロジェクタの詳細については、 ユーザーズガイド を
参照してください。
Advertisement
Table of Contents

Related Manuals for Dell 4220


Summary of Contents for Dell 4220
- Page 1 NOTE: Zoom Adjust proper image if necessary. If nothing appears on the screen, press <Fn><F8> or 焦距调整 变焦调整 <Fn> <F1> for video redirection (Dell laptops only). 調整焦距 必要时,按自动调整使计算机与投影机重新同步, 調整縮放 It may take several seconds for the image to appear. フォーカス調整...
- Page 2 2. 温度警告指示灯 2. TEMP 警示燈 change without ります。 2. 温度警告ライ ト 3. Power 3. 电源 3. 電源 © 2011 Dell Inc. 保 © 2011 Dell Inc.保留 notice. 3. 電源 4. Up / Keystone adjustment 4. 向上/梯形校正调整 4. 上/梯形修正 留所有权利。 所有權利。...
Need help?
Do you have a question about the 4220 and is the answer not in the manual?
Questions and answers