Table of Contents
Advertisement
Quick Links
Quick Installation Guide
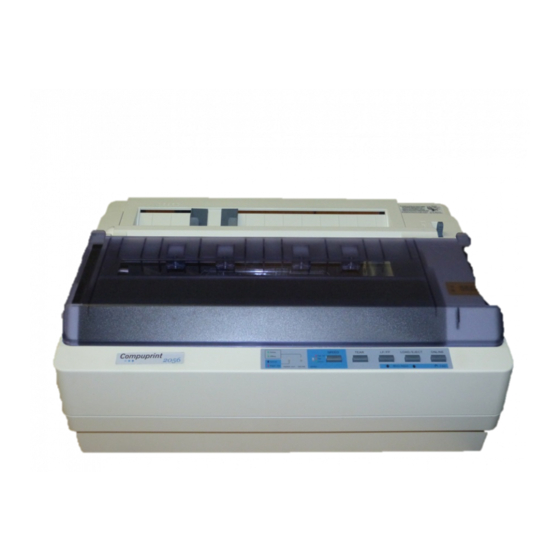
Unpacking and Checking
Check the following items in the packing box, if any of these items is
missing, please contact your dealer.
A
C
A: Printer
B: Ribbon cartridge
C: Driver CD (Including user's manual and driver)
D: Power cord
E: Facility user's guide
Removing the Protective Materials
1. Open the packing box, take out the printer.
2. Save all the original packing materials, so that it can be used when
transporting the printer.
Front and Rear Views with components
Gap adjust lever
Print
head
Ribbon cartridge
Paper guide
slider
Paper feed
knob
Serial
Parallel
USB
USB
interface
Choosing a Place for the Printer
MAN10xxx-01
B
D
E
Window
Paper feed knob
Rear cover
Tractor
Power switch
Power supply
inlet
Ethernet interface
When selecting a place to set up your printer, choose a convenient
location that provides the following:
1. A flat, stable surface and a adequate space around the printer.
3. Moderate environmental conditions. Select a cool, dry area and
protect your printer from direct sunlight, excessive heat, moisture, or
dusty.
4. Appropriate power source. Make sure you use a grounded outlet; do
not use an adapter plug
Installing the Ribbon Cartridge
1. Before installing the ribbon cartridge, make sure the printer is turned
off and open the window.
Print head
2. Put the gap adjust lever to the highest position.
3. Slide the print head to the middle of the printer.
4. Please take out the ribbon cartridge from the box, hold the bottom side
of the ribbon nip and then take out the ribbon nip
Ribbon
5. Hold both sides of the ribbon cartridge and aim the buckles at the
mounting slots of the printer, then press it firmly until it locks in place. Put
the ribbon nip between print head and ribbon guide slice.
6. Turn the ribbon knob in the direction of the arrow to remove any slack
from the ribbon so it is easier to install.
7. Slide the print head from side to side several times to make sure the
ribbon core is installed in the right place.
8. Please put the gap adjust lever to the original place and close the
window after the ribbon cartridge is installed
Note: 1. When your printing becomes faint, you need to replace the
ribbon cartridge. Otherwise, the print quality would be affected and
the print head may be damaged.
2. To remove the old ribbon cartridge, first make sure the power is
turned off, move the print head to the center of the printer. Then
hold both sides of the ribbon cartridge and lift it out of the printer.
Install a new one follow the above steps.
3. Please use the Compuprint PRKN120 ribbon cartridge only.
Manufacturer will not honor warranty when using unauthorized
ribbon cartridge.
Connecting the Power Cord
1. Make sure the printer's power is turned off. (The pressed down side
on the power switch with "O" mark denotes the printer is off.)
i
Ribbon cartridge
Ribbon knob
Ribbonnip
Ribbon knob
Ribbon nip
Window
Ribbon guide slice
Print head
Advertisement
Table of Contents

Subscribe to Our Youtube Channel
Related Manuals for Compuprint 2056


Summary of Contents for Compuprint 2056
- Page 1 Power supply Parallel Install a new one follow the above steps. inlet 3. Please use the Compuprint PRKN120 ribbon cartridge only. Ethernet interface Manufacturer will not honor warranty when using unauthorized ribbon cartridge. interface Connecting the Power Cord 1.
- Page 2 Network Settings Power supply inlet Please use Compuprint network setting software NetFinder to set the IP address for Compuprint printers, which can be found in the subfolder NetFinder of theCD. Note: The network printing function needs the operation system of Electrical outlet Windows 2000 or above.
Need help?
Do you have a question about the 2056 and is the answer not in the manual?
Questions and answers