Table of Contents
Advertisement
Quick Links
Advertisement
Table of Contents

Summary of Contents for Hiddenbed Majestic Double
- Page 1 Assembly Instructions Majestic Double Model www.Hiddenbed.ca...
-
Page 2: Main Parts
MAIN PARTS COMPONENTS Num. Name Qty. 1a + 1b Gable L/R Upper Back Shelf Lower Back with Faux Leather Headboard Bottom Stretcher Stop Lock Feet COMPONENTS Num. Name Qty. Bed Side L/R Footboard Headboard Slats Mattress Panels (under slats) COMPONENTS Num. -
Page 3: Hardware Kit
Metal legs (Qty: 2) Robertson #2 bit Handle with screws Phillips #3 bit Allen keys: 4mm and 10mm Coloured screw caps NOT SUPPLIED: Drill/impact driver (Power tool) Phillips #1 screwdriver (for metal wire) Note: Assembly of Hiddenbed requires 2 people. -
Page 4: Body Assembly
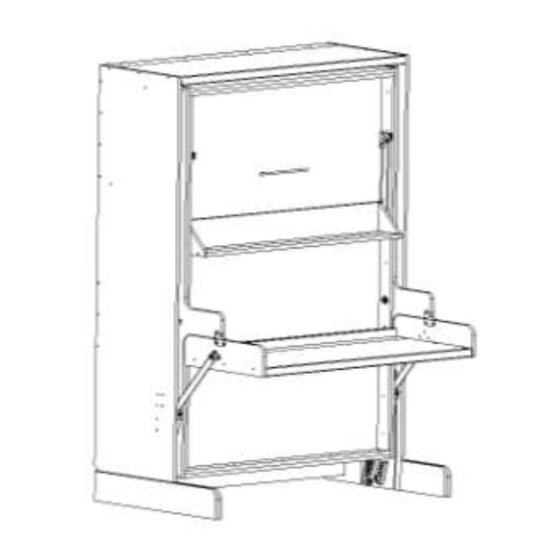
BODY ASSEMBLY Unpack Box 1 and 2. Lay out following parts on floor; Gables L/R (1a & 1b), Top (2), Upper Back (3), Shelf (4), Lower Back with Headboard (5), & Bottom Stretcher (6). Dowels will help align parts. Begin assembly by aligning upper back to gable, then top, lower back and shelf. - Page 5 Stand case in upright position and using confirmat bolts, attach back of shelf to upper back. Attach lock (8) to sides with # 8 – 1 ½” PH screws included. Place two felt pads on back edge of each gable- one near the top of unit and one above cut-out near bottom Open box 3, unpack feet.
-
Page 6: Bed Assembly
BED ASSEMBLY Unpack Box 3, lay all bed frame parts on the floor: Bed Side L/R (10), Footboard (11) & Headboard (12). Match letters on bed sides with letters on foot/headboard. Begin assembly by attaching bed side (A) to footboard (A) Fasten with confirmat bolts (A). - Page 7 BED ASSEMBLY (continued) Unpack box 4. Lay desk in front of bed frame body. Insert bushings (A7) in the holes on bed frame and desk, loosely attach plates on each side of desk with 4mm Allen key and bolts provided. Carefully set bed frame body on the top of desk sides aligning holes for link pivot.
- Page 8 BED ASSEMBLY (continued) Place mattress covers on mattress supports. Use labels to ensure they are in correct location. Note: Mattress cover with headboard label must be placed on mattress supports in front of bushing and slid back into position. Unpack box 6. Place slats on mattress covers, aligning holes on end of slats with holes on mattress covers.
- Page 9 BED ASSEMBLY (continued) Working from the center slat outwards, push rail against slats and fasten with # 8 – 1 ½” FH screws (B). Attach metal handle to the mattress cover and slat using handle screws provided.
-
Page 10: Final Assembly
FINAL ASSEMBLY With locks (A9) ready, lift bed and lock in place. Fasten both locks with #8 5/8" PH screws (C). With bed in locked position, ensure spaces between bed frame and lock are equal on both sides. To center bed frame between stop & locks, one person holds outside case in position and the second pushes from outside of bed gable until spaces are even. - Page 11 FINAL ASSEMBLY (continued) Allow desk to pivot into horizontal position. Place gas springs in the arms using the pins. Each arm uses 2 gas springs, one on each end of slot.
- Page 12 For added safety and to eliminate excess movement, we recommend you fasten the bed to the wall using #8 – 3 ½” FH screws (Item G). Note: ensure case is plumb before fastening to wall Cover exposed screws with screw caps. Your Hiddenbed is now ready for use. ENJOY!
- Page 14 Max weight on desk 45 lbs (20 kg) Max weight on bed 500 lbs (226 kg) If Hiddenbed is installed on uneven floor or thick carpet, it may be necessary to secure it to wall for safe operation. To close the bed, lift footboard to chest height, grab metal handle and push into unit, lock bed securely using locks.


Need help?
Do you have a question about the Majestic Double and is the answer not in the manual?
Questions and answers