Xerox WorkCentre 6655 Software Installation Manual
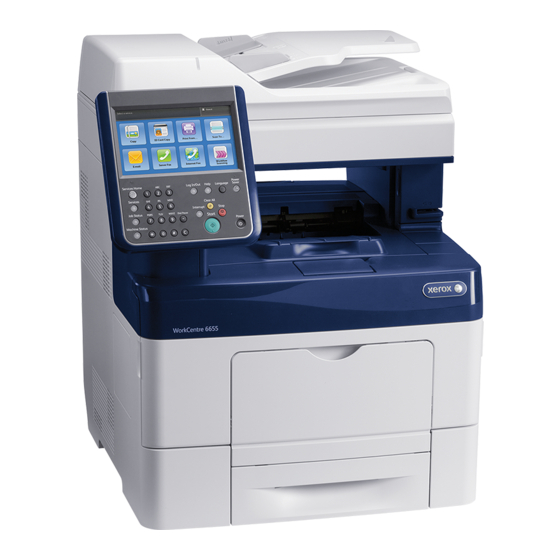
Laser color mfp
Hide thumbs
Also See for WorkCentre 6655:
- System administrator manual (272 pages) ,
- Operation manual (15 pages) ,
- Quick start manual (14 pages)
Advertisement
Software Installation Instructions
These instructions use CentreWare Internet Services (CWIS) to upgrade a
machine from a 073.xxx version to a 073.xxx version.
Important
•
Unzip all
files. A folder called "WorkCentre_6655_2.0-2.0" will be created. See page 3 for
extract instructions.
•
Make sure A4 or Letter paper is loaded in at least one tray.
Determine your version
1. Find your device IP address and software version.
a. Press the Machine Status button.
b. On the Machine Information tab, press the Information Pages button.
WorkCentre 6655
1
Advertisement
Table of Contents

Related Manuals for Xerox WorkCentre 6655


Summary of Contents for Xerox WorkCentre 6655
- Page 1 WorkCentre 6655 Software Installation Instructions These instructions use CentreWare Internet Services (CWIS) to upgrade a machine from a 073.xxx version to a 073.xxx version. Important • Unzip all files. A folder called “WorkCentre_6655_2.0-2.0” will be created. See page 3 for extract instructions.
- Page 2 c. Select Configuration Report, and then press the Print button. d. Find your System Software Version under the section titled Common User Data. 2. Record the IP address: ____________________. 3. Record the software version: _______________________. ALERT! Print and keep a configuration report for reference until after the software update has been completed.
- Page 3 6. Select Manual Upgrade. 7. Select the Browse button, locate the folder “WorkCentre_6655_2.0-2.0”, and then select open. 8. Select the Browse button and locate the DLM firmware file (WorkCentre_6655-system- sw#073110xxxxxxxx#.DLM) - 9. Select the Install Software button and within a few minutes a pop up message “File has been submitted”...
- Page 4 How to extract files from the .ZIP 1. Right click on the software zip file and select Extract All… 2. Select Browse, then select Desktop, and then click Ok. 3. Click on Extract. After the extraction, a folder called “WorkCentre_6655_2.0-2.0” will appear on the desktop with all the files required for the upgrade.
Need help?
Do you have a question about the WorkCentre 6655 and is the answer not in the manual?
Questions and answers