
Subscribe to Our Youtube Channel
Related Manuals for BKI VGG-CO


Summary of Contents for BKI VGG-CO
- Page 1 Rotisserie/Convection Oven Combination MODEL VGG-CO Operation & Installation Manual...
-
Page 2: Warranty Information
Warranty Information LIMITED ONE YEAR WARRANTY BKI (The "Company") warrants to the original purchaser that at time of shipment from the Company factory, this equipment will be free from defect in materials and workmanship. Written notice of a claim under this warranty must be received by the Company within ONE YEAR from the date of installation, but no longer than ONE YEAR AND THREE MONTHS from date of shipment from the factory. -
Page 3: Table Of Contents
Rotisserie/Convection Oven Table of Contents ... 1 Introduction... 2 Safety Precautions ... 2 Safety Signs and Messages ... 2 Specific Precautions ... 3 Safe Work Practices ... 3 Safety Labels ... 6 Health And Sanitation Practices... 7 Food Handling... 7 Storage Of Raw Meats... -
Page 4: Introduction
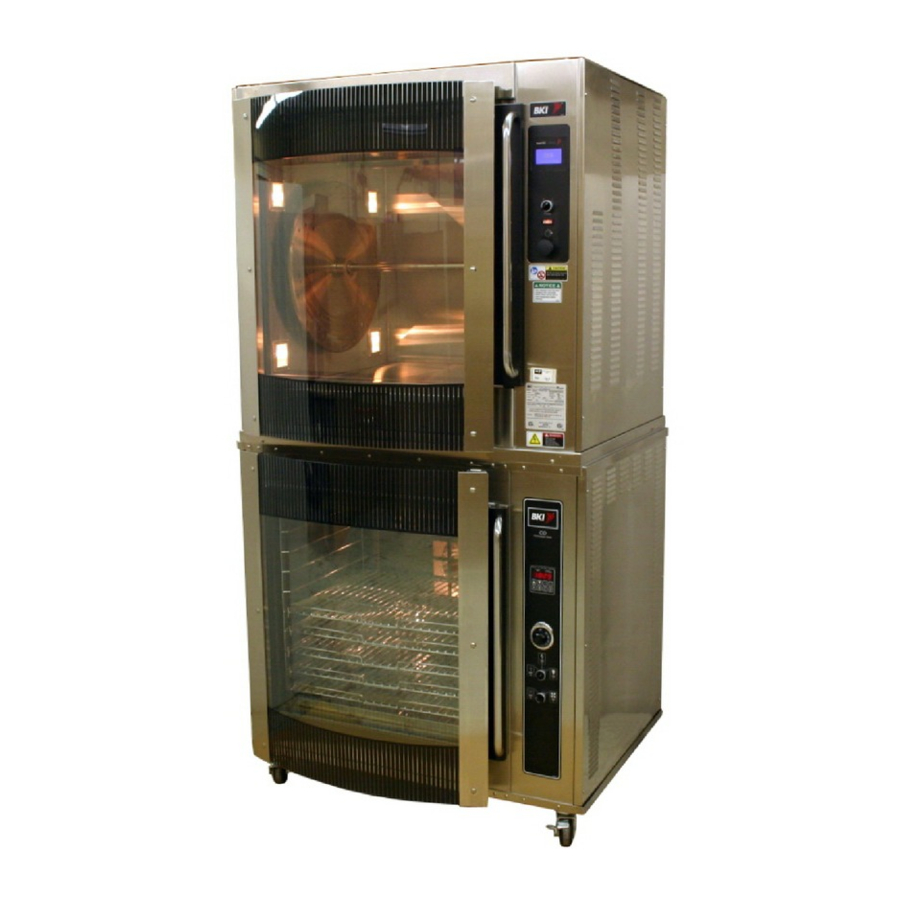
Rotisserie/Convection Oven Your BKI VGG-CO is a computer controlled VGG-8 rotisserie oven mounted atop a convection oven. The VGG-8 utilizes a revolving mechanism and convection heat to ensure even product cooking. A touchscreen control and switches are provided to allow for quick setup and operation. The convection oven is 7.14 cubic feet and has a solid state timing control. -
Page 5: Specific Precautions
Rotisserie/Convection Oven Specific Precautions Equipotential Ground Plane When a high current flows through a conductor, differences in potential appear between the conductor and nearby metallic surfaces near the appliance. As a result, sparks may be produced between the appliance and surrounding metal surfaces. These sparks could cause serious injury, damage, or fire. - Page 6 Rotisserie/Convection Oven Introduction WARNING – DANGEROUS VOLTAGE This equipment uses high voltage. Serious injury can occur if you or any untrained or unauthorized person installs, services, or repairs this equipment. Always Use an Authorized Service agent to Service Your Equipment.
- Page 7 Rotisserie/Convection Oven Be Prepared for Emergencies Be prepared for fires, injuries, or other emergencies. Keep a first aid kit and a fire extinguisher near the equipment. You must use a 40- pound Type BC fire extinguisher and keep it within 25 feet of your equipment.
-
Page 8: Safety Labels
Rotisserie/Convection Oven Safety Labels Label Description Caution – Do not use harsh cleaners when cleaning this unit. Danger – High Voltage. Turn power off before servicing. May have more than one disconnect switch. Danger – This appliance has more than one power supply connection point. -
Page 9: Health And Sanitation Practices
Rotisserie/Convection Oven Health And Sanitation Practices BKI Rotisserie Ovens are manufactured to comply with health regulations and are tested and certified to NSF and FSA standards. You must operate the equipment properly, using only quality products and use meat thermometers to insure meats are thoroughly cooked. -
Page 10: Installation
Rotisserie/Convection Oven Serious injury, equipment damage or death could result if attempting to install this oven yourself. Ensure that an authorized BKI service agent install the oven. “Risk of Electrical Shock – Appliance must be secured to building structure. Follow tethering kit instructions for installation”... -
Page 11: Operation
Rotisserie/Convection Oven Operation Operation VGG-8 Operation Controls and Indicators... - Page 12 Rotisserie/Convection Oven Hardware Controls Item # Description Rotor Switch Main Power Isolator Light Main Power Switch Analog Touchscreen Controller Software Controls – Operation Screens Screen Name Startup Controller Off Recipe Selection Recipe Settings Preheat/Cook RECIPE 02 RECIPE 02 Selection Function Depressing the switch allows the operator to “jog”...
- Page 13 Rotisserie/Convection Oven Screen Name Preheat Ready to Cook Cooking RECIPE 02 Screen Displays once the user touches the Preheat option from the Preheat/Cook Selection screen. The Preheat cycle heats the cooking cavity up to the pre-defined preheat temperature. Once this temperature is reached the unit automatically switches to the Ready To Cook mode.
- Page 14 Rotisserie/Convection Oven Screen Name Hold Extra Cook Screen Displays once the cook cycle is complete if a hold temperature was programmed. This screen displays the hold temperature (or nothing if set to OFF), and the elapsed time in the hold mode. The EXTRA button is available here so the product can be cooked for more time if required.
- Page 15 Rotisserie/Convection Oven Software Controls – Programming Screens Screen Name Startup Controller Off Recipe Selection Program Security Program Mode Selection Basic Setup Recipe Edit Selection Screen Appears when the Main Power Switch is placed in the on position. Appears after the Startup screen displays. Indicates that the controller is turned off.
-
Page 16: Programming The Controller Using The Touchscreen Interface
Rotisserie/Convection Oven Screen Name Recipe Parameter Selection Recipe Parameter Edit Programming the Controller Using the Touchscreen Interface Use the procedures below to edit a separate recipe or to change the basic controller configuration. Edit a Recipe 1. Turn on the Main Power Switch. The Startup screen will briefly appear then the Controller Off screen will display. -
Page 17: Programming The Controller Using The Rs-232 Interface
Rotisserie/Convection Oven Edit the Basic Setup 1. Turn on the Main Power Switch. The Startup screen will briefly appear then the Controller Off screen will display. 2. Touch anywhere on the touchscreen. The Recipe Selection screen will appear displaying a list of recipes. -
Page 18: Operation With The Controller
Rotisserie/Convection Oven Operation with the Controller Use the procedures below to view a separate recipe or to activate a cook cycle using a one of the preprogrammed recipes. Viewing Recipes 1. Turn on the Main Power Switch. The Startup screen will briefly appear then the Controller Off screen will display. -
Page 19: Accessory Use
Rotisserie/Convection Oven Accessory Use Standard Meat forks The standard meat forks are ideal for chicken and poultry. Use the following procedure to prepare the bird for loading in the oven. 1. Fold wings to back, place on back with cavity away from you. -
Page 20: Co Operation
Rotisserie/Convection Oven Operation CO Operation Controls and Indicators Refer to the figure and table below for an explanation of controls and indicators. - Page 21 Rotisserie/Convection Oven Item # Description Function Digital Timer The digital timer consists of an LED, display, beeper and 8 buttons described below: LED indicator – Prior to the start of a timing cycle the LED will be OFF. When running a timing cycle the LED will flash. At the end of a timing cycle the LED will turn ON steady.
-
Page 22: Operating The Oven
10. Place the Power/Light switch in the fully counterclockwise position OFF (0). Cooking Suggestions Most recipes can be adjusted for convection oven use by decreasing the temperature by 25° F and decreasing cooking time about 25%. Dishes with cooking times over 45 minutes and that might dry out too much (like lasagna, or meatloaf) should be covered for the first half of the cooking time. -
Page 23: Maintenance
Rotisserie/Convection Oven Failure to comply with the maintenance below could result in a serious accident or equipment damage. Failure to remove power from this unit before performing maintenance may cause severe electrical shock. This unit may have more than one disconnect switch. - Page 24 Rotisserie/Convection Oven 6. Remove the Rotor System as described below: a. Lift the washer from the groove and slide down the shaft. b. Slide each rotor cup down the shaft. c. Remove the inner shaft. NOTE: The welded bead in the center of shaft denotes the shaft removal direction.
- Page 25 Rotisserie/Convection Oven b. Pull Circulation Bottom out of oven then unscrew (clockwise) the wing nut on each Blower Fan to remove the fan blades. 9. Place the Fan Guard and Circulation Bottom in a large sink to soak in hot cleaning solution. Clean the components with warm water, a sponge and BKI Cleaner.
-
Page 26: Co Oven Cleaning
Rotisserie/Convection Oven CO Oven Cleaning The oven must be cleaned at the end of each business day. It is easier to clean while still warm. Cleaning is not only necessary for sanitary reasons, but will increase sales appeal and maximize operating efficiency. -
Page 27: Troubleshooting
Rotisserie/Convection Oven Troubleshooting Problem Cause Unit will not turn on. Unit power plug disconnected Main Power Isolator Light (where applicable). is not lit. Problem with building power supply Unit will not turn on. Blown Fuse Main Power Isolator Light is lit. - Page 28 Rotisserie/Convection Oven Problem Cause Defective blower fan motor. Defective heating element. Control displays “999” Temperature probe connection under the temperature loose or defective probe. display. Cavity lights do not Blown fuse. illuminate when unit is on. Individual cavity lamp Defective bulb.
- Page 29 Rotisserie/Convection Oven Problem Oven will not come up to temperature Product not cooked thoroughly Cause Improper thermostat setting. Failed heating element or blower fan. Oven not preheated. Door left open. Improper time or temperature. Failed heating element, thermostat or blower fan.
-
Page 30: Notes
Rotisserie/Convection Oven Notes Notes... - Page 31 Rotisserie/Convection Oven...
- Page 32 P.O. Box 80400, Simpsonville, S.C. 29680-0400, USA http://www.bkideas.com Made and printed in the U.S.A LI0132/0407...
Need help?
Do you have a question about the VGG-CO and is the answer not in the manual?
Questions and answers