
Subscribe to Our Youtube Channel
Related Manuals for BKI MT-200


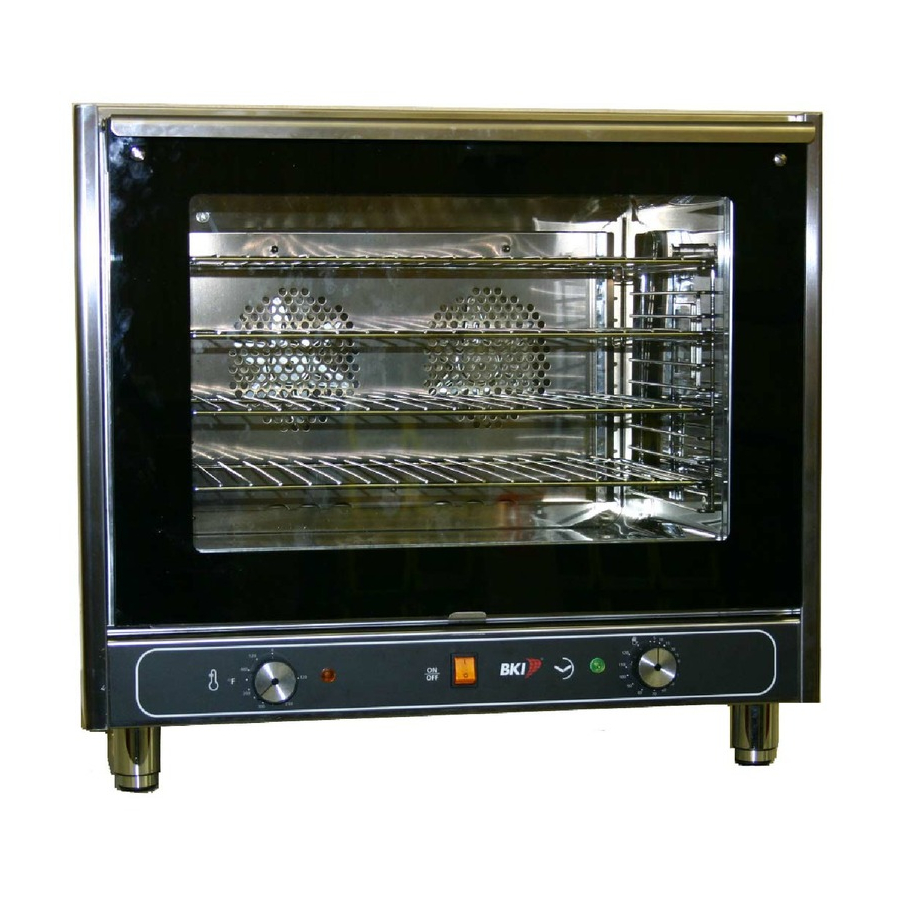
Summary of Contents for BKI MT-200
- Page 1 Convection Oven MODEL MT-200 Service Manual 2812 Grandview Dr. Simpsonville, S.C. 29680, USA 864-963-3471 http://www.bkideas.com...
-
Page 2: Warranty Information
Warranty Information LIMITED ONE YEAR WARRANTY BKI (The "Company") warrants to the original purchaser that at time of shipment from the Company factory, this equipment will be free from defect in materials and workmanship. Written notice of a claim under this warranty must be received by the Company within ONE YEAR from the date of installation, but no longer than ONE YEAR AND THREE MONTHS from date of shipment from the factory. -
Page 3: Table Of Contents
Convection Oven Table of Contents... 1 Introduction ... 2 Safety Precautions... 2 Safety Signs and Messages... 2 Safety Standards ... 3 Data Plate ... 3 Power Supply Terminal Board ... 3 Technical Data ... 3 Operation ... 4 General Instructions for Use ... 4 Controls and Indicators... -
Page 4: Introduction
Convection Oven Thank you for purchasing our convection oven. We feel certain that the oven you have purchased will meet your expectations, and will be a trustworthy assistant in your work for a long time to come, providing performance of the highest levels. You will also receive efficient and timely after-sales technical and operational service. -
Page 5: Safety Standards
This manual is part of the documentation provided with the oven and contains all required information for proper use and maintenance of the convection oven. Carefully read the user’s instructions contained in this manual before turning the oven on. -
Page 6: Operation
Convection Oven General Instructions for Use The oven may be used to bake creams, cookies, cakes, sauces and pizza, for au gratin cooking and for defrosting frozen food convection ovens. Avoid adding salt to foods in the cooking chamber. -
Page 7: Start-Up And Use
Convection Oven Start-Up and Use 1. To start the oven, press the main switch (3) ON/OFF. 2. Set the cooking time by turning the time setting knob (1). 3. Then use knob (2) to set the desired cooking temperature. If knob (2) is left in position ‘0’, only the light and fan will operate, and the oven chamber will not heat up. -
Page 8: Installation
The installer must also check for any fire prevention regulations. BKI shall not be held liable for any damage arising from improper use of the convection oven, unauthorized modifications and anything not covered by this manual. Environmental Standards All materials used for packaging are compatible with environmental protection standards. -
Page 9: Installation Instructions
Convection Oven Installation Instructions 1. Place the machine in its place of intended use in compliance with the following instructions: Check that there is enough space (minimum 8”) from any walls or obstacles which may prevent proper air flow. -
Page 10: Electrical Connections
Convection Oven 3. Clean all substances, including glue residue. Do not use abrasive substances. 4. Position the machine so that it is perfectly level and set the height by means of the leveling feet. Electrical Connections The oven is setup for operation at the voltage set forth on the technical data plate. All ovens are provided with a power cord. - Page 11 Convection Oven Installation be positioned in such a way that at no point does it reach a temperature which is 122°F greater than the ambient temperature. It must be type SJTO plug 20A 250V P section 3xAWG12. The connection to the electrical line must be made by placing an automatic switch of sufficient capacity (see “Technical data”...
-
Page 12: Automatic Safety And Control Devices Of The Oven
Convection Oven Installation Automatic Safety and Control Devices of the Oven Protection of the Auxiliary Electrical Circuit It is checked by the fuses positioned on a terminal block at the line entry. Protection of the Chamber Fan A remote switch stops the fan motor in the event of a malfunction or overload. It is located behind the oven and must be reset manually. -
Page 13: Maintenance
Convection Oven Failure to comply with the maintenance below could result in a serious accident. Electrocution, equipment failure or property damage could result if an unlicensed electrician performs electrical repair. Ensure that a licensed electrician performs electrical repair. Routine Maintenance Before performing maintenance, unplug the oven. -
Page 14: Oven Chamber Cleaning
To clean the oven, use a suitable de-greasing convection oven (non-foaming) as suggested by your detergent retailer. A spray is preferable to reach behind the protection shield. Do not use abrasive or corrosive substances, scrapers or steel wool. -
Page 15: Cleaning The Door Glass
2. Close the oven and heat it. 3. Let the cleansing convection oven act for 20-30 minutes and then turn the oven off. 4. Slowly open the oven with care to avoid eye and skin damage. 5. Remove the racks or pans from the oven, remove the rack supports attached to the side and shield, remove the shield by loosening the fastening screws. -
Page 16: What To Do In Case Of A Breakdown Or Long Periods Of Inactivity
Convection Oven What to Do In Case of a Breakdown or Long Periods of Inactivity 1. Switch off the main electrical switch. 2. Set all control panel knobs to zero. 3. Inform technical assistance (only in case of a malfunction). -
Page 17: Repair Procedures
Repair Procedures Replacement of spare parts must be performed exclusively by qualified and AUTHORIZED personnel. Turn the main switch OFF and unplug the convection oven before carrying out any spare parts replacement. Replacement of Motors It is necessary to remove the back by removing the 4 fastening screws “A” and the 4 screws “B” that support them. -
Page 18: Outer Coverings
Convection Oven Maintenance Outer Coverings Remove the 4 rear fastening screws “C”. Bulb, Heating Element and Motor Fan It is necessary to access the inside of the oven, first removing pans, racks and related supports, and then the conveyor. 30W Motor Remove the fan by following the procedure outlined above, disconnect the motor from the electrical system, loosen the 4 screws and replace the motor. -
Page 19: Electro-Mechanical Controls
Convection Oven Electro-Mechanical Controls All the electric components are visible. To replace them it is necessary to disconnect the attachments, remove the knobs, unscrew the fastening screws or nuts and replace them. For the adjustable thermostat, safety thermostat and thermometer, unscrew the guard and the supports and remove the bulbs. -
Page 20: Replacement Parts
Convection Oven Replacement Parts Replacement Parts Use the information in this section to identify replacement parts. To order replacement parts, call your local BKI sales and service representative. Before calling, please note the serial number on the rating tag affixed to the unit. - Page 21 Convection Oven POS. CODE BKI # MT0029 35350 MT0022 MT0015 10 I 35,003,001 10306 MT0018 MT0016 6AH I 10304 MT0017 10305 MT0024 93AH 35365 MT0006 10024 MT0033 144Q 35355 MT0034 12167 MT0035 92AS 35360 MT0013 7Z I 15203.01 MT0021 153E...
-
Page 22: Wiring Diagrams
Convection Oven Wiring Diagrams Wiring Diagrams... -
Page 23: Notes
Convection Oven Notes Notes... - Page 24 P.O. Box 80400, Simpsonville, S.C. 29680-0400, USA 864-963-3471 http://www.bkideas.com Made and printed in the U.S.A LI0131/0808 2812 Grandview Dr. Simpsonville, S.C. 29680, USA 864-963-3471 http://www.bkideas.com...
Need help?
Do you have a question about the MT-200 and is the answer not in the manual?
Questions and answers