
Related Manuals for Q Imaging EXi Aqua


Summary of Contents for Q Imaging EXi Aqua
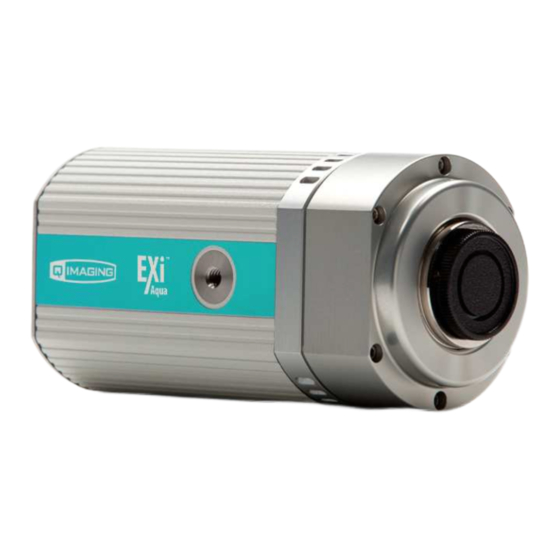
- Page 1 User Manual Bio-Imaging Microscopy Camera Highly Versatile, High Performance Imaging ™QImaging, the QImaging logo, EXi Aqua and the EXi Aqua logo are trademarks of QImaging Corporation.
- Page 3 Copyright 2009 QImaging Corporation. All rights reserved. Unauthorized duplication of this document is prohibited. Trademarks and proprietary names QImaging, the QImaging logo, EXi Aqua, the EXi Aqua logo and QCapture are trademarks of QImaging Corporation. Product names mentioned in this document may be trademarks or registered trademarks of QImaging or other hardware, software, or service providers and are used herein for identification purposes only.
-
Page 4: Table Of Contents
1394 PCI card ......................3 Step 2: Install your imaging s Install your imaging s oftware ....................... 4 Step 3: Connect the EXi Aqua Aqua camera ........................ 4 CAMERA BASICS ................................ -
Page 5: Introduction
Power requirements The EXi Aqua camera can be powered through a single IEEE 1394B FireWire 9-pin to 9-pin cable when the cooling is off. When the cooling is on, the camera must be connected to the included external power supply. -
Page 6: Imaging Software For Your Camera
The EXi Aqua camera works with industry-standard Windows imaging software. QCapture suite software The EXi Aqua camera operates on Windows-based systems. QCapture Suite software for Windows is available at www.qimaging.com. The easy-to-use QCapture software gives you complete control over the camera’s settings and image capture functions. -
Page 7: Installation
Check your computer for an existing FireWire port: The EXi Aqua camera connects to your Windows PC via a FireWire port. If you already have a FireWire port, you do not have to install the IEEE 1394 PCI or PCIe card. Check the connectors at the back of your PC for a port that matches the FireWire port of the connection shown in Figure 1 or Figure 2. -
Page 8: Step 2: Install Your Imaging S Install Your Imaging S Oftware
Once your imaging software is installed, connect your camera. There are two types of connections: (1) through Windows 9-pin PCI card and (2) through a Windows laptop computer. In most cases, the FireWire cable provides the necessary power required by the EXi Aqua camera. Connecting the EXi Aqua camera Perform the following for connecting your camera. - Page 9 • Plug the other end of the cable into a FireWire port on your computer. Camera Computer Figure 4 — Desktop computer FireWire connection • In order to obtain the cooling specification of the camera, the supplied external power adapter needs to be connected to the camera as shown in Figure 5 below.
-
Page 10: Camera Basics
Turning the camera on and off To turn the EXi Aqua camera on, press the power switch. The camera’s lights will flash and the white power light will remain on, provided that you have the appropriate configuration of “Step 3” in the “Introduction”... -
Page 11: Understanding The Led I Ndicators Ndicators
When the temperature is locked and regulated, the blue LED will stay illuminated. It will turn off when cooling is turned off through software. Capturing images with the EXi Aqua camera Consult your imaging application’s user’s manual for more details. -
Page 12: Advanced Camera Features Features
QImaging camera. Cooling The EXi Aqua camera has a fixed temperature point of 0 C. The cooling is regulated, so regardless of the ambient temperature of the camera, the sensor on the camera will keep a constant temperature. - Page 13 Connecting external sources to the camera Before you can begin to externally trigger your camera, you need to connect the necessary trigger signal source to the camera. To do this you need to ensure that you have a 6-pin miniature circular DIN cable and ensure that the pin-outs are set correctly from your trigger source.
-
Page 14: Gain And Offset Controls
Gain and offset controls The electrical gain and offset controls of the EXi Aqua camera allow the user to map an image's intensities of interest to the camera's digital range. This mapping is performed in the analog domain and thus avoids the quantization errors incurred when the mapping is performed in the digital domain. -
Page 15: Caring For Your Camera
CHAPTER 5 CARING FOR YOUR CAMERA The EXi Aqua camera requires no regular maintenance except occasional external cleaning of the CCD window (the glass window between the camera sensor and the microscope or lens). To clean the CCD window: CAUTION — The camera’s CCD sensor, and circuits are sensitive to static discharge. -
Page 16: Troubleshooting
• If you are using the camera on a microscope, check the magnification of the microscope coupler. Consult your microscope manufacturer to find the type of coupler that works optimally with the EXi Aqua camera’s sensor. • Point the camera at something in the far distance. Loosen the set-screw of the C-mount ring (there are three: one on the side and two on the top). -
Page 17: Unresolved Problems - Contacting Qimaging S Contacting Qimaging S Upport
Unresolved Problems – Contacting QImaging Support If you are still unable to resolve your problem, contact QImaging Support for assistance in one of four ways: • Visit www.qimaging.com/support/faq/ for a list of all frequently asked questions. Your issue may be resolved in one of these faqs. •... -
Page 18: Appendices
APPENDICES APPENDIX A: External trigger port The external trigger port at the rear of the camera is a 6-pin miniature circular DIN receptacle (AMP 749265-1). The mating connector is a Singatron Enterprises part number 62000-6P, available from Digikey (www.digikey.com). Figure 7 — External trigger port connector The pin-out for the connector is as follows: Pin Number... - Page 19 Figure 8 — Schematic of Schematic of external t rigger circuit internal to camera. rigger circuit internal to camera.
- Page 20 Pin 2 and should be a 5V TTL pulse. Output signals There are two output signals provided on the EXi Aqua camera, SYNC A and SYNC B. SYNC A: This signal indicates the readout time of the camera and this signal is active high. A user could monitor this signal as a means of knowing when to trigger the next frame.
Need help?
Do you have a question about the EXi Aqua and is the answer not in the manual?
Questions and answers