Dynojet Power Commander V Installation Instructions
For harley davidson sportster 1200
Hide thumbs
Also See for Power Commander V:
- Installation instructions manual (9 pages) ,
- Installation manual (9 pages) ,
- Installation instructions and owner's manuals (8 pages)
Advertisement
Quick Links
FIG.
2009 Harley Davidson
Sportster 1200
Installation Instructions
FIG.
FIG.
PLEASE READ ALL DIRECTIONS BEFORE STARTING INSTALLATION
15-002 www.powercommander.com
15-002 www.powercommander.com
2191 Mendenhall Drive North Las Vegas, NV 89081 (800) 992-4993 www.powercommander.com
PARTS LIST
1
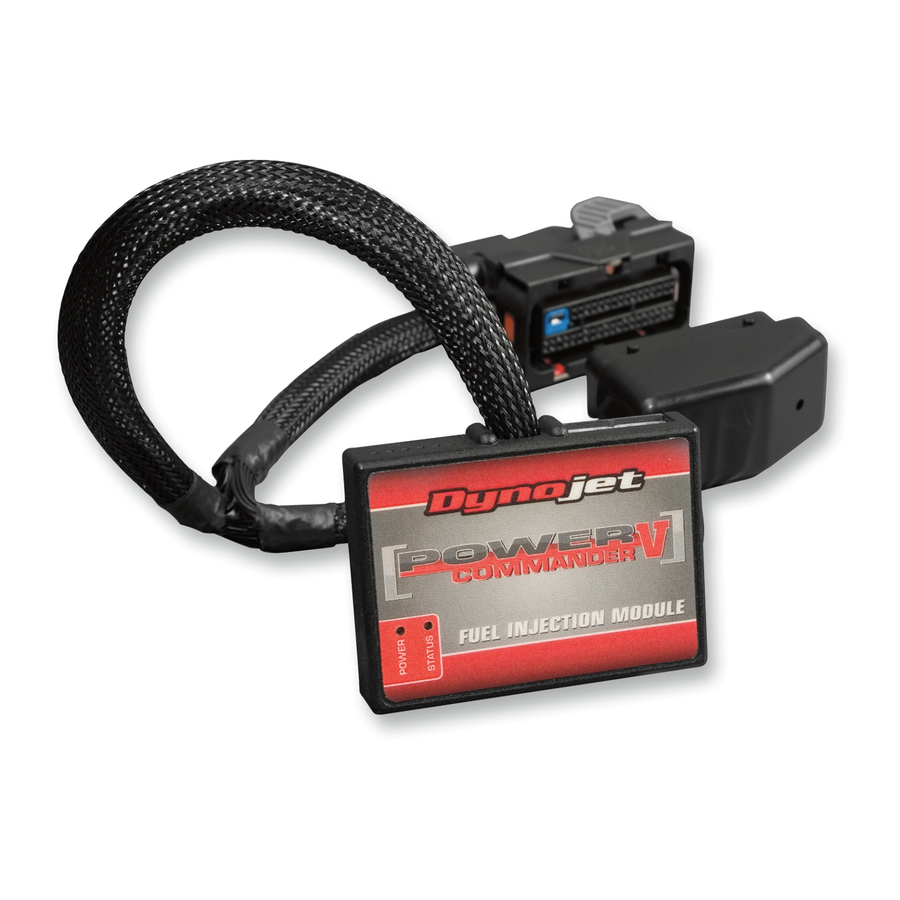
Power Commander
1
USB Cable
1
CD-ROM
1
Installation Guide
2
Power Commander Decals
2
Dynojet Decals
2
Velcro
1
Alcohol swab
1
Zip tie
2
O2 optimizers
The ignition MUST be turned
OFF before installation!
YOU CAN ALSO DOWNLOAD THE
POWER COMMANDER SOFTWARE AND
LATEST MAPS FROM OUR WEB SITE AT:
WWW.POWERCOMMANDER.COM
2009 HD Sportster 1200 PCV - 1
2009 HD Sportster 1200 PCV - 1
Advertisement

Related Manuals for Dynojet Power Commander V


Summary of Contents for Dynojet Power Commander V
- Page 1 FIG. PARTS LIST Power Commander USB Cable 2009 Harley Davidson CD-ROM Installation Guide Sportster 1200 Power Commander Decals Installation Instructions Dynojet Decals FIG. Velcro Alcohol swab Zip tie O2 optimizers The ignition MUST be turned OFF before installation! YOU CAN ALSO DOWNLOAD THE FIG. POWER COMMANDER SOFTWARE AND LATEST MAPS FROM OUR WEB SITE AT: WWW.POWERCOMMANDER.COM PLEASE READ ALL DIRECTIONS BEFORE STARTING INSTALLATION 2191 Mendenhall Drive North Las Vegas, NV 89081 (800) 992-4993 www.powercommander.com 15-002 www.powercommander.com...
-
Page 2: Accessory Inputs
Make sure to reinstall the rubber plug. Crank- Do NOT connect anything to this port unless instructed to do so by Dynojet. It is used to NOTE: If you tin the wires with solder it will transfer crank trigger data from one module to make inserting them easier. - Page 3 FIG. A Unplug WARNING! This install is intended to be used with the stock seat. This install may NOT work with aftermarket seats. Remove the stock seat. Remove the left hand side cover. Remove the battery. Unplug the stock wiring harness from the ECM (Fig. A) . FIG.
- Page 4 Locate the front stock O2 sensor connection. This is located in front of the oil filter. Unplug the O2 sensor from the wiring harness. Plug one of the Dynojet O2 sensor eliminators into the stock wiring harness (Fig. F). The stock O2 sensor does not need to be connected to anything. The sensor can be removed completely from the motorcycle if desired.
- Page 5 Unplug the O2 sensor from the wiring harness. O2 eliminator Plug one of the Dynojet O2 sensor eliminators into the stock wiring harness (Fig. G). The stock O2 sensor does not need to be connected to anything. The sensor can be removed completely from the motorcycle if desired.
Need help?
Do you have a question about the Power Commander V and is the answer not in the manual?
Questions and answers