Table of Contents
Advertisement
Quick Links
Advertisement
Table of Contents

Subscribe to Our Youtube Channel
Summary of Contents for Russell Hobbs RH2MT
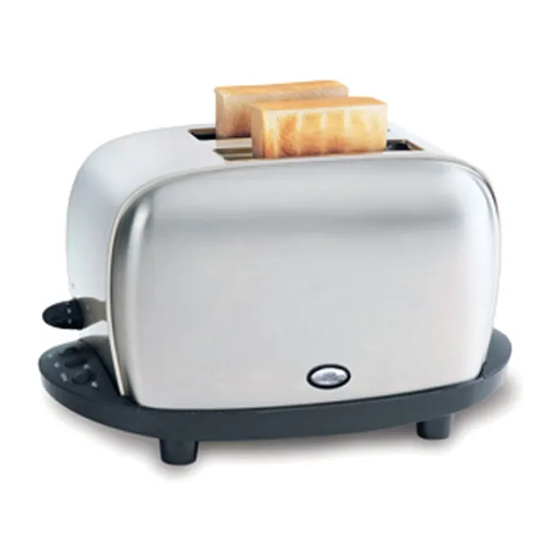
- Page 1 2-Slice Motorized Toaster OWNER’S MANUAL RH2MT...
-
Page 2: Important Safeguards
14. A fire may occur if toasters are covered or touching flammable material, including curtains, draperies, walls, and the like, when in operation. 15. Do not attempt to dislodge food when Toaster is plugged in. SAVE THESE INSTRUCTIONS THIS PRODUCT IS FOR HOUSEHOLD USE ONLY... -
Page 3: Additional Important Safeguards
“CANCEL” Button and unplug the cord. Do not use or attempt to repair the malfunctioning appliance. 4. Use the Toaster on a hard, flat surface. Do not place it near a flame or heat or on a soft surface (such as carpet). Avoid plac- ing it where it may tip over during use. -
Page 4: Polarized Plug
Polarized Plug This appliance has a polarized plug (one blade is wider than the other). As a safety feature to reduce the risk of electrical shock, this plug is intended to fit in a polarized outlet only one way. If the plug does not fit fully into the outlet, reverse the plug. - Page 5 Motorized Toaster. This Toaster, with its classic looks and styling, offers you state-of-the-art toasting functions. With its automatic bread lever, just pop the bread into the Toaster and watch it go to work! As soon as bread is placed into the Bread Slots, the toaster automatically lowers the bread, turns on the heating elements, and toasts your bread to your selected color —...
- Page 6 9. Cancel Button - Stops or interrupts toasting cycle and automatically raises bread to end toasting cycle. 10. Crumb Tray (Plastic Handle P/N 21125; Metal Tray P/N 21128) - Slides out for easy cleaning. 11. Cord Storage Wrap - Cord wraps around storage compartment on bottom of Toaster. ® RH2MT...
-
Page 7: Before Using For The First Time
Toasting Bread 1. Be sure no bread or other objects are inside either Bread Slot. Place Toaster on a flat, level surface and plug power cord into a standard, household electrical outlet. 2. Turn Adjustable Browning Control to desired setting. (You may want to experiment with the Adjustable Browning Control to determine your preference.) Turn Adjustable Browning Control... -
Page 9: Advanced Features
Toaster. Place bagel into Bread Slot(s). After bread has lowered, immediately press "BAGEL" button. A red LED next to the button will light, indicating the Toaster is in Bagel cycle. This changes the toasting cycle to heat only one side of EACH bread slot—toasting the bagel only on the "cut"... -
Page 10: User Maintenance Instructions
3. Gently shake the Toaster to allow all crumbs to fall to into the Crumb Tray. Set Toaster on a flat surface and carefully pull out Crumb Tray. -
Page 12: Limited One-Year Warranty
Service and Repair: Should the appliance malfunction, you should first call toll-free 1 (800) 233-9054 between the hours of 9:00 am and 5:00 pm Central Standard Time and ask for CONSUMER SERVICE stating that you are a consumer with a problem. Please refer to model number RH2MT when you call.


Need help?
Do you have a question about the RH2MT and is the answer not in the manual?
Questions and answers