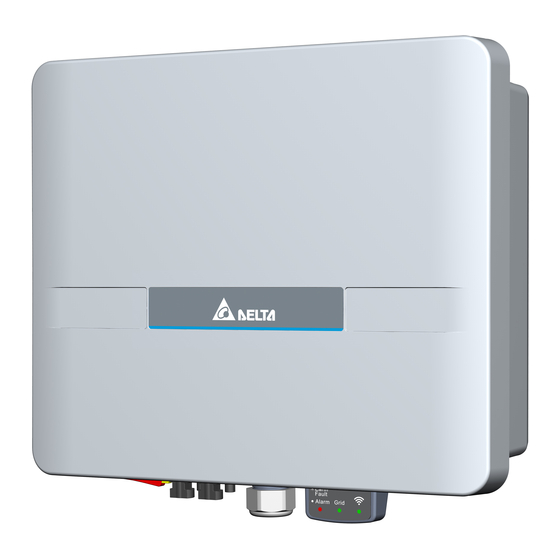
Delta H2.5 Comissioning Manual
Rpi flex, grid-tie transformerless solar inverter
Hide thumbs
Also See for H2.5:
- Operation and installation manual (50 pages) ,
- Quick installation manual (2 pages) ,
- Specification sheet (1 page)
Table of Contents
Advertisement
Advertisement
Table of Contents

Subscribe to Our Youtube Channel
Summary of Contents for Delta H2.5
- Page 1 Delta RPI Flex - Commissioning Manual www.deltapvi.com.au...
-
Page 2: Table Of Contents
Table of Contents 1. Download the MyDeltaSolar app ....................2 2. Installer setup (off-site) ........................3 2.1 Create an installer account ....................... 3 3. Installer grid-connect (on-site) ......................4 3.1 Connecting your mobile device to the inverter................. 5 3.2 Initial setting and connecting to the grid .................. 5 4. -
Page 3: Download The Mydeltasolar App
1. Download the MyDeltaSolar app The MyDeltaSolar application can be downloaded on the following platforms: iOS System: Available in the App Store. Android System: Available in Google Play Store. Android https://itunes.apple.com/ng/app/myd https://play.google.com/store/apps/d eltasolar/id1271609228?mt=8 etails?id=com.mydeltasolar_1_0_0. app&hl=zh-TW QR Code 1. Download the MyDeltaSolar app... -
Page 4: Installer Setup (Off-Site)
2. Installer setup (off-site) Please complete the installer setup before heading on site. 2.1 Create an installer account When you open the MyDeltaSolar App for the first time, you should see the Login screen. Under the email field, please type “installer” and click the blue sign-in button to begin the installer account registration. -
Page 5: Installer Grid-Connect (On-Site)
A pop-up message will appear, saying to wait for approval. This approval needs to be made by Delta – once you see this message, please contact Delta Energy Systems (Australia) either by email: solarsupport@deltaww.com or via the customer hotline 1300 335 823. -
Page 6: Connecting Your Mobile Device To The Inverter
Wi-Fi. In your phone’s settings, choose the RPI Flex inverter’s local network as shown below – the name of the network will be Delta-<RPI Flex Serial Number>. When prompted to enter the network password, the default password for the local network is DELTASOL (case-sensitive). -
Page 7: End-User Cloud Connection
After completing the initial setting, the RPI Flex inverter will begin to connect to the grid. You should see the inverter status as countdown, and shortly afterwards change to on grid with the production ramping-up slowly. 4. End-user cloud connection In order to monitor the RPI Flex’s production data on the cloud, an end user account must be created, then the inverter linked to the cloud via the MyDeltaSolar app. -
Page 8: Load Initial Setting & Cloud Service Terms And Conditions
You will now see the end user register page – please fill in all of the fields, and note that the password must contain at least 1 number (0-9) and 1 special character (%@,./). To complete the registration, click the blue register button at the bottom of the screen. 4.2 Load initial setting &... -
Page 9: Change Inverter Network Password
Next you will see the MyDeltaSolar cloud service terms and conditions page. Please read through these terms and conditions – if you agree, tick the checkbox before clicking the blue OK button. … 4.3 Change inverter network password For security reasons, you will need to change the network password of the RPI Flex inverter from the default password. -
Page 10: Connecting The Inverter To A Local Network
4.4 Connecting the inverter to a local network This step involves connecting the RPI Flex inverter to your local network so that production data can be uploaded to the cloud. Click the blue scan button, and wait till the scan for local networks is complete. You should now see a list of networks –...


Need help?
Do you have a question about the H2.5 and is the answer not in the manual?
Questions and answers