Table of Contents
Advertisement
Quick Links
Advertisement
Table of Contents

Related Manuals for Furuno BBWX2


Summary of Contents for Furuno BBWX2
-
Page 1: Installation Guide
INSTALLATION GUIDE BBWX2 SATELLITE RECEIVER/SWITCH Please place the ESN sticker provided in the box below U.S.A Sirius Weather Receiver P/N: BBWX2 S/N: 12345MMDDYYNNNN Made in China This ESN number is required to activate SIRIUS weather and audio services. U.S.A WX2-012-551... - Page 2 BBWX2 INSTALLATION GUIDE U.S.A Do not open the enclosure Observe the following compass safe unless totally familiar distances to prevent interference to a with electrical circuits. magnetic compass: Only qualified personnel should work inside the Standard Steering equipment. Compass Compass BBWX2 0.8m...
-
Page 3: Table Of Contents
Disclaimer ....................4 Introduction ....................5 System Configuration ................5 Receiver/Switch Specifications ............... 6 Equipment List ..................6 BBWX2 Installation ................... 7 Mounting Considerations ................. 7 Mounting the Antenna ................8 Cabling ....................8 Turning Power ON, LED function ............10 Sirius Activation .................. -
Page 4: Preface
Furuno with regard to this service. This Installation Guide represents the product at the time of printing. Furuno reserves the right to make changes to the specification without notice. If you do not have a Sirius Subscription Agreement , you will find a copy at: www.sirius.com/marineweather/marineweather_terms_and_conditions.pdf... -
Page 5: Introduction
BBWX2 INSTALLATION GUIDE U.S.A 2.0 Introduction The BBWX2 unit combines a Sirius Satellite Receiver (similar to the BBWX1) and an Ethernet 4-port Switch. The Receiver provides Sirius Satellite weather services and Sirius Radio (with two audio jacks). Currently, only Audio Port1 is active. Audio Port 2 is for future development. -
Page 6: Receiver/Switch Specifications
BBWX2 INSTALLATION GUIDE U.S.A 2.2 Receiver/Switch Specifications Sirius Weather Mariner or Voyager service levels Dual Analog Output: 0 dBm into 600 Ω (0 dBv) Sirius Radio Transmission speed Half-duplex/Full-duplex; 10 Mbps/100 Mbps I/O Ports 4 Ports (Shielded RJ45) Ambient Temperature -15 to 55 °C... -
Page 7: Bbwx2 Installation
BBWX2 INSTALLATION GUIDE U.S.A 3.0 BBWX2 Installation The BBWX2 does not come standard with a Sirius satellite antenna or antenna cable. These must be purchased separately. The BBWX2 is compatible with two Shakespeare antenna models: SRA-40 SRA 25... -
Page 8: Mounting The Antenna
The two audio cables provide are 3 meters long. They have 3.5mm male stereo jacks on either end of the audio cable. Currently only Audio Port1 is active and available for use. The antenna cable for the BBWX2 is not standard supply and must be purchased separately. - Page 9 The black grommets (solid) are for when there is no cable To connect the cables to the BBWX2: 1. Undo the tray cover on the BBWX2 enclosure (three screws on the back). 2. Plug the cable into the appropriate connector.
-
Page 10: Turning Power On, Led Function
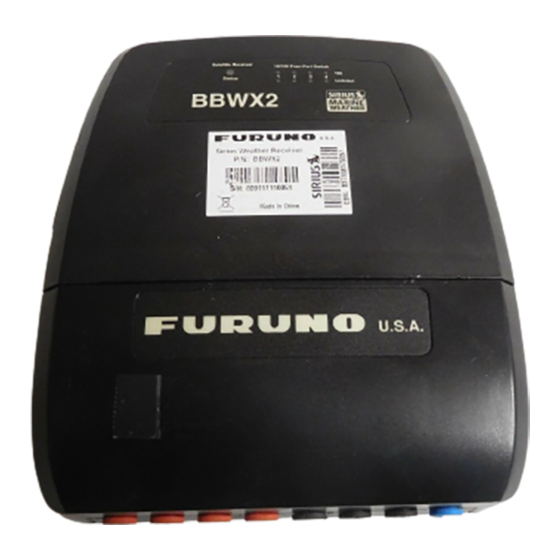
No operation is required for the user. Simply turn on the BBWX2’s DC power source to power it. Note: When the BBWX2 is used as a switch, make sure to power it before any other Network Devices (MFDs) BBWX2 LEDs The LEDs are displayed on the top surface of the unit as shown below. -
Page 11: Sirius Activation
Medium or High you have the ESN number of your BBWX2 Satellite Receiver from the label shown below (this label is on the retail box, on the back of the unit itself or on the inside cover of this Installation Guide) ... -
Page 12: Bbwx2 Operation
BBWX2 INSTALLATION GUIDE U.S.A 5.0 BBWX2 Operation 5.1 Connecting to and configuring the NavNet 3D MFD (display) 5.2 Connecting to and configuring the NavNet VX2 (display) Page 12 of 15... -
Page 13: Power Synchronization
2 pair Ethernet cable and set the applicable network port toggle switch(es) to OFF. When multiple MFD8/12/BBs are connected to the BBWX2 switch, using shielded 4 pair Ethernet cables, you can synchronize power to all of them by turning just one of them on. -
Page 14: Troubleshooting
Status Actions GREEN – single long Normal Operation None green every 3 seconds AMBER – two flashes Connect MFD display to BBWX2, (long-short) every 3 Display not Connected Turn on display, or seconds Replace Ethernet cable AMBER – three short... -
Page 15: General Maintenance
BBWX2 INSTALLATION GUIDE U.S.A Switch LEDs - 100 Status Action GREEN – solid on 100 BASE-T None 10 BASE-T None Switch LEDs – Link/Act Status Action YELLOW – solid on Connected None YELLOW – blinking Data activity None Not connected None 5.5 General Maintenance...
Need help?
Do you have a question about the BBWX2 and is the answer not in the manual?
Questions and answers