Table of Contents

Subscribe to Our Youtube Channel
Related Manuals for Husky C1H-865


Summary of Contents for Husky C1H-865
- Page 1 User manual To ensure safe operation, please read this user manual thoroughly before use. © 2017 Husky. Husky reserve the right to change specifications at any time without notice. Images used are for illustration only. Stock not included.
-
Page 2: Table Of Contents
Welcome to your new Husky All models Thank you for buying this Husky chiller. It has been designed and manufactured for many years of trouble-free service. Operation is very simple, but please take a few minutes to read this user manual. It contains... -
Page 3: Before Using For The First Time
• Do not use the unit if it is damaged. If you are in any doubt, consult an engineer. • Connection and installation of your Husky unit are to be carried out in strict compliance Before calling Technical Support, please check the following points; you may be able to solve any with the relative instructions in this user manual. -
Page 4: Interior Light
General operating instructions for all models Operating Instructions Exploded Diagrams INTERIOR LIGHT The interior light may be switched on or off using the rocker switch on the inside right-hand wall of the cabinet (see Fig. 2 on page 7). REPLACING LED LIGHTS 1. -
Page 5: Standard Range And Solid Door Range C1, C2, & C3
Standard Range and Solid Door Range C1, C2, & C3 Additional model-specific instructions for Standard Range and Solid Door Range C1, C2, & C3 Circuit Diagrams • These instructions should be read in conjunction with the general operating instructions on pp6&7. C1H-840/865/900 &... -
Page 6: Pro Range C1Pro, C2Pro, & C3Pro
Standard Range and Solid Door Range C1, C2, & C3 Additional model-specific instructions for PRO Range C1PRO, C2PRO, & C3PRO Circuit Diagrams • These instructions should be read in conjunction with the general operating instructions on pp6&7. C1PROH-840/865/900 & C2PROH/S-840/865/900 Operating Instructions TO OPERATE THE ELECTRONIC THERMOSTAT C3PROH/S-840/865/900... -
Page 7: Alfresco Range C1Alf, C2Alf, & C3Alf
Additional model-specific instructions for AlFresco Range C1ALF, C2ALF, & C3ALF Circuit Diagrams • These instructions should be read in conjunction with the general operating instructions on pp6&7. ALF-C1 Operating Instructions TO OPERATE THE ELECTRONIC THERMOSTAT ALF-C2 The thermostat has been pre-set, and in most cases it is not necessary to adjust the settings. When the unit is operating normally, the display will show the current temperature. -
Page 8: Intelligenzia Range C1Ith, C2Ith, & C3Ith
2. If you do not press any button, after six seconds the controller will return to its normal display. INTELLIGENZIA MODE The Husky Intelligenzia range is designed for superior energy efficiency. If the chiller is not Wiring Diagram opened for two hours, the unit enters its energy-saving Intelligenzia mode. The evaporator fan and compressor will stop, and the internal temperature will increase from 4°C to 9°C. -
Page 9: Belowzero Range C1Zz, C2Zz, & C3Zz
Standard Range and Solid Door Range C1, C2, & C3 Additional model-specific instructions for Below Zero Range C1ZZ, C2ZZ, & C3ZZ Circuit Diagrams • These instructions should be read in conjunction with the general operating instructions on pp6&7. C1ZZH-840/865/900 & C2ZZH/S-840/865/900 Operating Instructions TO OPERATE THE ELECTRONIC THERMOSTAT C3ZZH/S-840/865/900... -
Page 10: Combi Model C2Cmh
Standard Range and Solid Door Range C1, C2, & C3 Additional model-specific instructions for Combi model C2COMBI Circuit Diagram • These instructions should be read in conjunction with the general operating instructions on pp6&7. C2CMH-840/865/900 Operating Instructions TO OPERATE THE ELECTRONIC THERMOSTATS Wiring Diagram ‘BEER SIDE’... -
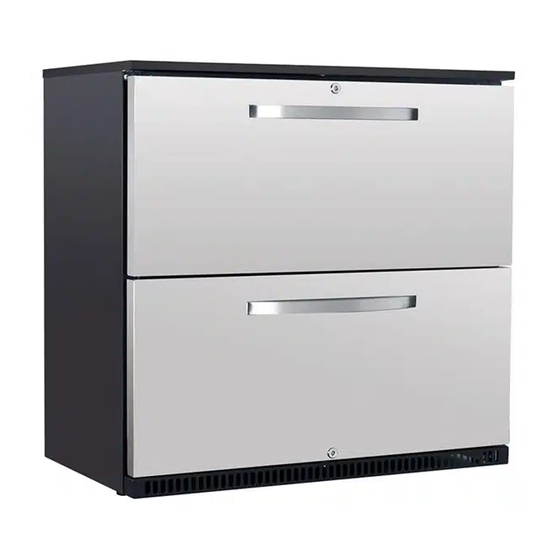
Page 11: Drawer Model C2Dwr
Standard Range and Solid Door Range C1, C2, & C3 Additional model-specific instructions for Standard Range and Solid Door Range C1, C2, & C3 • IMPORTANT SAFETY INSTRUCTIONS Drawer model C2DWR FOR DRAWER MODEL C2DWR ONLY • These instructions should be read in conjunction with the general operating instructions on pp6&7, To reduce the risk of injury, this model requires the fitting of a Please see page 21 for an important safety note applicable to this model only. - Page 12 Additional model-specific instructions for Drawer model C2DWR Circuit Diagram C2DWR Wiring Diagram ELECTRONIC THERMOSTAT SF-102SBQ...
- Page 13 25 years experience in quality refrigeration for convenience and hospitality professionals, and we have a great range of chillers for the home too. You’ll find Husky products all over the world, so whatever your requirements we’re sure to have a good looking energy-efficient model that’s perfect for you.
Need help?
Do you have a question about the C1H-865 and is the answer not in the manual?
Questions and answers