Advertisement
Quick Links
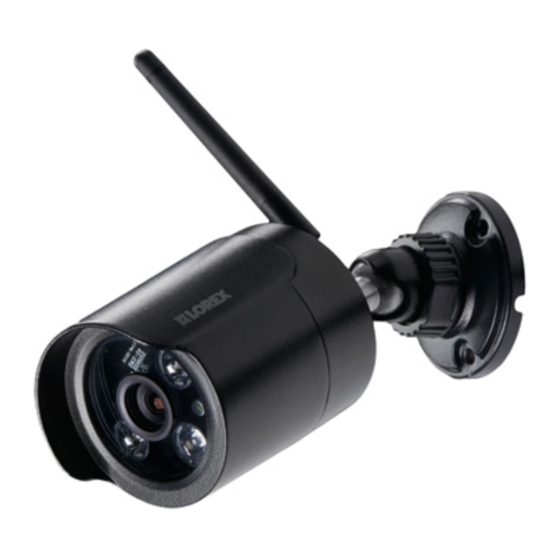
WIR ELESS DI GITA L SECU RITY C AMERA
LW2297 SERIES
QUICK START GUIDE
Getting Started
This system comes with the
following components:
1x wireless camera
1x wireless receiver
1x antenna for camera
(pre-attached)
1x antenna for receiver
(pre-attached)
2x power adapters
(for camera and receiver)
1x BNC-to-RCA adapter
1x camera mounting kit
2x double-sided tape for receiver
Installation Tips
Before you permanently install your camera:
Plan where and how they will be
positioned.
Determine where you will route the
cable that connects the camera to the
power adapter.
Verify the camera's performance by
observing the image on a monitor when
the camera is positioned where it will be
permanently installed.
Avoid installing the camera in a location where
the wireless signal must pass through cement,
concrete, or metal structures. This will reduce
the transmission range.
For support and instructions:
A. Installing the Camera
Mount the camera to the wall or ceiling using the
1
included screws. Use the included anchors as needed.
Cable Notch
For outdoor use, installation in a
sheltered location is recommended.
B. Connecting the Receiver to a DVR
Connect the BNC cable to your
1
DVR's video input.
BNC video
Connect the RCA cable to the
2
ATTENTION: Make sure to first
corresponding DVR audio input
connect and power on the camera
(e.g. Video Input 1 / Audio Input 1)
before powering on the receiver.
RCA audio
C. Pairing the Camera with a Receiver
2
NOTE: The camera and receiver have already
been paired out of the box. If for some reason
the pairing is lost, follow these steps to pair the
camera and receiver.
Make sure that the camera and
1
receiver are both powered up and
all antennas properly attached.
Compatible camera extension cable CBL6WRB (6.6ft/2m) available at www.lorextechnology.com.
Visit www.lorextechnology.com
1
3
Select your product from the search results
2
Loosen the
adjustment ring (1).
Adjust the angle of
the camera until the
NOTE:
desired view is set.
If you run the cables
Tighten the adjust-
along the wall / ceiling,
ment ring to secure
you must run the cable
the camera position.
through the cable notch
on the base. This will
keep the camera base
flush to the wall /
ceiling when mounted.
Connect the receiver
Connecting to a TV:
3
power adapter to
Connect the included BNC-to-RCA adapter to
the receiver. Connect
the BNC connector on the receiver.
the power adapter to
a 120V power outlet.
Connect the other end of the adapter to the
video input on your TV. Connect the RCA
cable from the receiver to the audio input on
your TV. Select the input for your camera on
the TV.
OPTIONAL:
4
Use the double-sided
tape to securely attach
RCA audio
the receiver to a flat
surface.
Press and hold the
PAIR button on
the receiver for 5
seconds to activate
pairing mode. The
pairing status LED
will flash on and
off slowly.
2
Search your product's model number
4
Click on the Downloads tab
Connect the camera power adapter
3
to the camera. Connect power
adapter to a 120V AC power outlet.
1
Power cables are only weatherproof when fully inserted
at the connection point. Power cables should not be
submerged in water.
4
Remove protective film from the
camera lens.
Installing Multiple Wireless
When installing multiple digital wireless
security cameras in the same environment,
maintain at least 4" / 10cm between the
receivers to optimize camera performance.
NOTE: It is not recommended to install more
than 4 digital wireless security cameras in the
BNC video*
same environment to maintain optimal video
frame rate performance.
* BNC-to-RCA adapter attached.
Press the PAIR button on
3
the back of the camera
within 30 seconds of
Pairing
pressing the PAIR button
Status LED
on the receiver. If pairing
is succesful, live video
from the camera will
Pair Button
appear on the monitor.
Cameras
LW2297_SERIES_QSG_EN_R1
Advertisement


Need help?
Do you have a question about the LW2297 series and is the answer not in the manual?
Questions and answers
Cómo puedo conectar la cámara LW2297-C a la grabadora