
Related Manuals for Osaki OS-PRO Maestro


Summary of Contents for Osaki OS-PRO Maestro
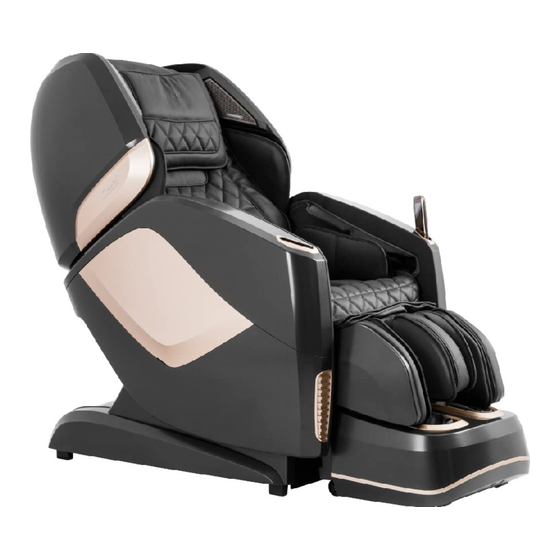
- Page 2 Remove the packing, take out the parts. Power Line x1 Allen key x1 Hex screws x10 Washer x10 Circlip x2 (Back up : Hex screws X2 Washer X2) Seat base and backrest Footrest Left side panel Right side panel...
- Page 3 Remove side panel cover by slightly pulling the cloth strip. Connect the power supply and turn on the power switch.
- Page 4 Install the footrest. Connect the footrest data line and air hose. Hang the footrest on the seat base,then fix it with the buckle.
- Page 5 Install the side panel. Align A on the armrest with B on the main unit. Then Insert the armrest into the main unit. Connect the data line and air hose. Use four screws to fix the side panel.
- Page 6 Pat the edge with your hand to fix the side panel cover back to the side panel. Tidy the cushions. Pull the two zippers between the footrest and seat base. Fix the waist cushion on the backrest Pull the two zippers on the with the elastic belt.
Need help?
Do you have a question about the OS-PRO Maestro and is the answer not in the manual?
Questions and answers