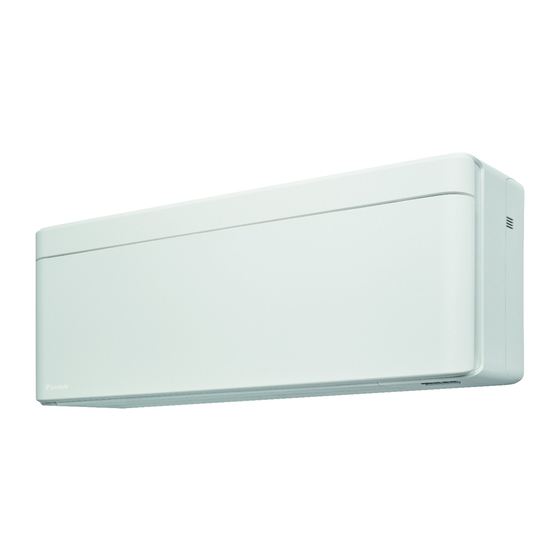
Daikin CTXA15A2V1BW Installation Manual
Hide thumbs
Also See for CTXA15A2V1BW:
- User reference manual (56 pages) ,
- Installer's reference manual (56 pages) ,
- Operation manual (24 pages)
Table of Contents
Advertisement
Installation manual
Daikin room air conditioner
CTXA15A2V1BW
FTXA20A2V1BW
FTXA25A2V1BW
FTXA35A2V1BW
FTXA42A2V1BW
FTXA50A2V1BW
CTXA15A2V1BS
FTXA20A2V1BS
FTXA25A2V1BS
FTXA35A2V1BS
FTXA42A2V1BS
FTXA50A2V1BS
CTXA15A2V1BT
FTXA20A2V1BT
FTXA25A2V1BT
FTXA35A2V1BT
Installation manual
FTXA42A2V1BT
English
Daikin room air conditioner
FTXA50A2V1BT
Advertisement
Table of Contents

Summary of Contents for Daikin CTXA15A2V1BW
-
Page 1: Installation Manual
Installation manual Daikin room air conditioner CTXA15A2V1BW FTXA20A2V1BW FTXA25A2V1BW FTXA35A2V1BW FTXA42A2V1BW FTXA50A2V1BW CTXA15A2V1BS FTXA20A2V1BS FTXA25A2V1BS FTXA35A2V1BS FTXA42A2V1BS FTXA50A2V1BS CTXA15A2V1BT FTXA20A2V1BT FTXA25A2V1BT FTXA35A2V1BT Installation manual FTXA42A2V1BT English Daikin room air conditioner FTXA50A2V1BT... -
Page 2: Table Of Contents
5.2.2 To drill a wall hole ............5.2.3 To remove the pipe port cover ........▪ The full set of latest technical data is available on the Daikin 5.2.4 To provide drainage ............ extranet (authentication required). Connecting the refrigerant piping .......... -
Page 3: System Layout
(minimum 10 mm INFORMATION thickness, polyethylene foam). ▪ Daikin Industries Czech Republic s.r.o. declares that ▪ Wall strength. Check whether the wall or the floor is strong the radio equipment type inside of this unit is in enough to support the weight of the unit. -
Page 4: Preparing Refrigerant Piping
(see "PS High" on the unit name plate), larger piping thickness might be required. Backside of the front panel Fixing tab Support 2 Close the front panel. Installation manual (C)(F)TXA15~50A2V1B(W)(S)(T) Daikin room air conditioner 3P482320-7H – 2018.02... - Page 5 8 Pull the front grille up using the flat screwdriver and push towards the mounting plate. To open the service cover 1 Remove 1 screw from the service cover. 2 Pull out the service cover horizontally away from the unit. (C)(F)TXA15~50A2V1B(W)(S)(T) Installation manual Daikin room air conditioner 3P482320-7H – 2018.02...
-
Page 6: Installing The Indoor Unit
The removed pipe port cover can be kept in the mounting plate pocket. 52.5 58.6 Recommended mounting plate fixing spots Pocket for the pipe port cover Use tape measure as shown Installation manual (C)(F)TXA15~50A2V1B(W)(S)(T) Daikin room air conditioner 3P482320-7H – 2018.02... -
Page 7: To Drill A Wall Hole
1 Insert the drain hose in the drain pipe as shown in the following would damage the front grille. figure, so it will NOT be pulled out of the drain pipe. (C)(F)TXA15~50A2V1B(W)(S)(T) Installation manual Daikin room air conditioner 3P482320-7H – 2018.02... -
Page 8: Connecting The Refrigerant Piping
▪ ALWAYS use a spanner and torque wrench together to tighten the flare nut when connecting the piping. This to prevent nut cracking and leaks. Installation manual (C)(F)TXA15~50A2V1B(W)(S)(T) Daikin room air conditioner 3P482320-7H – 2018.02... -
Page 9: To Connect The Refrigerant Piping To The Indoor Unit
WARNING Do NOT connect the power supply to the indoor unit. This could result in electrical shock or fire. Terminal block Electrical component block Wire retainer (C)(F)TXA15~50A2V1B(W)(S)(T) Installation manual Daikin room air conditioner 3P482320-7H – 2018.02... -
Page 10: To Connect Optional Accessories (Wired User Interface, Central User Interface, Etc.)
2 user interfaces can be set. Drain hose 1 Remove the cover and the batteries from the user interface. Interconnection cable Mounting plate (accessory) 2 Cut the address jumper J4. Refrigerant pipes Installation manual (C)(F)TXA15~50A2V1B(W)(S)(T) Daikin room air conditioner 3P482320-7H – 2018.02... -
Page 11: Commissioning
Do NOT operate the system before the following checks are OK: 2 Press simultaneously. You read the complete installation instructions, as described in the installer reference guide. 3 Press and select " ". (C)(F)TXA15~50A2V1B(W)(S)(T) Installation manual Daikin room air conditioner 3P482320-7H – 2018.02... -
Page 12: Disposal
Result: Test run operation will stop automatically after about 30 minutes. 5 To stop operation sooner, press Disposal Dismantling of the unit and treatment of the refrigerant, oil and other parts MUST comply with the applicable legislation. Installation manual (C)(F)TXA15~50A2V1B(W)(S)(T) Daikin room air conditioner 3P482320-7H – 2018.02... -
Page 13: Technical Data
9 Technical data Technical data A subset of the latest technical data is available on the regional Daikin website (publicly accessible). The full set of latest technical data is available on the Daikin extranet (authentication required). Wiring diagram Unified Wiring Diagram Legend For applied parts and numbering, refer to the wiring diagram on the unit. - Page 16 3P482320-7H 2018.02...


Need help?
Do you have a question about the CTXA15A2V1BW and is the answer not in the manual?
Questions and answers