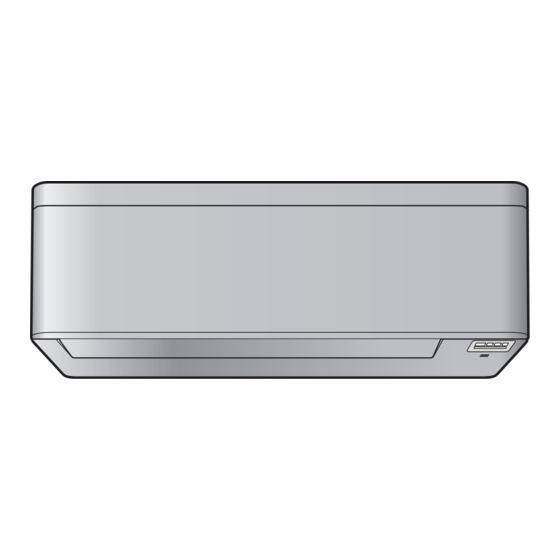
Daikin FTXA42A2V1BW Installation Manual
Hide thumbs
Also See for FTXA42A2V1BW:
- Service manual (76 pages) ,
- User reference manual (56 pages) ,
- Installer's reference manual (56 pages)
Table of Contents
Advertisement
Quick Links
Installation manual
Daikin room air conditioner
CTXA15A2V1BW
FTXA20A2V1BW
FTXA25A2V1BW
FTXA35A2V1BW
FTXA42A2V1BW
FTXA50A2V1BW
CTXA15(A)(B)2V1BS
FTXA20(A)(B)2V1BS
FTXA25(A)(B)2V1BS
FTXA35(A)(B)2V1BS
FTXA42(A)(B)2V1BS
FTXA50(A)(B)2V1BS
CTXA15(A)(B)2V1BT
FTXA20(A)(B)2V1BT
FTXA25(A)(B)2V1BT
FTXA35(A)(B)2V1BT
FTXA42(A)(B)2V1BT
FTXA50(A)(B)2V1BT
CTXA15B2V1BB
FTXA20B2V1BB
FTXA25B2V1BB
FTXA35B2V1BB
Installation manual
FTXA42B2V1BB
English
Daikin room air conditioner
FTXA50B2V1BB
Advertisement
Table of Contents

Subscribe to Our Youtube Channel
Summary of Contents for Daikin FTXA42A2V1BW
-
Page 1: Table Of Contents
Installation manual Daikin room air conditioner CTXA15A2V1BW FTXA20A2V1BW FTXA25A2V1BW FTXA35A2V1BW FTXA42A2V1BW FTXA50A2V1BW CTXA15(A)(B)2V1BS FTXA20(A)(B)2V1BS FTXA25(A)(B)2V1BS FTXA35(A)(B)2V1BS FTXA42(A)(B)2V1BS FTXA50(A)(B)2V1BS CTXA15(A)(B)2V1BT FTXA20(A)(B)2V1BT FTXA25(A)(B)2V1BT FTXA35(A)(B)2V1BT FTXA42(A)(B)2V1BT FTXA50(A)(B)2V1BT CTXA15B2V1BB FTXA20B2V1BB FTXA25B2V1BB FTXA35B2V1BB Installation manual FTXA42B2V1BB English Daikin room air conditioner FTXA50B2V1BB... -
Page 2: Table Of Contents
▪ A subset of the latest technical data is available on the regional control ................. 10 Daikin website (publicly accessible). 11 Disposal ▪ The full set of latest technical data is available on the Daikin 12 Technical data Business Portal (authentication required). 12.1 Wiring diagram ................ -
Page 3: About The Box
▪ the mounting plate attached to the back of the indoor unit, ▪ the spare SSID sticker located on the front grille. 1× 1× 1× 2× 2× 2× 1× 1× 1× 2× 1× Installation manual Operation manual General safety precautions CTXA15+FTXA25~50(A)(B)2V1B(W)(S)(T)(B) Installation manual Daikin room air conditioner 3P697375-1 – 2022.05... -
Page 4: About The Unit
INFORMATION: Declaration of conformity relative humidity of 80%, or when fresh air is inducted into the ▪ Daikin Industries Czech Republic s.r.o. declares that wall, then additional insulation is required (minimum 10 mm the radio equipment type inside of this unit is in thickness, polyethylene foam). -
Page 5: Mounting The Indoor Unit
4 After completing wiring, refrigerant piping and drain piping, do NOT forget to seal the gap with putty. 2 Insert a wall embedded pipe into the hole. 3 Insert a wall cover into the wall pipe. CTXA15+FTXA25~50(A)(B)2V1B(W)(S)(T)(B) Installation manual Daikin room air conditioner 3P697375-1 – 2022.05... -
Page 6: To Remove The Pipe Port Cover
The factory default is right-side piping. For left-side piping, joints directly connecting the piping to the indoor units. remove the piping from the right side and install it on the left side. Installation manual CTXA15+FTXA25~50(A)(B)2V1B(W)(S)(T)(B) Daikin room air conditioner 3P697375-1 – 2022.05... -
Page 7: Refrigerant Piping Insulation
The refrigerant inside this unit is mildly flammable. and applicable for 220~240 V ▪ Pipe length. Keep refrigerant piping as short as possible. H05RN-F (60245 IEC 57) 1 Connect refrigerant piping to the unit using flare connections. CTXA15+FTXA25~50(A)(B)2V1B(W)(S)(T)(B) Installation manual Daikin room air conditioner 3P697375-1 – 2022.05... -
Page 8: To Connect The Electrical Wiring To The Indoor Unit
Note: In case the interconnection cable was stripped in advance, cover the ends with insulating tape. 4 Bend the end of the cable up. Terminal block Electrical component block Cable clamp 5 Strip the wire ends approximately 15 mm. Installation manual CTXA15+FTXA25~50(A)(B)2V1B(W)(S)(T)(B) Daikin room air conditioner 3P697375-1 – 2022.05... -
Page 9: Finishing The Indoor Unit Installation
Next commissioning instructions in this chapter, a general commissioning checklist is also available on the Daikin Business Portal (authentication required). The general commissioning checklist is complementary to Drain hose the instructions in this chapter and can be used as a... -
Page 10: Checklist Before Commissioning
Daikin website (publicly accessible). installed according to this document, and have NOT been bypassed. ▪ The full set of latest technical data is available on the Daikin Business Portal (authentication required). The power supply voltage matches the voltage on the identification label of the unit. - Page 11 Switching power supply PTC* PTC thermistor Insulated gate bipolar transistor (IGBT) Circuit breaker Q*DI, KLM Earth leak circuit breaker Overload protector Thermo switch Residual current device Resistor Thermistor Receiver Limit switch CTXA15+FTXA25~50(A)(B)2V1B(W)(S)(T)(B) Installation manual Daikin room air conditioner 3P697375-1 – 2022.05...
- Page 12 3P697375-1 2022.05 Verantwortung für Energie und Umwelt...


Need help?
Do you have a question about the FTXA42A2V1BW and is the answer not in the manual?
Questions and answers