Advertisement
Quick Links
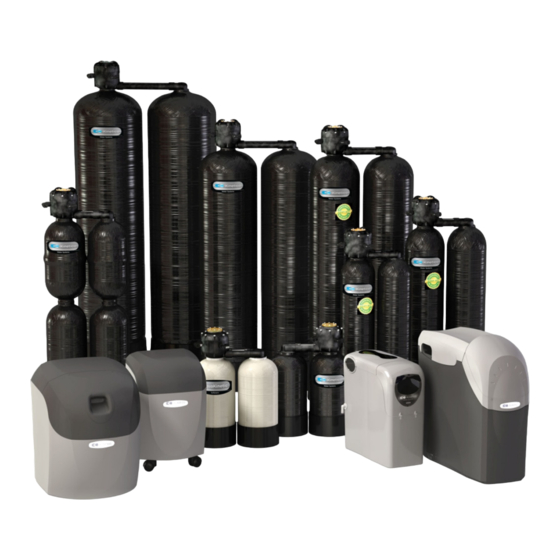
Softening Systems
Block Salt Softeners
2020CHF
Check your local building and sanitation codes for installation compliance. Installation must meet all state and local codes.
Check your water quality first. This system is not intended to be used for treating water that is microbiologically unsafe or of
unknown quality without adequate disinfection before or after the system.
Installation Instructions
Standard Softeners
2025s
2060s
Commercial Softeners
4060s OD
Advertisement

Related Manuals for Kinetico 2025s


Summary of Contents for Kinetico 2025s
-
Page 1: Installation Instructions
Block Salt Softeners Standard Softeners Commercial Softeners 2020CHF 2025s 4060s OD 2060s Check your local building and sanitation codes for installation compliance. Installation must meet all state and local codes. Check your water quality first. This system is not intended to be used for treating water that is microbiologically unsafe or of... -
Page 2: Parts Identification
Read all steps, guides and rules carefully Close or remove PVC containers and other Wear protective eyewear while installing to before installing and using the Kinetico flammable materials to prevent fire or prevent potential eye injury that could be caused Softening System explosions. -
Page 3: Environmental Conditions
Procedure Test Water Quality Unpack Equipment Confirm water quality to determine proper setup Locate and identify parts shown in parts section. Total Hardness Ferrous Iron Ferric Iron Instructions Parts Pack Brine Line Drain Line Cabinet / Brine Tank Softener Assembly Assemble Softener Position Softener Larger units require tank connection. - Page 4 Connect Softener Install By-pass Connect softener to main plumbing via by-pass. Use of an external 3-valve by-pass or equivalent is recommended. Do not solder brass adapters while they are inserted in the control module. Take care during the installation process to assure that solder and flux do not come in contact with: media tanks control module...
- Page 5 Select disc based on inlet compensated hardness. Meter Disc Number Denotes Compensated Hardness in mg/L Model Salt Setting (adjuster) Float 2020c HF 0.22 Kg 0.34 Kg 114mm 2025s 0.45 Kg 184mm 0.6 Kg 191mm 2060s 1.22 Kg 153mm 1.63 Kg 185mm 1026 1.81 Kg...
- Page 6 Install Drain Line Connect Brine Tank ® ® Apply 2 – 3 wraps of Teflon tape to ½” nipple on Apply 2 – 3 wraps of Teflon tape to nipple on control valve. control valve. Locate ½” x tube elbow. Locate tube elbow.
- Page 7 Purge Air from Plumbing Add Salt After the unit is fully pressurized, open a faucet in Add a clean grade of salt at this time. the house to purge air from lines. DO NOT USE ROCK SALT OR SOLAR SALT. Check all other house faucets, and purge air by manually cycling unit from one tank to the other.
Need help?
Do you have a question about the 2025s and is the answer not in the manual?
Questions and answers