Table of Contents
Advertisement
Quick Links
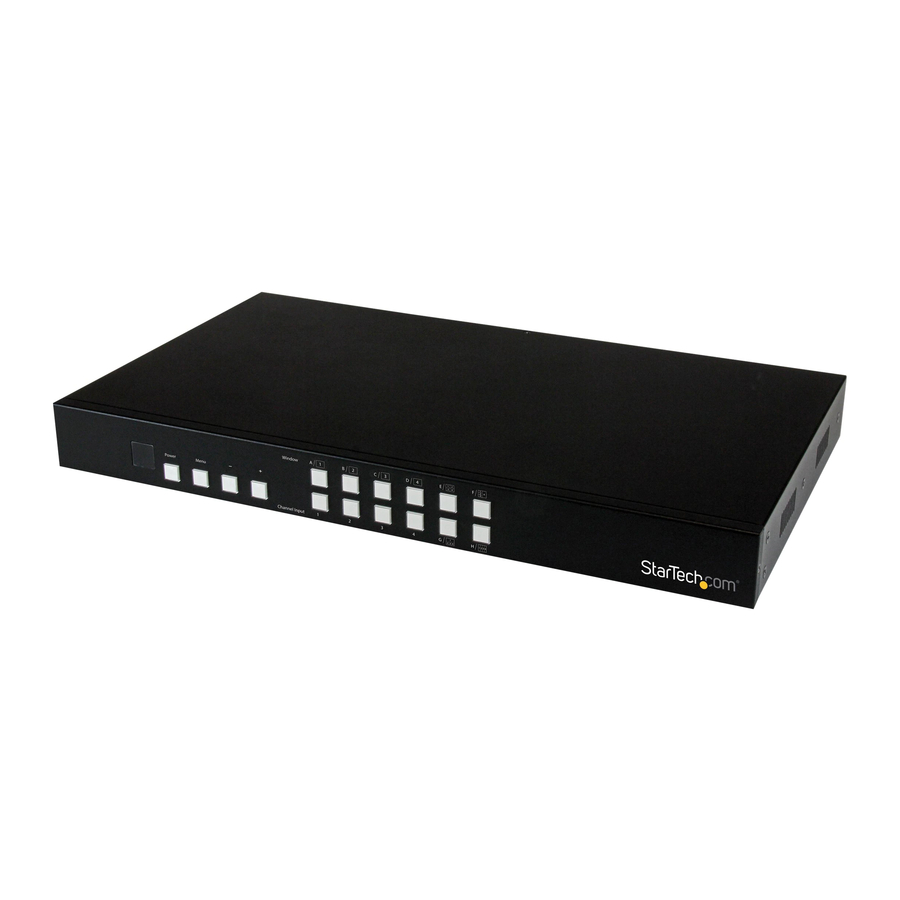
4x1 HDMI Matrix Switch with Picture-in-Picture –
1080p
VS421HDPIP
DE: Bedienungsanleitung - de.startech.com
FR: Guide de l'utilisateur - fr.startech.com
ES: Guía del usuario - es.startech.com
IT: Guida per l'uso - it.startech.com
NL: Gebruiksaanwijzing - nl.startech.com
PT: Guia do usuário - pt.startech.com
For the most up-to-date information, please visit: www.startech.com
Manual Revision: 03/22/2018
*actual product may vary from photos
Advertisement
Table of Contents

Related Manuals for StarTech.com VS421HDPIP


Summary of Contents for StarTech.com VS421HDPIP
- Page 1 DE: Bedienungsanleitung - de.startech.com FR: Guide de l'utilisateur - fr.startech.com ES: Guía del usuario - es.startech.com IT: Guida per l'uso - it.startech.com NL: Gebruiksaanwijzing - nl.startech.com PT: Guia do usuário - pt.startech.com For the most up-to-date information, please visit: www.startech.com Manual Revision: 03/22/2018...
- Page 2 StarTech.com. Where they occur these references are for illustrative purposes only and do not represent an endorsement of a product or service by StarTech.com, or an endorsement of the product(s) to which this manual applies by the third-party company in question. Regardless of any direct acknowledgement elsewhere in the body of this document, StarTech.com hereby...
- Page 3 Table of Contents Product Diagram ..................1 Front View ..............................1 Rear View ..............................1 Introduction ....................2 Packaging Contents ..........................2 System Requirements ..........................2 Specifications ..................3 Technical Support ..................4 Warranty Information ................4 Instruction Manual...
-
Page 4: Packaging Contents
Introduction Packaging Contents • 1x 4-Port HDMI Switch w/PAP • 1x Remote Control • 2x Mounting brackets • 1x Universal Power Adapter (NA/UK/EU) • 1x Instruction Manual System Requirements • Up to 4 x HDMI-enabled Video Source Devices (i.e. computer, Blu-ray Player) •... -
Page 5: Product Diagram
Product Diagram Front View 1. IR Sensor 2. Power Button / LED 3. Menu Button / LED 4. Menu Operation Buttons / LEDs 5. Input Selection Buttons / LEDs 6. Picture-in-Picture Selection Buttons / LEDs (A-H) 7. All Display Operation Buttons / LEDs (E-H) Back View 1. -
Page 6: Hardware Installation
Hardware Installation 1. Connect up to four HDMI cables (not included) from each of your HDMI video source devices (i.e. computers, Blu-ray Players) to each of the HDMI input ports on the matrix switch. 2. Connect up to an HDMI cable (not included) from the HDMI output port on the matrix switch to the HDMI input port on your display device (i.e. -
Page 7: On Screen Display Menu
On Screen Display Menu The OSD menu gives you access to advanced functionality. The below table lists each OSD menu option. The description field outlines the functionality of each menu selection. Instruction Manual... -
Page 8: Default Description
Main Menu Sub Menu Adjustments Default Description Menu 480P, 579P, 720P50/60, 1080P24/25/ 30/50/60, 1024x768, 1280x800, Enables you 1280x1024, to select your Output Resolution 720p60 1366x768, desired output resolution. 1440x900, 1600x900, 1600x1200, 1680x1050, 1920x1200, NATIVE Returns to Menu Back main menu. Info display On/Off I/O Setup... - Page 9 CH 1 0~100 CH 2 0~100 Brightness Adjust CH 3 0~100 Enables you to adjust the CH 4 0~100 specified attributes for CH 1 0~100 your desired picture quality. CH 2 0~100 Image Adjust CH 3 0~100 Contrast Adjust CH 4 0~100 Restores Value Reset...
- Page 10 Enables or disables the Image On/Off output of the Output specific video source. Enables you CH1->4, to define the CH1->4, CH2 -> 3, CH2 -> 3, device priority CH 3->2, CH4->4 CH 3->2, for automatic Channel 1 CH4->4 switching. Select Restores your default Priority...
- Page 11 Enables or disables the Image On/Off output of Output the specific video source. Enables you CH1->4, to define CH1->4, CH2 CH2 -> the device -> 3, CH 3->2, 3, CH priority for CH4->4 3->2, Channel 2 automatic CH4->4 Select switching. Restores Priority your default...
- Page 12 Enables or disables the Image On/Off output of Output the specific video source. Enables you CH1->4, to define CH1->4, CH2 CH2 -> the device -> 3, CH 3->2, 3, CH priority for CH4->4 3->2, Channel 3 automatic CH4->4 Select switching. Restores Priority your default...
- Page 13 Enables or disables the Image On/Off output of Output the specific video source. Enables you CH1->4, to define CH1->4, CH2 CH2 -> the device Priority -> 3, CH 3->2, 3, CH priority for CH4->4 3->2, Channel 4 automatic CH4->4 Select switching.
- Page 14 Enables you to mirror the specified Mirror On/Off video source on your display. Enables Off/1.0/1.1/1.2 you to Convert /1.3/1.4 implement transition /1.5/1.6/1.7/1.8/ Fade In- effects while 1.9/2.0/2.1/2.2/ switching 2.3/2.4/2.5/2.6/ between video 2.7/2.8/2.9/3.0 sources. Channel 1 Convert Enables you to rotate the R90/L90/Up-Side Rotation video source...
- Page 15 Enables you to rotate the R90/L90/Up-Side Rotation video source Down180/Off on your display. Restores default Convert Channel 2 Window Reset settings for Convert the specified display. Returns to Menu Exit previous menu. Enables you to mirror the specified Mirror Window video source Convert on your...
- Page 16 Returns to Channel 3 previous Menu Exit Convert menu. Enables you to mirror the specified Mirror video source on your display. Enables you to Off/1.0/1.1/1.2 implement Convert /1.3/1.4 transition /1.5/1.6/1.7/1.8/ Fade effects 1.9/2.0/2.1/2.2/ In-Out while Window switching 2.3/2.4/2.5/2.6/ Convert between Channel 4 2.7/2.8/2.9/3.0 video...
- Page 17 Minimum 000~255 For R Maximum 000~255 For R Minimum 000~255 For G The Chromakey Setup section enables you to Maximum isolate a particular 000~255 Chromakey For G color for chroma Setup keying special effects. Minimum 000~255 For B Maximum 000~255 For B Switch Returns to main...
-
Page 18: Ir Remote Control Operation
Menu Exit Closes OSD menu. IR Remote Control Operation An IR remote control is included with the VS421HDPIP for hassle-free remote operation. Please review the legend below for a detailed description of each remote control function. 1. Power: Press this button to switch on the device or press it again to set it to standby mode. - Page 19 channel to be 4. WA~WH: Press these hot keys to select the screen setting where WA~WD are display a full screen of each channel and WE~WH are a different combination of a full screen setting with all 4 channels. Note: Functions are limited to Window A to D. The system will force to switch to Window A when operate under Window E~H.
- Page 20 RS232 Protocols Baud Rate: 115200bps Data Bit: 8 bits Parity: None Flow Control: None Stop Bit: 1 RS232 Telent Commands Note: All commands will be not executed unless followed with a carriage return (0x0D) and commands are case-sensitive. SET OUTPUT RESOLUTION (0) 480p, (1) 576p, (2) 720p 50Hz, (3) 720p 60Hz, (4) 1080p 24Hz, (5) 1080p 25Hz, (6) 1080p...
- Page 21 OSD GAIN VALUE OSDGAIN 0~10 0~10 SET BRIGHTNESS VALUE FOR CHANNEL BRI 0~4 0~100 (0) All, (1~4) CHANNEL, (0~100) VALUE SET CONTRAST VALUE FOR CHANNEL PORT CON 0~4 0~100 (0) All, (1~4) CHANNEL, (0~100) VALUE SET SATURTATION VALUE FOR CHANNEL PORT SAT 0~4 0~100 (0) All,...
- Page 22 CHANNEL(S) OUTPUT ON/OFF (1~4) CHANNEL, IMAGE 1~4 0~1 (0/1) OFF/ON SET CHANNEL PRIORITY (1~4) CHANNEL, PRI 1~4 1~4 (1~4) PRIORITY ASSIGN A VIDEO NAME (1~4) VIDEO, LABEL 1~4 XXX (XXX) ABCEDFGH... SAVE THE CURRENT WINDOW STATE TO STORE 1~4 FAV. (1~4) FAV. RECALL A WINDOW STATE (1) WINDOW A, (2) WINDOW B, (3) WINDOW C,...
- Page 23 SET THE RGB COLOR RANGE FOR THE CHRC R/G/B CHROMA KEY (R/G/B) COLOR CHANNEL (MIN/MAX) COLOR VALUE (0~15) SET PRESENT VALUE 0~255 RBG MAX (0)15, (1)31, (2)47, (3)63, (4)79, (5)95, (6)111, (7)127, (8)143, (9)159, (10)175, (11)191, (12)207, MIN/MAX 0~255 (13)223, (14)239, (15)255 RGB MIN (0)00, (1)16, (2)32, (3)48, (4)64, (5)80,...
- Page 24 ETHERNET TIMEOUT (0) OFF, (1) 10 MINUTE, (2) 20 MINUTE, (3) ETHTIME 0~6 30 MINUTE, (4) 40 MINUTE, (5) 50 MINUTE, (6) 60 MINUTE RELINK RELINK THE UNIT IN 2 SECONDS DEFAULT RESET THE UNIT TO FACTORY DEFAULTS VIDEO CHANNEL COMMAND (1~4) VIDEO, VICH 1~4 0~4 (0) ALL CHANNEL OUTPUTS,...
-
Page 25: Before You Begin
3. The VS421HDPIP web GUI is now displayed. Operate your VS421HDPIP using the Web GUI The web GUI enables you to remotely operate your VS421HDPIP with basic and advanced functionality. The below sections outline the features and navigation of the Web GUI. -
Page 26: Image Adjust
The Information-in and information-out sections gives you an overview of the current connected video source and display devices. The Status section enables you to power off the device. The Source section enables you to select your desired mode as well as define which video source devices will be shown on each display. -
Page 27: Output Resolution
The Output Resolution tab enables you to set your desired output resolution from the available drop down menu. Notes: • 1080i@50/60 are supported in Matrix mode only. • Selecting NATIVE enables the VS421HDPIP to use EDID to determine the best output resolution automatically. Instruction Manual... -
Page 28: Window Convert
OSD Settings To access the OSD settings tab, click OSD Settings on the side menu. The OSD settings tab enables you to adjust the specified attributes in relation to the On the Screen display positioning and operation. Note: TIMEOUT =OFF means MENU and INFO will continue showing on the Screen. Window Convert To access the Window Convert tab, click Window Convert on the side menu. - Page 29 Chromakey Setup To access the Chromakey Setup tab, click Chromakey setup on the side menu. The Chromakey Setup section enables you to isolate a particular color for chroma keying special effects. Ethernet To access the Ethernet tab, click Ethernet on the side menu. The Ethernet section enables you to define Network communication protocols for remote operation.
-
Page 30: Technical Support
Limitation of Liability In no event shall the liability of StarTech.com Ltd. and StarTech.com USA LLP (or their officers, directors, employees or agents) for any damages (whether direct or indirect, special, punitive, incidental, consequential, or otherwise), loss of profits, loss of business, or any pecuniary loss, arising out of or related to the use of the product exceed the actual price paid for the product. - Page 31 StarTech.com is an ISO 9001 Registered manufacturer of connectivity and technology parts. StarTech.com was founded in 1985 and has operations in the United States, Canada, the United Kingdom and Taiwan servicing a worldwide market.
Need help?
Do you have a question about the VS421HDPIP and is the answer not in the manual?
Questions and answers