Table of Contents
Advertisement
Quick Links
Download this manual
See also:
Service Manual
Advertisement
Table of Contents

Related Manuals for Winmate M101BC


Summary of Contents for Winmate M101BC
-
Page 2: Getting Started
Getting Started Congratulations on purchasing this rugged Tablet Computer. The rugged design allows you to use it in harsh outdoor environments. This quick start guide tells you step by step how to get the Tablet Computer up and running. You will find instructions for the following procedures: •... -
Page 3: Description Of Parts
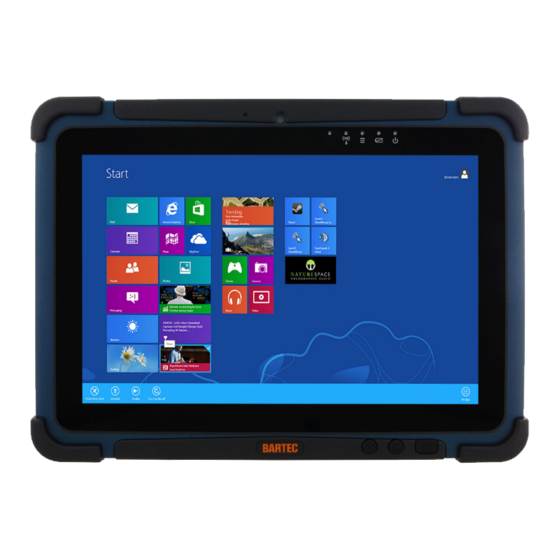
Description Of Parts Front: Right: Item Description Item Description Front Camera 2 Megapixel Webcam I/O Cover Protects I/O ports LED Indicators: Show the current status of HDMI output to external Micro HDMI the Tablet Computer display Green - WiFi/BT/3G/GPS Adapter port for LAN/RS232 LAN/RS232 connector No light - None of... - Page 4 Rear: Bottom: Item Description Item Description Port to docking solutions Kensington Provides lock access for Docking such as vehicle docking Lock Port Kensington Lock. Connector to provide power and Barcode Scanner for Optional external antenna reading of 1D/2D Barcode barcode. Docking Connector Detail: RFID reader for reading Optional RFID...
-
Page 5: Combination Keys (Keyboard Key Emulation)
Combination Keys (Keyboard Key Emulation) For the physical buttons on the 10.1” Bay Trail tablet computer, in addition to their dedicated functions detailed in the previous section, they can also be used to emulate commonly used keyboard key strokes. Under different scenario, a single physical button or a combination of physical buttons provide different keyboard key strokes, which are specified below: Under POST (before Windows boots up): Under Windows:... -
Page 6: First-Time Operation
First-time Operation Insert SIM card (For Optional 3G/LTE equipped device) The Tablet Computer supports data connection using 3G/LTE SIM cards and fits a Micro-SIM card. (Note: 3G/LTE feature is optional). Perform the following to install the SIM card into your Tablet Computer: Caution •... -
Page 7: Inserting Battery Pack
Inserting Battery Pack To insert the included standard battery pack into the Tablet Computer: Caution • Please perform this action in the safe zone 1. Disconnect any cords connected to the tablet computer. 2. Turn the tablet computer over, back facing up. 3. - Page 8 Perform the following to remove the I/O Cover: 1. Turn the tablet computer over, back facing up 2. Remove the I/O Cover on the side by unscrewing the three screws 3. Remove the screw that is securing the I/O Cover 4.
- Page 9 When the LED indicator turns green, this indicates the device is fully charged and User needs to perform the following to reinstall the I/O Cover: 1. Turn the tablet computer over, back facing up 2. Reposition the I/O Cover on the side by placing the three screws into the screws hole 3.
-
Page 10: Turning On/Off
Turning On / Off Turning On Press and hold the power switch for 3 seconds until the blue LED power indicator light is lit up. Note: • Do not press the power switch repeatedly. • Do not perform the following operations until the hard drive indicator turns off o Connecting or disconnecting the AC adapter o Pressing the power switch o Touching the tablet buttons, screen, or external keyboard/mouse... -
Page 11: Setting Up Windows On Your Computer For The First Time
Detail First Time Setup Instruction For more detailed step by step first time setup instructions, please download the latest user manual by going to http://www.winmate.com.tw or refer to the digital copy of user manual included in the disk that comes with the tablet. - Page 12 Revision History: Rev. Date Note Author 2014/06/25 First Release Karen Liu...
Need help?
Do you have a question about the M101BC and is the answer not in the manual?
Questions and answers