Advertisement
Quick Links
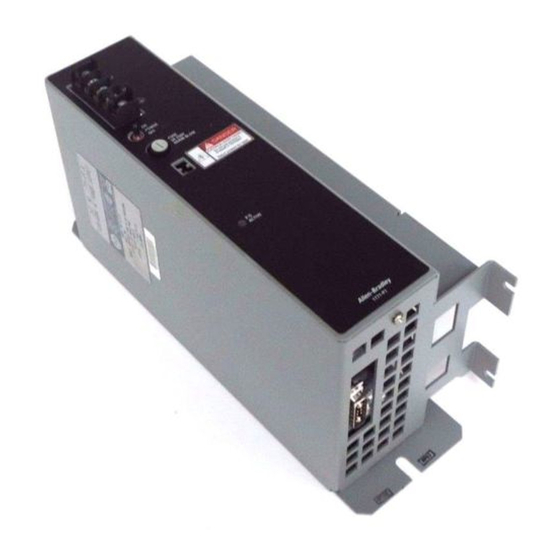
(Cat. No. 1771-P7 Series C)
This document provides you with the following information:
The series C version of this product is marked with the
indicating that this version complies with the European Union
Directives noted below.
If this product has the CE mark it is approved for installation within
the European Union and EEA regions. It has been designed and
tested to meet the following directives.
This product is tested to meet Council Directive 89/336/EEC
Electromagnetic Compatibility (EMC) and the following standards,
in whole or in part, documented in a technical construction file:
EN 50081-2
EMC – Generic Emission Standard, Part 2 – Industrial
Environment
EN 50082-2
EMC – Generic Immunity Standard, Part 2 – Industrial
Environment
This product is intended for use in an industrial environment.
Installation Instructions
Î Î Î Î Î Î Î Î Î
logo,
Advertisement

Related Manuals for Allen-Bradley 1771-P7 Series C


Summary of Contents for Allen-Bradley 1771-P7 Series C
-
Page 1: Installation Instructions
Installation Instructions (Cat. No. 1771-P7 Series C) This document provides you with the following information: Î Î Î Î Î Î Î Î Î The series C version of this product is marked with the logo, indicating that this version complies with the European Union Directives noted below. - Page 2 AC (120/220V) 16A Power Supply This product is also tested to meet Council Directive 73/23/EEC Low Voltage, by applying the safety requirements of EN 61131–2 Programmable Controllers, Part 2 – Equipment Requirements and Tests. For specific information that the above EN requires, see the appropriate sections in this publication, as well as the following Allen-Bradley publications: Industrial Automation Wiring and Grounding Guidelines...
- Page 3 AC (120/220V) 16A Power Supply Before installing the power supply, you should: mount the I/O chassis that the power supply will be connected to. See the Universal I/O Chassis Installation Data (1771-2.210) for information on mounting the I/O chassis. set the power supply configuration jumper on the I/O chassis. The 1771-P7 is an external power supply.
- Page 4 AC (120/220V) 16A Power Supply 1. Attach the mounting screws to the side of the I/O chassis as shown: ATTENTION: Use the mounting screws provided with the 1771-P7. Longer screws may intrude into the I/O chassis and interfere with module insertion. 2.
- Page 5 AC (120/220V) 16A Power Supply 3. Slide the power supply onto the left side of the chassis, as shown: 4. Tighten the small screws to secure the power supply to the I/O chassis. 5. Attach the other end of the power cable to the D-shell connector on the bottom of the power supply and tighten the connector screws.
- Page 6 AC (120/220V) 16A Power Supply When mounted separately, the power supply may be mounted above or next to the I/O chassis. It may not be mounted below, since it is necessary to allow convection cooling of both the power supply and the I/O chassis.
- Page 7 AC (120/220V) 16A Power Supply 3. Connect the other end of the power cable to the D-shell connector on the I/O chassis and tighten the connector screws. The power supply operates on nominal120V ac or 220V ac input source. 1. Make sure the power switch is set to OFF. 2.
- Page 8 AC (120/220V) 16A Power Supply 3. Connect the ac power line to the terminal strip on the power supply. ATTENTION: You must connect a 14 AWG wire from the GND terminal to the ground bus to provide an adequate safety ground. The power supply has a green P/S ACTIVE LED that provides status indication during power supply operation.
- Page 9 AC (120/220V) 16A Power Supply marked for all applicable directives Î Î Î Î Î Use these graphs to determine your: cooling requirements power cost transformer size (unless the transformer manufacturer has a recommended multiplier for sizing a transformer for an ac-to-dc power supply) PLC-2/02, PLC-2/05, PLC-2/16, and PLC-2/17 are trademarks of Allen-Bradley Company, Inc.
- Page 10 AC (120/220V) 16A Power Supply...
Need help?
Do you have a question about the 1771-P7 Series C and is the answer not in the manual?
Questions and answers