Advertisement
VERIFY THE CONTENTS INSIDE PACKAGE BOX
The package should contain the items plus NAS-7202. If any item is missing or damaged, please contact the seller immediately
Quick Installation Guide
Note : If any of above items are missed or damaged, please contact your local dealer for support.
STEP 1 : Hardware Installation
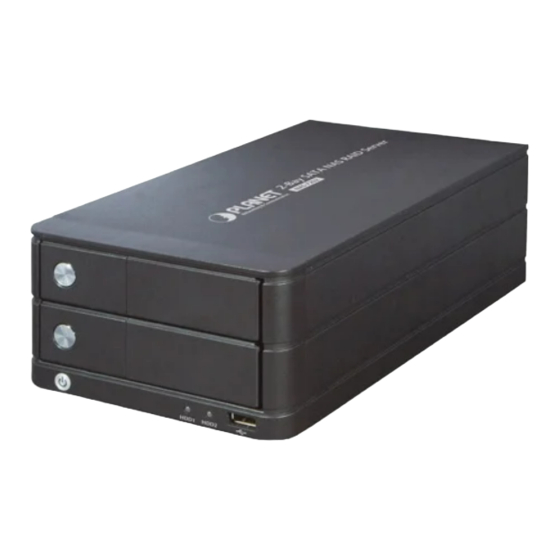
Installing the Hard Disk Drive
1. Push the silver button to release the HDD tray.
3. Place the HDD on the tray and secure the HDD
with the screws at the bottom (as il-lustrate).
Quick Guide
CD-ROM
RJ-45 Cable
2. Pull out the HDD tray.
4. Push the tray back in the unit and press down the
Power Adapter
black bar to secure the tray.
NAS-7202
x 8
HDD Screw
Advertisement
Table of Contents

Related Manuals for Planet NAS-7202


Summary of Contents for Planet NAS-7202
-
Page 1: Quick Guide
NAS-7202 VERIFY THE CONTENTS INSIDE PACKAGE BOX The package should contain the items plus NAS-7202. If any item is missing or damaged, please contact the seller immediately Quick Installation Guide CD-ROM RJ-45 Cable Power Adapter HDD Screw Note : If any of above items are missed or damaged, please contact your local dealer for support. - Page 2 Connect the power supply to NAS-7202. Press the “Power button” to turn on NAS-7202. The HDD activate LED on the front panel will light up during booting-up. NAS-7202 will be ready to use when the blue LED lights up steady.
Need help?
Do you have a question about the NAS-7202 and is the answer not in the manual?
Questions and answers