Advertisement
Quick Links
Go to www.vtechphones.com
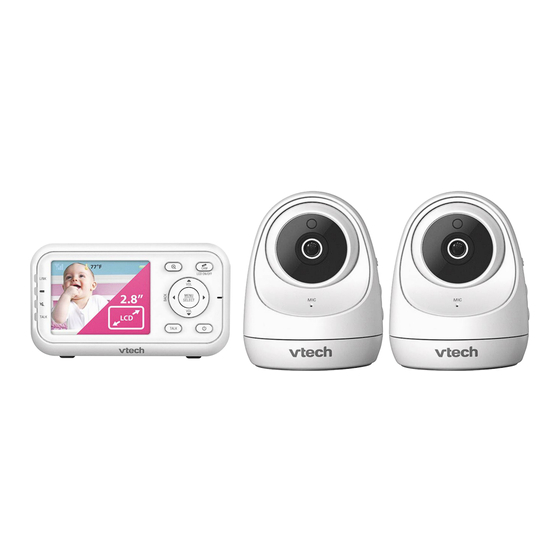
VM3261-2
to register your product for
enhanced warranty support and
latest VTech product news.
Quick start guide
Connect and power on - Baby unit
Overview - Parent unit
LCD display
Zoom
/ LCD ON/OFF
MENU/SELECT
LED lights
Microphone
Arrow keys
On/off
TALK
What's in the box
Positioning - Baby unit
Install the battery
> 3ft (1m)
VOL -
Battery
VOL +
compartment
cover
Speaker
Power jack
Stand
VM3261-2 baby monitor system
Baby's room
Connect and power on - Parent unit
THIS SIDE UP
> 3ft (1m)
<3ft (1m)
Overview - Baby unit
Light sensor
1
2
Camera
3
Infrared LEDs
ON/OFF LED light
Microphone
4
ON/OFF switch
5
Status check
Once you power on both your baby unit and parent unit, your parent unit displays
image from the baby unit, and the LINK LED light turns on. The POWER LED light of
the baby unit also turns on.
2s
If you are viewing baby unit
1
baby unit
is not being viewed, its POWER LED light flashes.
2
CAUTION
• The default volume of your parent unit is
3
level 4, and the maximum volume is level 5.
If you experience high-pitched screeching
4
noise from your baby monitor while
positioning:
- Make sure your baby unit and parent unit
are more than 3 feet (1 meter) apart, OR
- Turn down the volume of your parent unit.
5
Speaker
Antenna
6
8
Temperature sensor
7
PAIR
9
Power Jack
10
Living room
, the POWER LED light of baby unit
turns on. As
Threaded socket
Advertisement

Subscribe to Our Youtube Channel
Related Manuals for VTech VM3261-2


Summary of Contents for VTech VM3261-2
- Page 1 What’s in the box VM3261-2 baby monitor system Go to www.vtechphones.com VM3261-2 to register your product for Baby’s room Living room enhanced warranty support and latest VTech product news. Quick start guide Connect and power on - Baby unit Positioning - Baby unit...
- Page 2 Hold the baby unit, and then rotate the knob in only 1/4 inch of the screws are secure the baby unit. Align the holes on the wall mount as shown. Tighten the screw in the -OR- the threaded socket at the bottom to anticlockwise direction. This will loosen the joint of the wall exposed. bracket with the screws on the wall, and slide the wall middle hole first, so that the wall Place the wall mount bracket on a If you drill the holes into an secure the baby unit. mount bracket. mount bracket down until it locks into place. wall and then use a pencil to mark object other than a stud, insert mount bracket position is fixed. Tilt your baby unit up or down to adjust to your preferred You can tighten the other screw in the top and the bottom holes as the wall anchors into the holes. angle. the top hole. shown. Remove the wall mount Tap gently on the ends with a Then, rotate the knob in clockwise direction to tighten the bracket and drill two holes in the wall hammer until the wall anchors joint and secure the angle. (7/32 inch drill bit). are flush with the wall. Specifications are subject to change without notice. © 2018 VTech Communications, Inc. All rights reserved. 01/18. VM3261-2_QSG_V1. Document order number: 96-012000-010-100...
Need help?
Do you have a question about the VM3261-2 and is the answer not in the manual?
Questions and answers