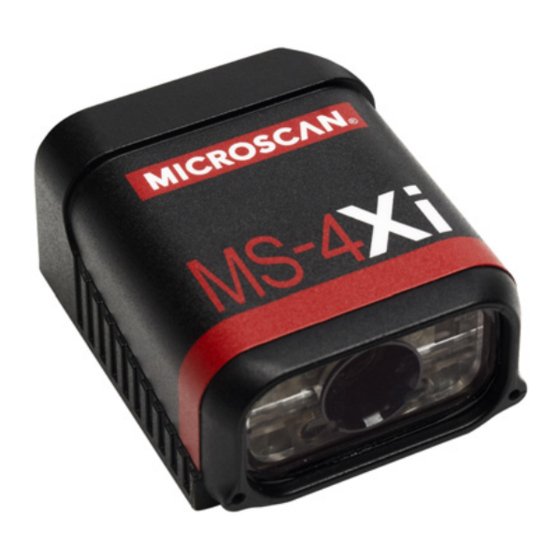
Table of Contents
Advertisement
Quick Links
Download this manual
See also:
User Manual
Quick Start Guide
MS-4X Imager Series
Step 3 — Position Imager
• Place the imager and test symbol in a location with as little ambient light
as possible.
• Position the imager at a distance from the symbol that matches the factory
pre-set focal distance. If your imager is pre-set at 4" (Standard Density),
position the parting line 4" from the symbol. If your imager is pre-set at 3"
(Low Density), position the parting line 3" from the symbol.
• Tip the imager relative to the symbol to avoid glare from specular reflection.
Avoid excessive skew or pitch. Maximum skew is ±30°; maximum pitch is ±30°).
• Symbols can be rotated (tilted) at any angle; however, for best results
symbols should be aligned with the FOV (field of view). In the case of linear
symbols, aligning the bars in the direction of their movement ("ladder"
orientation) will minimize the chances of blurring and No Reads.
Imager / Symbol Positioning
Copyright ©2015 Microscan Systems, Inc.
Step 1 — Check Hardware
2
MS-4Xi
Item
1
MS-4X, MS-4Xi
Power Supply, M12 12-pin Socket, 1.3 m
2
(Screw-On) (MS-4Xi only)
3
IC-332 Adapter
4
IB-131 Interface Box
Power Supply (90-264 VAC, 24VDC,
5
USA/Euro plug)
6
Object Detector
7
Communication Cable
P/N 83-110444 Rev B
Step 4 — Install ESP
ESP Software can be found on the Microscan Tools Drive that is packaged
with the imager.
1. Follow the prompts to install ESP from the Tools Drive.
2. Click on the ESP icon to run the program.
Note: ESP can also be installed from the Download Center at
www.microscan.com.
Refer to the user manual for detailed information about using ESP to
configure the imager.
Minimum System Requirements
• 233 MHz Pentium PC
• Windows 8, 7, Vista, or XP operating system (32-bit or 64-bit)
• Internet Explorer 6.0 or higher
• 128 MB RAM or greater
• 160 MB free disk space
• 800 x 600 256 color display (1024 x 768 32-bit color recommended)
1
3
7
4
1
5
6
MS-4X
Hardware Required
Description
Part Number
FIS-1004-1X10G
97-000003-03
FIS-0001-0035G
99-000018-01
97-100004-15
99-000017-01
61-300026-03
Step 2 — Connect the System
MS-4Xi – Ethernet
• Connect the M12 (power and I/O) end of the imager's cable to the
power supply (2).
• Connect the RJ45 (Ethernet) end of the imager's cable to the host.
• Plug in the power supply to apply power to the imager.
MS-4X – RS-232 / RS-422
• Connect the imager (1) to the IB-131/IC-332 interface (4) and (3).
• Connect the communication cable (7) to the host, and to the host
port on the IB-131.
• Connect the object detector (6) to the IB-131.
• Connect the power supply (5) to the IB-131.
• Plug in the power supply to apply power to the imager.
MS-4X – USB
• Plug the imager's USB cable into the host's USB port. The imager
is powered by the USB connection.
Caution:
Be sure that all cables are connected BEFORE applying power
to the system. Always power down BEFORE disconnecting any cables.
Step 5 — Select Model
When you start ESP, this menu will appear:
1. Click the button showing the imager used in your application.
2. Click OK.
Note: You can also simply double-click the button showing your
imager to make your selection.
3. Click Yes when this dialog appears:
Note: If you need to select another model later, click the Switch
Model button near the top of the screen or use Model > New
Model in the menu toolbar.
Advertisement
Table of Contents

Summary of Contents for Microscan MS-4X
-
Page 1: Quick Start Guide
Step 5 — Select Model • Place the imager and test symbol in a location with as little ambient light ESP Software can be found on the Microscan Tools Drive that is packaged When you start ESP, this menu will appear: as possible. - Page 2 2. To end the Read Rate test, press the • Click the EZ Mode button to return to EZ Mode. MS-4X Read Rate EZ Button and quickly release. • Click the Autoconnect button to establish communication. LEDs and EZ Button Test Read Rate by ESP •...


Need help?
Do you have a question about the MS-4X and is the answer not in the manual?
Questions and answers