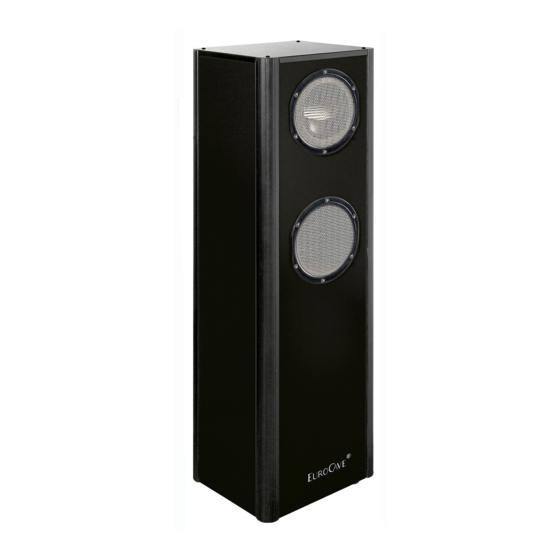
Eurocave Inoa 25 Instruction Manual
Inoa cellar conditioners
Hide thumbs
Also See for Inoa 25:
- Operating and installation manual (23 pages) ,
- Operating instructions manual (26 pages) ,
- Operating instructions manual (47 pages)
Summary of Contents for Eurocave Inoa 25
- Page 1 M a nuel d'installation - Climatiseurs de cave I N OA I N OA cellar conditioners - Instruction manu a l...
-
Page 2: Table Of Contents
ONTENTS 1 • C p. 3 ONDITIONER DESCRIPTION 2 • T p. 4 ECHNICAL SPECIFICATIONS 3 • C p. 4 ELLAR INSULATION 4 • I NSTALLING THE CONDITIONER I- General points p. 5 II- Drilling the wall p. 6 III- Fitting p. -
Page 3: Conditioner Description
1 - C ONDITIONER DESCRIPTION COLD AIR HOT AIR 10 - Conditioner / ceiling distance: 200 mm min. Condenser, to be cleaned regularly 11 - Ceiling Inside of cellar 12 - Cellar wall Remote control 13 - Metal mounting frame Grid securing screws (quantity: 2 4 ) 14 - Flexible ducting... -
Page 4: Echnical Specifications
W p ower W resistance W t e m p e r a t u re s Inoa 25 W385 x D322 230 V up to 600 W * * 43 Kg... -
Page 5: Installing The Conditioner
INSTALLING THE CONDITIONER I - General points - If the power lead is damaged, it must be replaced by a qualified electrician. - Never damage the appliance’s refrigerating circuit. Your conditioner’s power lead is supplied without a plug. “Fitting a power plug or connecting the conditioner to a junction box must be carried out by a qualified electrician. -
Page 6: Ii- Drilling The Wall
4 - I NSTALLING THE CONDITIONER • Fitting: (see C diagrams) The conditioner comes supplied with a metallic mounting frame which Extendable simplifies the process of drilling air entry and exit holes. ducting It also has extendable ducting to be cut to length (75 cm each) in order to Grid install the conditioner whatever the thickness of the wall. - Page 7 4 - I NSTALLING THE CONDITIONER - Position and fit the aesthetic front panel to the wall (screws not supplied). Use screws suitable for the wall material (11). - We recommend that you put a bead of silicone between the panel and the wall to ensure effective sealing. - Fold the flange’s 4 supports inwards (12).
-
Page 8: Iv- Discharging Condensate
4 - I NSTALLING THE CONDITIONER Conditioner housed inside the cellar: There are 2 methods for attaching the hot air extraction piping: - Attaching the piping directly to the aesthetic front panel: - Position and screw, using a Hex wrench (supplied), the two supplied flanges onto the aesthetic front panel (1). - Fit together the reducer (2). -
Page 9: Installing The Remote Control
5 - I NSTALLING THE REMOTE CONTROL I- Remote control description Radio frequency remote control (433.92 Mhz) Each remote control has a personalised code matched to the conditioner. Power supply: 2 x 3V (CR 2430 battery, supplied) On / off indicator Temperature units (according Low battery... -
Page 10: Iii- Installing The Remote Control Outside The Cellar
5 - I NSTALLING THE REMOTE CONTROL III- Installing the remote control outside the cellar The remote control can also be placed outside the cellar. In this case, it is essential to connect a sensor (supplied with the appliance) to the remote control before installing it. a- Connecting the sensor to the remote control - On the back of the remote control, push the 2 batteries downwards using a screwdriver (see diagram below). -
Page 11: B- Programming The Remote Control
5 - I NSTALLING THE REMOTE CONTROL - - P P r r o o g g r r a a m m m m i i n n g g t t h h e e r r e e m m o o t t e e c c o o n n t t r r o o l l Where placing the remote control outside the cellar, having connected the external sensor, it is essential to reprogramme the unit - To turn on the remote control, press and hold down the key for about 8 seconds until the... -
Page 12: Maintenance
6 - M AINTENANCE It is necessary to thoroughly clean the conditioner’s internal elements every 2 years. - Unplug the appliance. - Place the appliance on the ground to disassemble it (4 screws). - Vacuum the 4 air entry and exit grids. - Remove the upper cover (2 screws) (1). - Page 13 The information in this document is subject to modification without prior notice. EuroCave offers no guarantee on this equipment item if it is used for any specific purpose other than that for which it was designed. EuroCave cannot be held responsible for any errors in this manual, nor for any damage linked to or following the provision, performance or use of the equipment item.
- Page 14 Leader dans le domaine de la conservation, la présentation et le service des vins depuis plus de 30 ans, EuroCave vous propose des solutions adaptées à chacun de vos besoins. Armoires à vins, rangements, climatiseurs de cave, système de Vin au verre….n’hésitez pas à...


Need help?
Do you have a question about the Inoa 25 and is the answer not in the manual?
Questions and answers