
Related Manuals for Airuno Salieri 90


Summary of Contents for Airuno Salieri 90
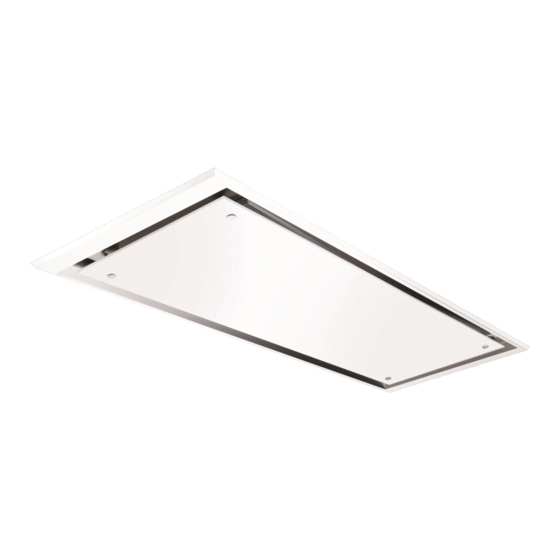
- Page 1 Salieri 90 & 120 Ceiling Hood Installation & User Instructions Please read these instructions carefully before installing and operating this appliance...
-
Page 2: Table Of Contents
Contents 1. Introduction 2. Health and Safety 3. Installation 4-10 3.1 Assembly Instructions 3.2 Electrical Wiring 8-10 3.2.1 Electrical Wiring Diagram 3.2.2 Controls 4. Use & Maintenance 10-11 4.1 Cleaning the Metal Filters 4.2 Carbon Filters 4.2.1 Polyester Carbon Filters 4.2.2 Long Life Carbon Filters 10-11 4.4 Cleaning the Hood... -
Page 3: Introduction
Introduction Health and Safety Dear Customer, Installation of the cooker hood extractor, We wish to thank you for choosing this Air Uno cooker making electrical connections, checking its hood extractor. In order to get the best performance operation and maintenance are all tasks which from your appliance we recommend that you read should be carried out by qualified and this booklet carefully before operating the appliance... -
Page 4: Installation
Screw hole dimensions and cut out dimensions by the relative authorities regarding the exhaust air when the suction is operating. Failure to Salieri 90 with & without motor respect and perform all maintenance and 650mm cleaning operations described in this handbook could cause a fire hazard. - Page 5 Salieri 90 with and without motor Cut out Salieri 120 Dimensions Ø9 hole Fig 3 Salieri 120 with & without motor Cut Out Dimensions Fig 6 Pull down both parts of the cover to hang down (Fig 7). Fig 4 Salieri 90 Ø9 hole...
- Page 6 Fig 9 Take cover apart from body ( 90° Fig 11 Fig 9 Align the fixings to the holes on the body and tighten bolts to fix the hood to the bulkhead (Fig 10). Fig 12 Fig 10 Fig 13 The motor can be turned 90 degrees so that you Figures 14 –...
-
Page 7: Salieri
With F13 Motor Fig 17 Fig 15 Without Motor Fig 18 Attach the cover back on to the body (Fig 19). Fig 19 Re-insert the grease filters and close the cover Fig 16 (Fig 20). -
Page 8: Electrical Wiring
Fig 20 3.2 Electrical Wiring The electrical wiring must be performed by a specialised electrician fully respecting current standards and legislation in force. Check that the power supply corresponds to the voltage requested by the hood, which is given on the silver label stuck inside the hood. -
Page 9: Electrical Wiring Diagram
3.2.1 Electrical Wiring Diagram Black Grey White To motor Blue plug Blue To light transformer Brown Blue Supply Brown To control buttons on hood... -
Page 10: Controls
3.2.2 Controls The Salieri is controlled by remote control. This allows the user to control the hoods on/off functions and motor speeds. Fig 21 Turns the motor on at speed 2 and for turning the Fig 22 motor off. Increases motor speed. 4.2 Carbon Filters Decreases motor speed. -
Page 11: Cleaning The Hood
100°C 10 min Fig 24 4.4 Cleaning the Hood The surfaces of the hood should be cleaned frequently, to avoid the risk of having to remove built up and encrusted deposits and stains. For the painted or copper plated hoods just a soft cloth with warm water and a neutral detergent. -
Page 12: Dimensions
6. Dimensions 6.1 Salieri 90cm & 120cm without motor 6.2 Salieri 90cm & 120cm with F13 Motor... - Page 16 CD (UK) Ltd T/A Air Uno Unit L, Wakefield House Thistle Way Gildersome Spur Morley West Yorkshire LS27 7JZ CD (UK) Ltd T/A Air Uno is a company registered in England and Wales Registration No. 2905619 Copyright of all contents of this leaflet is vested in CD (UK) Ltd t/a Air Uno. Any part may not be reproduced without permission. The contents of this leaflet are accurate at the date of printing but, because CD (UK) Ltd t/a Air Uno has a policy of continual development, it may be superseded and should be disregarded if specifications or appearances are changed.
Need help?
Do you have a question about the Salieri 90 and is the answer not in the manual?
Questions and answers