Table of Contents
Advertisement
Quick Links
Advertisement
Table of Contents

Related Manuals for Anaheim Scientific H100


Summary of Contents for Anaheim Scientific H100
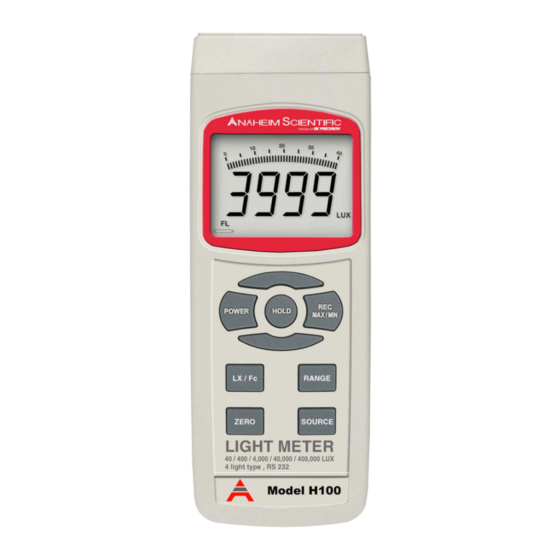
- Page 1 INSTRUCTION MANUAL Models: H100 Light Meter...
-
Page 3: Table Of Contents
Table of Content 1. Product Introduction ………………………………………… 3 1-1 Features ………………….………………………… 3 1-2 Applications ……………………………………...… 3 2. Safety Information …………………………………………… 4 2-1 Cautions ………………………………..………..… 4 2-2 Safety Symbol s ………………………..…..……… 4 3. Specifications……………………………………...…………. 5 4. Operation Instructions……………………………………… 7 4-1 Unit Diagram ……………………………………… 7 4-2 Measuring Procedure ……………………….…... -
Page 4: Product Introduction
1. Product Introduction 1-1 Features Two year warranty Large LCD displ a y with bar graph Wide measurement ranges: 40.00/ 4 00.0/4,000/40, 0 00/ 4 00,000lux Display resolution: 0.04lux to 100l u x, 0.01ft-cd to 10ft-cd ... -
Page 5: Safety Information
2. Safety Information Read the follow ing safety information carefull y before attempting to operate or serv ice the meter. Onl y qualified personnel should perform repairs or serv i c ing not cov ered in this manual. 2-1 Cautions! DO NOT submerge the products mentioned in this manual in w ater or any other ty pes of liquids. -
Page 6: Specifications
3. Specifications Display 5 Digit LCD with bar graph indicator Measurement Ranges 40.00/ 4 00.0/4,000/40,000/400,000lux Unit of Measurement lux or Foot-Candl e (fc) Measurable Lighting Sources Tungsten, Fluorescent, Sodium or Mercury Lamps Sensor Photo diode & color correcti o n filter, spectrum meets C.I.E. - Page 7 Data Output RS-232 Seri a l data output Operati n g Environment 32° to 122°F (0° to 50°C), <80% R.H. Power Supply 6 Pieces of DC 1.5V Batteries (UM4, AAA or equivalent) Weight (approx.) 0.79l b s. (357g) Dimensions (approx.) Main instrument: 6.9 x 2.7 x 1.
-
Page 8: Operation Instructions
4. Operating Instructions 4-1 Unit Diagram Fig. 1 4-1 Display 4-10 Stand 4-2 Power Button 4-11 Battery Compartment 4-3 Hold Button 4-12 RS232 Socket 4-4 REC (MAX/MIN) Button 4-13 Light Sensor 4-5 Lux/Fc Button 4-14 Sensor Protective Cover 4-6 Range Button 4-15 Light Sensor Plug 4-7 Zero Button 4-16 LCD Displ a y Contrast Adjust... -
Page 9: Measuring Procedure
4-2 Measuring Procedure 1. Push the “ Power Button” (4-2, Fig. 1) to power on the instrument. The meter will perform a short self-test before measurements can be taken. 2. Select the desired unit of measurement by pressing the “Lux/Fc Button” (4-5, Fig. 1). The display will indicate the selected unit of “Lux”... -
Page 10: Data Record
4-6 Data Record a. The data record function records the max imum and mini m um readings. Press the “REC Button” (4-4, Fig. 1) to start the data record function. b. With the “REC” symbol on the di s play momentarily pressing the “REC Button”... -
Page 11: Rs232 Pc Serial Interface Information
6. RS232 PC Serial Interface Information This instrument has RS232 PC serial interface via a 3. 5 mm terminal (4-12, Fig. 1). The data output is a 16 digit stream which can be utilized for user's specific application. A RS232 lead with the foll o wing connection will be required to link the instrument with the PC serial port. -
Page 12: Battery Replacement
The 16 digit data stream will be displayed in the following format: D15 D14 D13 D12 D11 D10 D9 D8 D7 D6 D5 D4 D3 D2 D1D0 Each digit indicates the following status: Start Word When send the upper display dat a = 1 When send the lower display data = 2 D12 &... -
Page 13: Service Information
“service/repair”. Return all merchandise to Anaheim Scientific w ith pre-paid shipping. The flat-rate repair charge for Non-Warranty Service does not include return shipping. Return shipping to locations in North A merican is included for Warranty Service only. -
Page 14: Warranty Information
Anaheim Scientific distributor. Anaheim Scientific w ill, w ithout charge, repair or replace, at its option, defective product or component parts. Returned product must be accompanied by proof of the purchase date in the form of a sales receipt. - Page 16 Anaheim Scientific 22820 Savi Ranch Par kw ay Yorba Linda, CA 92887 U.S.A. www.anaheimscientific.com Printed in Tai w an / Ver. 1.0/0606 © 2006 Anahei m Scientific Corporation...
Need help?
Do you have a question about the H100 and is the answer not in the manual?
Questions and answers