Schlage BE365 Installation Instructions Manual
Keypad deadbolt
Hide thumbs
Also See for BE365:
- User manual ,
- Programming/operating manual (12 pages) ,
- Installation instructions manual (9 pages)
Advertisement
*23780000*
23780000
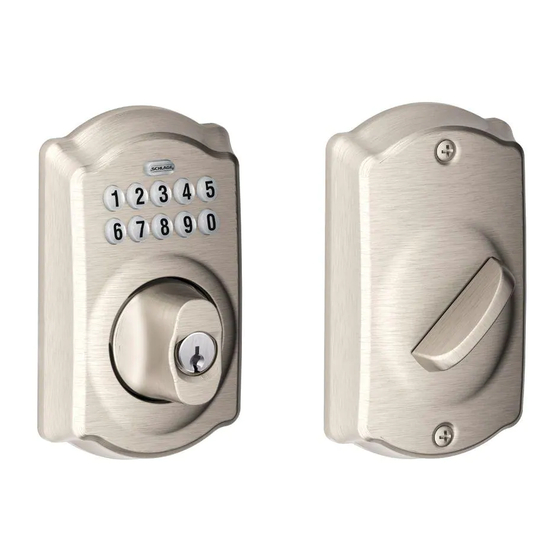
Model BE365
Tools Needed
Optional
• Phillips screwdriver
• Tape Measure
• Flathead Screwdriver
• Pencil
• Wood Block
• Hammer
Additional Parts
Optional Bolt
Faceplate
Key
Prepare for Installation
IMPORTANT NOTES
•
DO NOT use a power drill for installation!
•
Use a screwdriver to remove product from packaging.
•
Install and test lock with door open to avoid being locked out.
•
Pay special attention to step 1. If lock is installed with
the cam in the wrong position, the lock will not function
properly!
A
Check door dimensions.
See consumer.schlage.com/Service-Support for door preparation
instructions if dimensions are different.
2³⁄₄" (70 mm)
OR
2³⁄₈" (60 mm)
Door Edge
Keypad Deadbolt
Baseplate
Keypad
Bolt
2¹⁄₈" (53 mm)
Hole
5¹⁄₂" (140 mm)
Minimum
Baseplate
Screws (2)
Strike
Reinforcement
Screws (2)
Latch/Strike
Screws (4)
B
Adjust bolt length, if necessary.
Measure the dimension shown. If the measurement is 2C\v" (70 mm),
extend the bolt.
2³⁄₈" (60 mm)
No adjustment needed.
Installation Instructions
Cover
Screws (2)
Cover
Reinforcement
Plate
2³⁄₄" (70 mm)
OR
Rotate faceplate 180° to extend.
Not Extended
Extended
Advertisement
Table of Contents

Related Manuals for Schlage BE365


Summary of Contents for Schlage BE365
- Page 1 Pay special attention to step 1. If lock is installed with the cam in the wrong position, the lock will not function properly! Check door dimensions. See consumer.schlage.com/Service-Support for door preparation instructions if dimensions are different. No adjustment needed. Rotate faceplate 180° to extend.
- Page 2 Change faceplate, if necessary. Install bolt. Choose the drawing that matches your door edge. If the hole has no mortise, change to the circular faceplate. Door Edge No change necessary. Wood Block (Not Included) Door Edge Actual Size CAUTION Bolt must remain retracted throughout installation! Retracted Extended...
- Page 3 Install baseplate. Install cover. Slides through same hole as wire. Holds keypad and baseplate together during installation. Actual Size CAUTION Install reinforcement plate and strike into door jamb. Cam MUST be vertical! Actual Size Review Step 1! Door Stop For maximum Connect wire and 9V battery.
-
Page 4: Programming Guide
Program Lock See the Keypad Locks Programming Guide that came with this lock. See the Keypad Locks User Guide for additional information. Go to keypad.schlage.com for videos and more. Register your product at RegisterMySchlage.com. Schlage Customer Service Servicio de atención al cliente Service à... - Page 5 Mesurez la dimension illustrée. Si la mesure est de 70 mm (2C\v po), Si les dimensions sont différentes, visiter le site consumer.schlage. déployez le pêne. com/Service-Support pour plus d’information à propos des 2³⁄₈" (60 mm) 2³⁄₄"...
- Page 6 Si es necesario, cambie la placa frontal. Instalar el perno. Changez la têtière au besoin. Installer le verrou. Elija el dibujo que coincida con el borde de su puerta. Si el orificio no tiene mortaja, cambie por la placa frontal circular. Sélectionnez le dessin qui correspond à...
- Page 7 Instalar la placa base. Instale la cubierta. Installer la plaque de base. Installer le couvercle. Se desliza por el Elle glisse par le même mismo orificio que el orifice que le fil. Elle cable. Mantiene el retient ensemble le teclado y la placa base clavier numérique et la unidos durante la plaque de base au...
- Page 8 Exclusiones: El terminado en apparence au fil du temps, en acquérant une patine Schlage offre une garantie à vie sur le mécanisme et le fini et Schlage concede al usuario consumidor original (“Usuario de bronce lustroso (613) está diseñado para mejorar con el vivante par usage quotidien;...
Need help?
Do you have a question about the BE365 and is the answer not in the manual?
Questions and answers
PLease verify the deadbolt projection dimension
The deadbolt projection dimension for the Schlage BE365 is 2.18 inches.
This answer is automatically generated