Do you have a question about the BP-255 and is the answer not in the manual?
Questions and answers
Adrian Duffy
March 13, 2025
No, model no RBS250B
Adrian Duffy
March 13, 2025
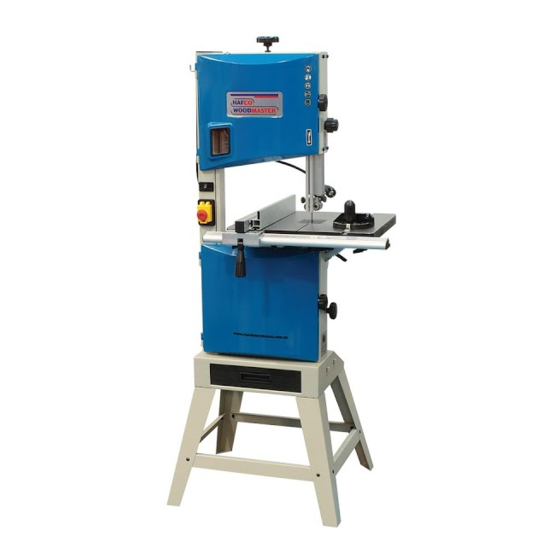
I have a Hafco wood master band saw Model BP 250. I need a replacement belt drive. Told by Hare and Forbes staff that these type of items are not stocked. Please advise where I purchase one Thank you


Need help?
Do you have a question about the BP-255 and is the answer not in the manual?
Questions and answers
No, model no RBS250B
I have a Hafco wood master band saw Model BP 250. I need a replacement belt drive. Told by Hare and Forbes staff that these type of items are not stocked. Please advise where I purchase one Thank you