Advertisement
Quick Links
Service
Manual
P801 (Q522) AD9888 ADJUSTMENT METHODE
ADJUSTMENT PURPOSE:
This Adjustment may be needed when especially P701 or P801 are replaced.
In addition, "Signal Generator" is required for this adjustment.
REASON :
"P701 and P801 are replaced in a pair" is written in the service manual.
Because, the adjustment value of P801 (Q522 AD9888) is saved P701.
If P701 and P801 are replaced separately, adjustment value will shift, the color of screen becomes
purplish red in the whole, readjustment is necessary to make it right color.
調整目的:
P701
または
P801
を交換した場合、調整が必要となる場合があります。
尚、この調整には「信号発生器」が必要です。
理由:
と
はサービスマニュアルでは、ペアでの交換となっています。
P701
P801
その理由は、
P801
(
ペア以外で
PWB
を交換した場合は、調整値がずれ、スクリーンの色が全体的に初期値の赤紫となります。
正しい色にする為に再調整が必要となります。
SECTION
1. AD9888 ADJUSTMENT METHODE
2. HOW TO USE THE SIGNAL GENERATOR (SECORE VP403)...................................................15
Please use this service manual with referring to the user guide ( D.F.U. ) without fail.
ADDENDUM INFORMATION
Q522 ADA9888
)の調整値は
/ (JAPAN Ver)......................................................1 / (18)
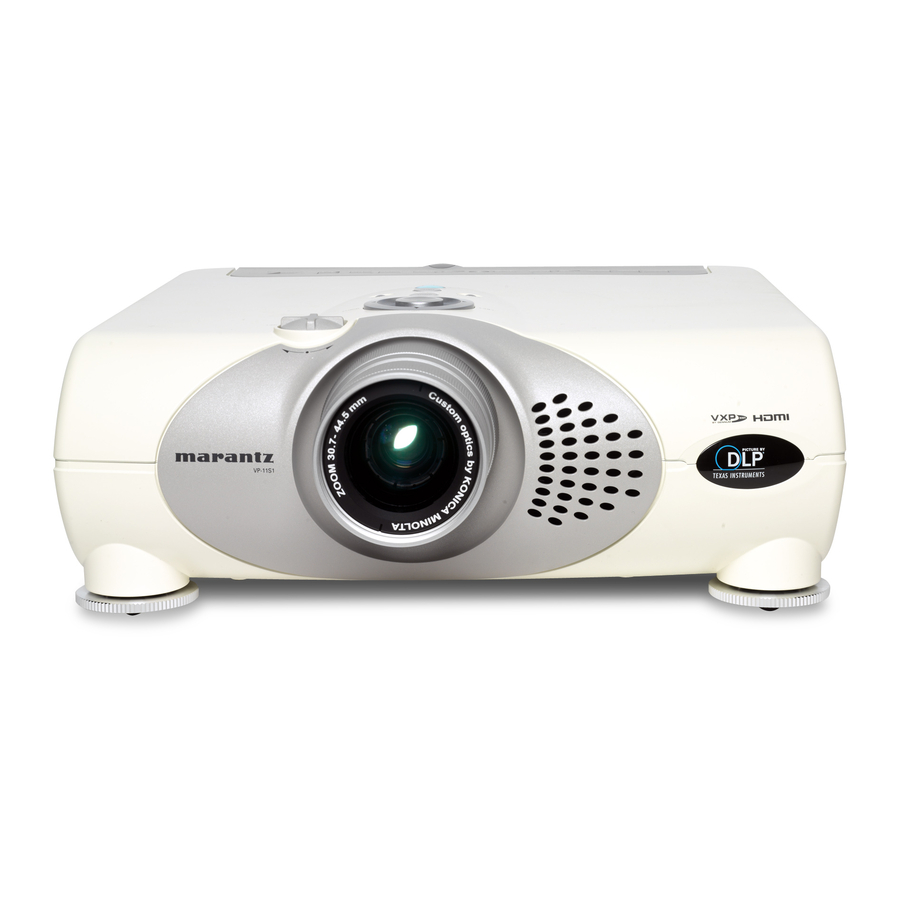
VP-11S1
VP11S1 /
P701
に保存されています。
F W/N1M/U1M/U1B
DLP Projector
Part no. 90M19AV855020
First Issue 2006.04
MZ
Advertisement

Related Manuals for Marantz VP-11S1


Summary of Contents for Marantz VP-11S1
- Page 1 / (JAPAN Ver)............1 / (18) 1. AD9888 ADJUSTMENT METHODE 2. HOW TO USE THE SIGNAL GENERATOR (SECORE VP403)...........15 Please use this service manual with referring to the user guide ( D.F.U. ) without fail. VP-11S1 Part no. 90M19AV855020 First Issue 2006.04...
-
Page 2: Ordering Parts
MARANTZ Parts for your equipment are generally available to our National Marantz Subsidiary or Agent. ORDERING PARTS : Parts can be ordered either by mail or by Fax.. In both cases, the correct part number has to be specifi ed. - Page 3 AD9888 Adjustment Methode VP-11S1...
- Page 4 RS-232C cable (straight type : Female <-> Female) Application software for AD adjustment : AtAdAdjEng.exe Connnections Signal generator VGA cable Component cable VP-11S1 Connect to COMP1 RS-232C straight cable Preparation for AD adjustment The following folder is copied to a desktop. AtAdAdjEnglish...
- Page 5 How to adjust (1) Connect all cables to the projector base on "Connections". (2) Press the power button on the projector. (3) Waits that the Lamp does light up. (4) Double click the application file "AtAdAdjEng.exe" of the folder AtAdAdjEnglish on the desktop.
- Page 6 (5) Press E on the keyboard. The following setup is a setup at the time of using SENCORE VP403. Change the following value. (6) Click the OK button.
- Page 7 (7) Press space key on the keyboard. Confirms that the following message.
- Page 8 (8) Input 80% White RGB signal. Press space key on the keyboard. Confirms that the following message.
- Page 9 (9) Input 100%Black RGB signal. Press space key on the keyboard. Confirms that the following message.
- Page 10 (10) Input 100% saturation Yellow 480P/60Hz Component signal. Press space key on the keyboard. Confirms that the following message.
- Page 11 (11) Input 100% saturation Cyan 480P/60Hz Component signal. Press space key on the keyboard. Confirms that the following message.
- Page 12 (12) Input 100% Black 480P/60Hz Component signal. Press space key on the keyboard. Confirms that the following message.
- Page 13 (13) Input 100% saturation Yellow 720P/60Hz Component signal. Press space key on the keyboard. Confirms that the following message.
- Page 14 (14) Input 100% saturation Cyan 720P/60Hz Component signal. Press space key on the keyboard. Confirms that the following message.
- Page 15 (15) Input 100% Black 720P/60Hz Component signal. Press space key on the keyboard. Confirms that the following message. (16) Press Standby button on the projector. (17) Remove all connection cables.
- Page 16 <Trouble shooting against adjustment problem> Adjustment problem mode : An adjustment process will stop into an adjustment process. Adjustment is not completed. When the adjustment problem occurs into 480p-RGB adjustment process Press ESC key on the key board. Adjustment process returns to an initial 480p-RGB adjustment process.
-
Page 17: How To Use Sencore Vp403
HOW TO USE SENCORE VP403... - Page 18 1. How to set up VGA/60Hz RGB 80% White (1) Press ON/OFF button. (2) Press SIGNAL TYPE button. (3) Select VESA/Mac-RGB. (4) Press FORMAT button. (5) Select 640x480_60Hz. (6) Press PATTERN button. (7) Select Raster 100 IRE (8) Select IRE adjust (9) Change Raster 80 IRE from 100 IRE by press by + - button.
- Page 19 7. How to set up 720p Yellow 100% YPbPr (17) Press FORMAT button. (18) Select 720p59. (19) Press PATTERN button. (20) Select Raster 0 IRE (21) Select IRE adjust (22) Change Raster 100 IRE from 0 IRE by press by + - button. (23) Press GATING button.
- Page 20 AD9888 調整手順 VP-11S1...
- Page 21 適用 本調整手順は、VP-11S1 に実装される AD コンバータ(アナログデバイセズ製 AD9888)の調整に適 用されます。 準備する物 RGB 信号発生器 VGA/60Hz RGB 信号 《80% White / 100% Black (Setup = 0 IRE)》 が出力可能なテスト信号発生器 コンポーネント信号発生器 480P/60Hz コンポーネント信号 《100% White / 100% Black (Setup = 0 IRE) / 100%飽和 Yellow / 100% 飽和シアン》...
- Page 22 準備 1. 使用する PC に調整用アプリケーション AtAdAdj_1_08 をインストールします。 2. 調整用アプリケーション AtAdAdj_1_08 を立ち上げます。 3. 上下キーで、項目ポート番号かデータ取得回数を決定します。 4. 左右キーで、使用する COM ポートの番号とデータ取得回数(推奨 3)を決定します。 この値はこのままの値を使用して下さい。...
- Page 23 5. AtAdAdj を立ち上げ、キ-ボ-ドで E を押して下さい。 下記のメニュ-が現れます。 赤丸の部分 3 ケ所が 560 であることを確認して下さい。 700 の場合は 560 にキ-入力で変更して下さい。 設定 700 は白 100%入力の設定です。 設定 560 は白 80%入力の設定です。 ※ 信号発生器 SENCORE VP403 を使用時にはさらに 480p-YUV の Y を 650 から 640 へ 720p-YUV の Y を 650 から 630 に変更して下さい。 6.
- Page 24 調整手順 1. PC とテスト信号発生器の電源を立ち上げます。 2. 接続図に沿ってプロジェクターと PC とテスト信号発生器を接続します。 3. プロジェクターの電源を立ち上げます。 4. 調整用アプリケーション AtAdAdj_1_08 を立ち上げます。 5. PC の SPACE キーを押し、調整を開始する (RGB 入力は自動的に切り替わります)。...
- Page 25 6. RGB に 480P 白を入力し、PC の SPACE キーを押します。...
- Page 26 7. 下記のメッセ-ジを確認後、RGB に 480P 黒を入力し、PC の SPACE キーを押します。...
- Page 27 8. 下記のメッセ-ジを確認して下さい。 480p-RGB 調整完了後、自動で 480p-YUV 調整に移行します。 セット本体の入力は自動で COMP1 に切り替わります。 COMP1 に 480P 黄色を入力し、PC の SPACE キーを押します。...
- Page 28 9. 下記のメッセ-ジを確認後、COMP1 に 480P シアンを入力し、PC の SPACE キーを押し ます。...
- Page 29 10. 下記のメッセ-ジを確認後、COMP1 に 480P 黒を入力し、PC の SPACE キーを押し ます。...
- Page 30 11. 下記のメッセ-ジを確認して下さい。 480p-YUV 調整完了後、自動で 720p-YUV 調整に移行します。 COMP1 に 720P 黄色を入力し、PC の SPACE キーを押します。...
- Page 31 12. 下記のメッセ-ジを確認後、COMP1 に 720P シアンを入力し、PC の SPACE キーを押し ます。...
- Page 32 13. 下記のメッセ-ジを確認後、COMP1 に 720P 黒を入力し、PC の SPACE キーを押し ます。...
- Page 33 14. 下記のメッセ-ジを確認で調整完了です。 本機をスタンバイにして下さい。 15. AC コ-ドを含むすべてのコ-ドを外して下さい。...
- Page 34 <調整過程で調整の不具合が発生した場合> 調整不具合モ-ド : 調整中止まる。調整が終了しない。 480p-RGB調整過程で調整不良が発生した場合 ESC キ-を押して下さい。480p-RGB 調整の初期に戻ります。 480p-RGB 調整を再試行して下さい。 480p-YUV調整過程で調整不良が発生した場合 ESC キ-を押して下さい。480p-YUV 調整の初期に戻ります。 480p-YUV 調整を再試行して下さい。 720p-YUV調整過程で調整不良が発生した場合 ESC キ-を押して下さい。720p-YUV 調整の初期に戻ります。 720p-YUV 調整を再試行して下さい。...
Need help?
Do you have a question about the VP-11S1 and is the answer not in the manual?
Questions and answers