Sign In
Upload
Download
Table of Contents
Contents
Add to my manuals
Delete from my manuals
Share
URL of this page:
HTML Link:
Bookmark this page
Add
Manual will be automatically added to "My Manuals"
Print this page
×
Bookmark added
×
Added to my manuals
Manuals
Brands
Haier Manuals
Dishwasher
HDW13G1
User manual
Haier HDW13G1 User Manual
Hide thumbs
1
2
Table Of Contents
3
4
5
6
7
8
9
10
11
12
13
14
15
16
17
18
19
20
21
22
23
24
25
26
27
28
29
30
31
32
33
34
35
36
37
page
of
37
Go
/
37
Contents
Table of Contents
Troubleshooting
Bookmarks
Table of Contents
Table of Contents
Safety
Product Description
Control-Panel
Control Panel
Status Indicators
Programmes
Child Lock
Daily Use
Lower Basket
Cutlery Basket
End of Programme
Standby Mode
Care and Cleaning
External Cleaning
Troubleshooting
Economic and Environmental Use
Installation
Fresh Water Connection
Technical Data
Customer Service
Standards Test
Advertisement
Quick Links
1
Control-Panel
2
Programmes
3
Child Lock
4
Daily Use
5
Troubleshooting
Download this manual
User Manual
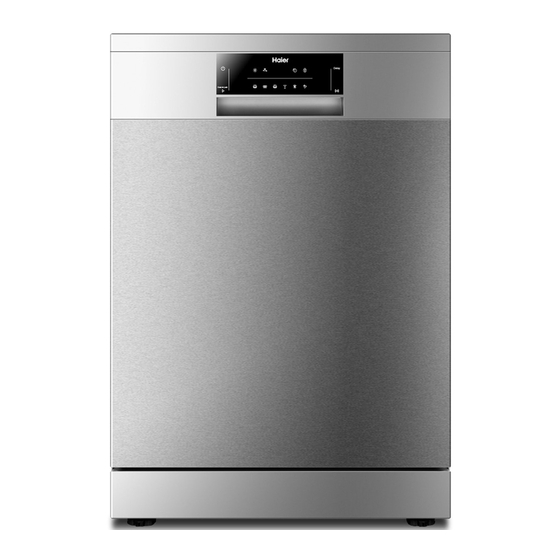
Dishwasher
HDW13G1 / HDW14G2
HDW15G2P / HDW15G3 Models
AA
Table of
Contents
Previous
Page
Next
Page
1
2
3
4
5
Advertisement
Table of Contents
Need help?
Do you have a question about the HDW13G1 and is the answer not in the manual?
Ask a question
Questions and answers
Related Manuals for Haier HDW13G1
Dishwasher Haier HDW13V1W1 User Manual
(33 pages)
Dishwasher Haier HDW13V1 User Manual
(33 pages)
Dishwasher Haier HDW13V1G1 User Manual
(33 pages)
Dishwasher Haier 300 Series User Manual
(36 pages)
Dishwasher Haier HDW101SS Instructions For Use Manual
Haier hdw101ss: user guide (20 pages)
Dishwasher Haier HDW101SS Service Manual
(38 pages)
Dishwasher Haier HDW101SST HA AA Parts Manual
(13 pages)
Dishwasher Haier HDW100SST User Instructions
Haier dishwasher user instructions (13 pages)
Dishwasher Haier HDW100SST HA Parts Manual
(13 pages)
Dishwasher Haier HDW100WCT HA AA Parts Manual
Haier dishwasher parts manual (15 pages)
Dishwasher Haier HDW12-SFE1 Series Operation Manual
(24 pages)
Dishwasher Haier HDW12-SFE3 Operation Manual
(32 pages)
Dishwasher Haier HDW15V2 2 Series User Manual
(33 pages)
Dishwasher Haier HDW15V2W2 User Manual
(33 pages)
Dishwasher Haier HDW15V3S1 User Manual
(38 pages)
Dishwasher Haier HDW15F1B1 User Manual
(40 pages)
This manual is also suitable for:
Hdw15g3
Hdw15g2p
Hdw14g2
Hdw13g1w
Hdw13g1x
Hdw14g2x
...
Show all
Hdw14g2w
Hdw15g3w
Table of Contents
Save PDF
Print
Rename the bookmark
Delete bookmark?
Delete from my manuals?
Login
Sign In
OR
Sign in with Facebook
Sign in with Google
Upload manual
Upload from disk
Upload from URL


Need help?
Do you have a question about the HDW13G1 and is the answer not in the manual?
Questions and answers