Table of Contents
Advertisement
lippertcomponents.com
574-537-8900
Awnbrella
Installation and Owner's Manual
(For Aftermarket Applications)
Awnbrella
Installation and
Owner's Manual
(For Aftermarket Applications)
Table of Contents
. . . . . . . . . . . . . . . . . . . . . . . . . . . . . . . . . . . . . . . . . . . .
. . . . . . . . . . . . . . . . . . . . . . . . . . . . . . . . . . . . . . . . . . . . . .
®
Introduction
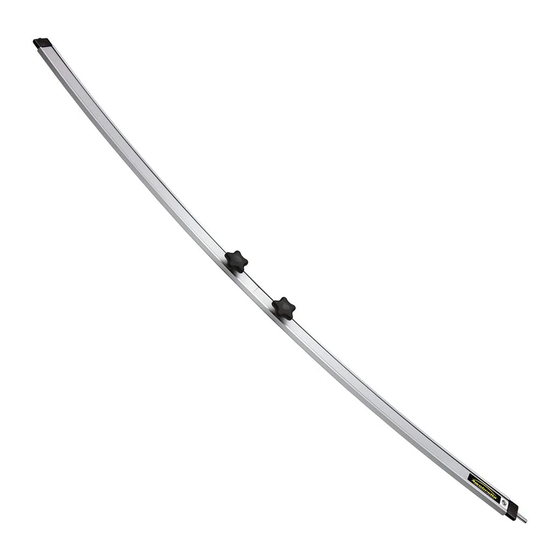
Give your awning extra support and better angle for water
runoff with the Solera
bows hold fabric taut and arched so water and debris can
easily run off.
1
®
®
. . . . . . . . . . . . . . . . . . . . . . . . . . . . . . . . . . .
. . . . . . . . . . . . . . . . . . . . . . . . . . . . . . . . . . .
. . . . . . . . . . . . . . . . . . . . . . . . . . . .
. . . . . . . . . . . . . . . . . . . . . . . . . . . . . . . .
. . . . . . . . . . . . . . . . . . . . . . . . . . . . . .
. . . . . . . . . . . . . . . . . . . . . . . . . . . . . .
. . . . . . . . . . . . . . . . . . . . . . . . . . . . . . . . . . . . .
Awnbrella. Rust-resistant aluminum
®
Rev: 02.17 - Solera
1
2
3
3
3
4
5
5
6
7
. . . . . . . . .
Awnbrella
®
™
Advertisement
Table of Contents

Related Manuals for Lippert Components Awnbrella


Summary of Contents for Lippert Components Awnbrella
-
Page 1: Table Of Contents
........Proper Awning Extention for Awnbrella Arms . -
Page 2: Awnbrella Parts List
Awnbrella ® Installation and Owner’s Manual (For Aftermarket Applications) Awnbrella Parts List Awnbrella 2-arm package - Part number 362238 Letter Description Awnbrella Arms Adjustable from 59” to 106” White Velcro Pads with Adhesive Backing ® Black Velcro Pads with Adhesive Backing ®... -
Page 3: Resources Required
The outer most holes drilled into arms make four sections, etc. It is recommended the the roller tube for the Awnbrella arms should not be placed canvas not be divided into sections exceeding 54”. See any closer than 42” from the end of the tube to protect the example to the right and installations instructions on the roller tube spring. -
Page 4: Drilling The Roller Tube
(Fig.1). Mark the roller tube at that predetermined distance and 1/2” down from the fabric seam. (Fig.2). This is where the first Awnbrella arm will later be installed. Continue to make all measurements and markings along the roller tube for placement of the remaining arms. -
Page 5: Mounting Hanger Blocks
4. Loosen the knob on the rubber tip end drilled in the roller tube (Fig.6). 1. Thread the plastic tightening knobs into of the arm and push the Awnbrella arm Measure and mark the position on the holes on the Awnbrella arms. Extend up against the fabric. -
Page 6: Velcro Stabilizers
Fig.15 4. Reposition the Awnbrella arm back into the hanger blocks and roller NOTE: Leave the Awnbrella arms in place for 48 hours to allow the adhesive to tube, then use alcohol to clean the 8” set. Ideally, Velcro patches should be installed when the temperature is above awning fabric directly opposite the 70º... -
Page 7: Proper Awning Extention For Awnbrella Arms
• Follow all care instructions recommended by the awning manufacturer. • The awning may stretch slightly where it meets Awnbrella arms. This should present no problem in performance. drilled holes at Canvas should be in good condition when using the 3:00 position or more Awnbrella or it could rip. - Page 8 (For Aftermarket Applications) Notes Manual information may be distributed as a complete document only, unless Lippert Components provides explicit consent to distribute individual parts. All manual information is subject to change without notice. Revised editions will be available for free download at www.lippertcomponents.com.
Need help?
Do you have a question about the Awnbrella and is the answer not in the manual?
Questions and answers