Advertisement
1. Introduction
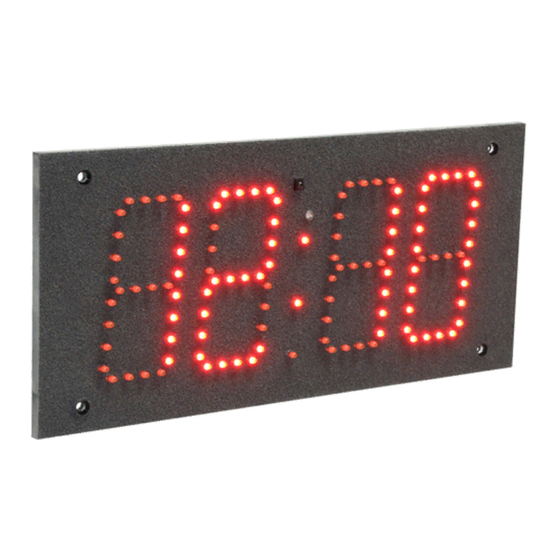
The devices of ZA, ZB and ZAH, ZBH series are compact clocks with various configuration options. An intuitive user menu operated by a
remote control allows you to fully customise the device.
The clock equipped with a network communication module allows remote configuration through the "Website" and time
synchronization using the Internet time servers.
The clock enables:
adjusting the time of the presentation: the clock, the date, and the temperature,
−
adjusting the date format and the time format (12-hour or 24-hour),
−
automatic and manual brightness control,
−
working in the ECO mode allowing you to reduce power consumption,
−
signaling 30 alarms through a built-in transmitter,
−
choosing the shape of the display font,
−
automatic time change from the standard time to the daylight saving time and from the daylight saving time to the standard time
−
for various locations (Europe, Australia, the United States of America, Canada, Israel),
GPS time synchronization (available with GPS option),
−
synchronization using the NTP Internet servers (function available in the Ethernet option, requires the Internet access),
−
Master Mode – a local time server compatible with NTP (function available in the Ethernet option, does not require the Internet
−
access),
synchronization with the local "Master Mode" server (function available in the Ethernet option, does not require the Internet
−
access),
configuration through the built-in "Website" (function available in the Ethernet option, does not require the Internet access).
−
Display (content) synchronization in 3 modes (master, basic slave – master transmits only display information, full slave – master
−
transmits display information and temperature) between any types of clocks (the function available in the Ethernet option,
requires the access to the local network),
setting a unit of measurement for the displayed temperature (Celsius degrees or Fahrenheit degrees),
−
setting temperature offset,
−
setting an individual clock name (the function available in the Ethernet option, requires the access to the local network),
−
setting a language of WWW page (English or Polish, the function available in the Ethernet option, requires the access to the local
−
network),
stopwatch function, a timer counting up and a timer counting down. The end of counting is signalled by a built-in relay.
−
2. Clock connectors
Fig. 1 shows the device connectors that are available after removing the housing cover.
NOTE! Removing the housing cover should be carried out with the power disconnected. This task must be performed with caution.
v2.26
DEVICE OPERATION MANUAL
ZA, ZB and ZAH, ZBH Series Clock
1
Advertisement
Table of Contents

Subscribe to Our Youtube Channel
Related Manuals for RGB Technology ZB series


Summary of Contents for RGB Technology ZB series
- Page 1 DEVICE OPERATION MANUAL ZA, ZB and ZAH, ZBH Series Clock 1. Introduction The devices of ZA, ZB and ZAH, ZBH series are compact clocks with various configuration options. An intuitive user menu operated by a remote control allows you to fully customise the device. The clock equipped with a network communication module allows remote configuration through the “Website”...
- Page 2 Fig. 1. Prestige Line clock connectors Tab. 1. List of the Prestige Line clock connectors Symbol Function Comments Closing contact, normally open, permissible load: RA, RB Transmitter (alarm signalling device) - resistive: 5 A 250 VAC, 5A 30 VDC - inductive: 2 A 250 VAC, 2A 30 VDC Pin no.
- Page 3 Tab. 2 shows the structure of the main menu functions with the description. Tab. 2. Main menu structure Menu position Function description Manual setting of the time and the date Configuration of the presented parameters Configuration of the date format Configuration of the time synchronization Configuration of the display brightness Configuration of the alarms...
- Page 4 To change the displayed date format, you should: 1) Call the configuration menu by pressing the MENU key. 2) Select the „F3” function using the ↑ and ↓ keys and confirm it with the → key. 3) Using the ↑ and ↓ keys, select your preferred format of displaying the date and confirm it with the → key. DD-MM YYYY MM-DD YYYY YYYY MM-DD...
- Page 5 4) The clock will return to the main menu, to exit the main menu, press the ← key. To enter or modify the alarm, you should: 1) Call the configuration menu by pressing the MENU key. 2) Select the „F6” function using the ↑ and ↓ keys and confirm it with the → key. 3) Using the ↑...
- Page 6 5) Using the keys ↑ and ↓ set the appropriate temperature offset value within the range of ±9.9°C and confirm it with the key →. Of Y Of N To configure the display (content) synchronization using a remote control, you should: 1) Call the configuration menu pressing the MENU key.
- Page 8 To configure and activate the stopwatch/timer function, you should: 1) Call the configuration menu, by pressing the MENU key. 2) Select the F14 function using the ↑ and ↓ keys and confirm it with the → key. 3) Using the ↑ and ↓ keys, select a particular special function of the clock and confirm it with the → key. Stopwatch tiUP (Timer Up)
-
Page 9: Daylight Saving Time
4. Daylight Saving Time a) Europe In accordance with EU Directive 2000/84/EC: - the standard time is changed to the daylight saving time on the last Sunday in March (by adding one hour), - the daylight saving time is changed to the standard time on the last Sunday in October (by taking away one hour). Considering the above, in the countries following EU Directive 2000/84/EC, when the option of taking into account the daylight saving time is activated in the clock: a) On the last Sunday in March there is no time interval between 01:00UTC + TimeZone and 01:59UTC + TimeZone. -
Page 10: Display Tab
Appendix A: Supporting the “Website” The ZA, ZB and ZAH, ZBH series clocks equipped with the network communication module (Ethernet module) allow intuitive configuration through the built-in “Website”. To configure the network connection, follow the document Network Card Configuration Manual, to be downloaded from the following website: http://rgbtechnology.pl/soft/ 1. -
Page 11: Alarms Tab
Fonts – selecting the display font. • Temperature offset – configuration of the environment temperature offset . • Display synchronization – configuration of the display (content) synchronization, of selecting the operation modes, and of the • field of the master clock IP address (required for the Slave operation modes). 2.3. -
Page 12: Default Network Settings
3. Default network settings Tab. 4 shows the network settings of the Prestige Line clock. Restoring the factory settings is possible using the respective function in the user menu or in the “Website”. Table 4. Default network settings Parameter Default value User admin Password...
Need help?
Do you have a question about the ZB series and is the answer not in the manual?
Questions and answers