Advertisement
PHANTOM
Advanced Manual
V 1.0
©2013
DJI Innovations. All Rights Reserved.
Index
INDEX ......................................................................................................................... 2
A1 SOFTWARE AND DRIVER INSTALLATION .................................................................. 3
A3 LINKING THE TRANSMITTER AND RECEIVER ............................................................ 4
A4 CHANGING THE CONTROL MODE OF THE TRANSMITTER . ........................................ 5
A5 TRANSMITTER CALIBRATION .................................................................................. 7
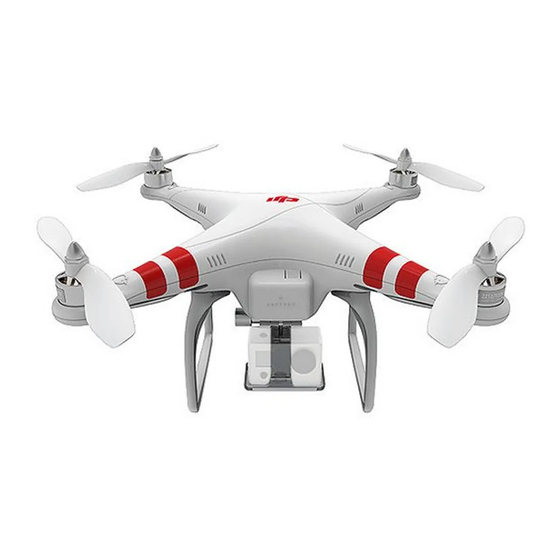
A6 MOUNT CAMERA AND CAMERA FRAME ................................................................. 8
A7 INTELLIGENT ORIENTATION CONTROL (IOC) FLIGHT (WITH GPS & COMPASS MODULE)
................................................................................................................................... 9
A8 MAINTENANCE . .................................................................................................... 11
1 |
©2013
DJI Innovations. All Rights Reserved.
2 |
Advertisement
Table of Contents

Related Manuals for dji Phantom


Summary of Contents for dji Phantom
-
Page 1: Table Of Contents
A1 SOFTWARE AND DRIVER INSTALLATION .............. 3 A2 CONFIGURATION AND FIRMWARE& SOFTWARE UPGRADE ........ 3 V 1.0 A3 LINKING THE TRANSMITTER AND RECEIVER ............ 4 A4 CHANGING THE CONTROL MODE OF THE TRANSMITTER ......... 5 A5 TRANSMITTER CALIBRATION .................. 7 A6 MOUNT CAMERA AND CAMERA FRAME .............. 8 A7 INTELLIGENT ORIENTATION CONTROL (IOC) FLIGHT (WITH GPS & COMPASS MODULE) ........................... 9 A8 MAINTENANCE ..................... 11 ©2013 DJI Innovations. All Rights Reserved. ©2013 DJI Innovations. All Rights Reserved. -
Page 2: A1 Software And Driver Installation
Make sure to use the NAZA-M assistant software of 2.0 version (or above 2.0) to carry out firmware upgrade The linking of the transmitter to the receiver of the PHANTOM was carried out before they left the factory. If and parameter configuration. DO NOT use the NAZA-M assistant software bellow 2.0 version. -
Page 3: A4 Changing The Control Mode Of The Transmitter
3. Exchange the connectors of Channel 2(AIN2)and Channel 3 (AIN3). (Note: Take care about the connector direction.) Mode2 Name Screw Hole Location Centering Unit Adjusting Screw Ratchet Nut Throttle Ratchet 3rd Channel 2nd Channel Centering Spring Nut Hole Location ©2013 DJI Innovations. All Rights Reserved. ©2013 DJI Innovations. All Rights Reserved. -
Page 4: A5 Transmitter Calibration
S2 to the HL position, you should hear an indicator sound of “Di” from the transmitter, in this case, the transmitter has been calibrated successfully. ©2013 DJI Innovations. All Rights Reserved. ©2013 DJI Innovations. All Rights Reserved. - Page 5 Continuously spinning the aircraft in flight will cause a yaw error. In this case, you can stop or slow down HL -> CL is one time.) (OFF ->CL-> OFF is one time.) the spinning, so as to have better flight performance. 10 | ©2013 DJI Innovations. All Rights Reserved. ©2013 DJI Innovations. All Rights Reserved.
- Page 6 Extension Power Maintenance There is an extension power cable in the Phantom for DIY use. The voltage from the Extension Power Cable is Remove the Housing the same voltage as the power battery. The red cable is for positive and the grey cable is for negative. Make Remove all the nuts and propellers by using the assistant wrench.
Need help?
Do you have a question about the Phantom and is the answer not in the manual?
Questions and answers