Advertisement
Assembly & Usage Guide - IZIP E3Metro
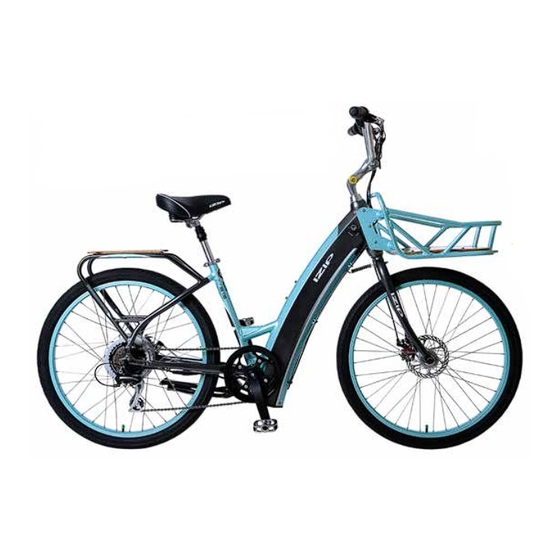
1. Install the front wheel by following the instructions on page 68 of your owner's manual (Installing a quick release
front wheel).
2. Slide the seat post into the bicycle, then close the seat post quick release. Refer to the instructions on page
66 of your owner's manual (Seat post clamp: quick release) for detailed instructions. Adjustment instructions specifically
for saddle position can be found on page 64 of the owner's manual, under seat and seat post.
This guide is intended to be followed by
an experienced bicycle mechanic. If you
have any doubts about your ability to
safely assemble a bicycle, please let a
professional do the work for you!
While assembling this bicycle, be sure
to refer to the Bicycle torque values
reference sheet at the back of your
owner's manual. Components that
are not properly tightened could
fail, causing injury.
E3Metro Assembly Guide 2013
OM references to r71
April 4, 2013 12:17 PM
Advertisement
Table of Contents

Related Manuals for Currie tech IZIP E3Metro


Summary of Contents for Currie tech IZIP E3Metro
- Page 1 Assembly & Usage Guide - IZIP E3Metro This guide is intended to be followed by an experienced bicycle mechanic. If you have any doubts about your ability to safely assemble a bicycle, please let a professional do the work for you!
- Page 2 3. Find the stem in your parts box and slide it into the bicycle’s head tube . Align the stem to be parallel with the front wheel, then tighten the stem wedge bolt to the torque value listed in your manual.
-
Page 3: Operation
8. Before your first ride: • Familiarize yourself with the operation of your bicycle’s electrical system (below). • Be sure your tires are inflated to the pressure indicated on the sidewall. • Double-check the tightness of all nuts, bolts, quick release levers, and components. •... -
Page 4: Display Operation
Display operation Your IZIP E3Metro electric bicycle is equipped with a multi-function display. The display is your user interface to the bike. Using the display, you can program the riding characteristics of the bike, monitor the system self-tests as they occur, and note any system errors. -
Page 5: Power Levels
Using the display functions Available in PAS mode only; sets the strength of motor assist. Tap SET to cycle Displays the distance traveled between functions. on this trip. Displays the ride time for this trip. Displays the average speed for this trip. -
Page 6: Interpreting Error Messages
Understanding the battery gauge Interpreting error messages The IZIP display shows The cell diagram coded error messages to indicates the charge help diagnose problems level of the main with the bike. These battery. “F” Illuminates messages appear Comm Error when the battery is automatically if the system nearly full.
Need help?
Do you have a question about the IZIP E3Metro and is the answer not in the manual?
Questions and answers