Table of Contents
Advertisement
Quick Links
Advertisement
Table of Contents

Related Manuals for Russound AW10-LSUB-BR


Summary of Contents for Russound AW10-LSUB-BR
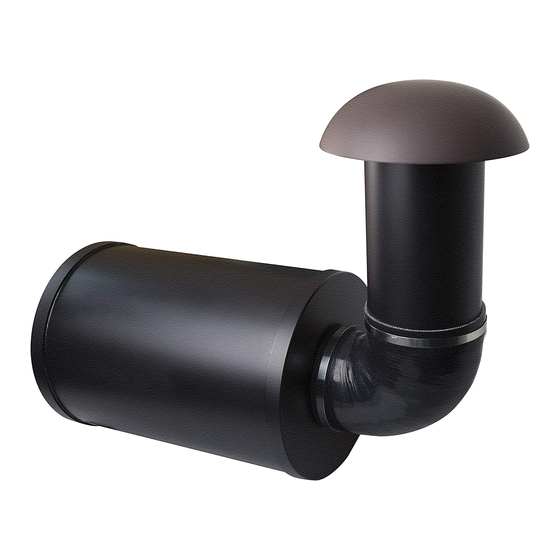
- Page 1 AW10-LSUB-BR Landscape Subwoofer Installation Manual...
- Page 2 INTRODUCTION Introduction Thank you for selecting the AW10-LSUB-BR in-ground subwoofer from Russound. This impressive subwoofer, designed to be installed by a professional, offers an elegant, scalable platform for providing high quality audio enhancement to any outdoor area in even the harshest environmental conditions. Specially designed...
- Page 3 2) Examine the silicone elbow. Note that one end is slightly larger than the 10) Lower the subwoofer into the hole. Russound recommends placing a 1-2” other. The smaller end attaches to the subwoofer body and the larger end layer of pea gravel or similar substrate at the bottom of the hole to ensure attaches to the port tube.
-
Page 4: Installing The Speaker
Placing the Russound recommends adding a layer of 1-2” of pea gravel at the bottom of subwoofer near bushes, shrubs, or rock decorations may help protect it from the hole to facilitate drainage around the base of the subwoofer. -
Page 5: Wiring Connections
When you have finished adjusting the tap settings, make sure to securely re-attach the rear cap of the speaker and hand-tighten it. Remove weatherproof rear cap by turing it Available Tap Settings: counterclockwise 70V - 8W, 16W, 32W, 64W, 128W 100V - 16W, 32W, 64W 8Ω Bypass AW10-LSUB-BR Installation Manual... -
Page 6: Speaker Cable
251m 516m 1.75km 11’ 22’ 74’ 21’ 44’ 147’ 518’ 1068’ 3610’ 158m 331m 1.1km 7’ 13’ 46’ 13’ 27’ 91’ 321’ 661’ 2234’ 201m 681m 4’ 9’ 29’ 8’ 17’ 57’ 202’ 417’ 1409’ 127m 429m AW10-LSUB-BR Installation Manual... - Page 7 (or from the amplifier if there is only one 4. Connect the wires to the speaker terminals, being sure to observe proper speaker in the system). polarity. For standard speaker cable with red and black wires, connect both Ampli er Speaker Out AW10-LSUB-BR AW4-LS-BR AW10-LSUB-BR Installation Manual...
- Page 8 The amount of wire needed varies with speaker placement. Label speaker wires with left, right, and location. 70V - 8W, 16W, 32W, 64W, 128W Use Russound AW series speaker cable or any reputable brand of 16 to 12 100V - 16W, 32W, 64W gauge multi-stranded wiring for amplifier- to-speaker connections.
-
Page 9: Connecting The Speaker
If you intend to use more than one pair of speakers at a time it’s important to consider both the impedance of the speakers and the capabilities of the amplifier or receiver. Not all amplifiers or receivers can safely operate two sets of speakers at once. AW10-LSUB-BR Installation Manual... -
Page 10: Warranty
In these cases, repairs will be made on the basis of the retail value of the parts and labor. To return for repairs, the unit must be shipped to Russound at the owner’s expense, along with a note explaining the nature of service required. Be sure to pack the unit in a corrugated container with at least three (3) inches of resilient material to protect the unit from damage in transit. - Page 11 AW10-LSUB-BR Installation Manual...
-
Page 12: Installation Manual
©2017 Russound. All rights reserved. Russound, Inc. All trademarks are the property of their respective owners. 1 Forbes Road, Newmarket, NH 03857 Specifications are subject to change without notice. tel 603.659.5170 Russound is not responsible for typographical errors or omissions. email: tech@russound.com www.russound.com 03.22.17...
Need help?
Do you have a question about the AW10-LSUB-BR and is the answer not in the manual?
Questions and answers