Table of Contents
Advertisement
Quick Links
Advertisement
Table of Contents

Related Manuals for Russound AW70V6


Summary of Contents for Russound AW70V6
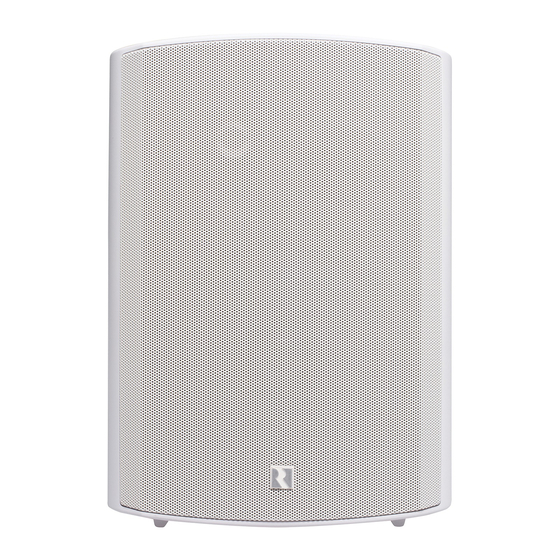
- Page 1 AW70V6 70V Surface Mount Indoor/Outdoor Speakers Installation Manual...
-
Page 2: Speaker Assembly
INTRODUCTION SPEAKER ASSEMBLY Introduction Speaker assembly Thank you for selecting the AW70V6 speakers from Russound. The bracket has screw slots to accommodate either wall, ceiling and pole-mounted installation options. A "C-slot" The AW70V6 speakers are designed to add high quality,... - Page 3 Tap Setting Knob - for easy adjustment of the tap settings with options for: 7.5W, 15W, 30W, 60W (70V) 15W, 30W, 60W (100V) 6Ω Bypass Binding Posts - to secure speaker wire, up to 12 gauge. Russound AW70V6 70V Surface Mount Indoor/Outdoor Speaker Installation Manual...
-
Page 4: Speaker Cable
(70V or 100V) and 4. Connect the wires to the speaker terminals, being sure to the black is negative (COM). Cable with both wires the same Russound AW70V6 70V Surface Mount Indoor/Outdoor Speaker Installation Manual... - Page 5 Adjust the Tap Settings Example: 300-Watt Amplifier (saving 20% for overhead, means 240 usable watts maximum) The AW70V6 speakers have the following tap settings available: Tap Settings and maximum number of speakers (depending on 70V: 7.5W, 15W, 30W, 60W wire gauge and length) 100V: 15W, 30W, 60W 7.5W: Max of 28-32 speakers...
-
Page 6: Connecting The Speaker
Label speaker wires with left, right, and location. AC wiring, cross them at right angles. Use Russound AW series speaker cable or any reputable brand Leave about 2 feet (0.6 m) of cable at each end for connecting of 16 to 12 gauge multi-stranded wiring for amplifier- to- to the speakers and amplifier. - Page 7 Mounting bracket vertical position 2. Use a masonry drill to make pilot holes for the anchors. 3. Insert the suitable masonry anchors into the pilot holes and attach the mounting bracket with screws. Russound AW70V6 70V Surface Mount Indoor/Outdoor Speaker Installation Manual...
- Page 8 3. Attach bracket with lock washers and bolts, and tighten. 4. Leave about 2 feet of cable at the speaker end for connections and adjustments. Mounting bracket vertical position Russound AW70V6 70V Surface Mount Indoor/Outdoor Speaker Installation Manual...
-
Page 9: Final Assembly
Simply lift the logo slightly until it can rotate, and then rotate it to the desired orientation. Release the logo when finished and it will spring back into position. Russound AW70V6 70V Surface Mount Indoor/Outdoor Speaker Installation Manual... -
Page 10: Technical Specifications
In these cases, repairs will be made on the basis of the retail value of the parts and labor. To return for repairs, the unit must be shipped to Russound at the owner’s expense, along with a note explaining the nature of service required. - Page 11 Russound AW70V6 70V Surface Mount Indoor/Outdoor Speaker Installation Manual...
-
Page 12: Installation Manual
1 Forbes Road, Newmarket, NH 03857 All trademarks are the property of their respective owners. tel 603.659.5170 • fax 603.659.5388 Specifications are subject to change without notice. email: tech@russound.com www.russound.com Russound is not responsible for typographical errors or omissions. 12.21.16, Rev.2...
Need help?
Do you have a question about the AW70V6 and is the answer not in the manual?
Questions and answers