Subscribe to Our Youtube Channel
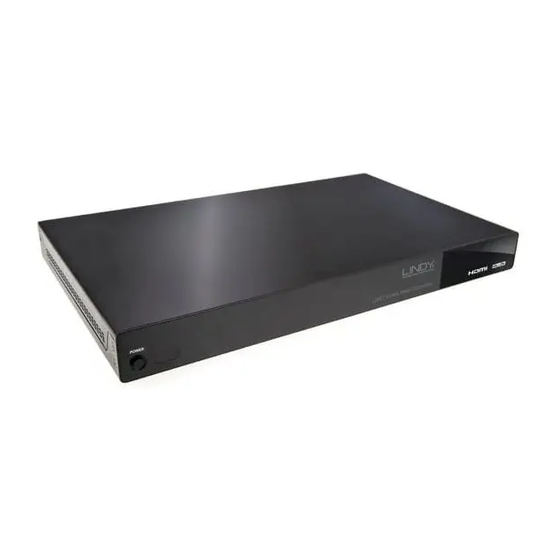
Summary of Contents for Lindy 38135
- Page 1 4K HDMI 1:4 Video Wall Controller Scaler User Manual Eng li sh No. 38135 lindy.com Tested to Comply with FCC Standards For Home and Office Use! © LINDY Group - - SECOND EDITION (August 2017)
- Page 3 English Introduction Thank you for purchasing the LINDY 4K HDMI Video Wall Controller Scaler. The HDMI Video Wall Controller Scaler allows an HDMI input source to be freely arranged on 4 displays (TV or monitor) and/or cascaded using multiple units in combination with an HDMI Splitter(s) to extend the HDMI signal to even larger arrays.
- Page 4 User Manual English Overview Front Panel MATRIX/ OUTPUT DUAL/WALL LOCK 720P POWER MENU INPUT SAVE RECALL Power Switch the Scaler On/Off Press and hold for 3 seconds with the Scaler already powered on to reset to Factory Default Rear Panel HDMI IN HDMI OUT SERVICE...
- Page 5 User Manual English Basic Operation Important! It is strongly recommended that you use 4 identical (Brand and Model) displays for optimum performance. To begin connect your HDMI source to the HDMI IN port, and 4 HDMI displays to the HDMI OUT ports A-D.
- Page 6 English Configuration To begin the configuration process please download the software application from www.lindy.com, alternatively you can configure the Scaler using RS-232 or Telnet as described later in this section. Please note: Before beginning the software installation, please ensure that any previous versions have been removed.
- Page 7 User Manual English System Configuration Connect Interface 1. Click Connect to connect to the Scaler, at this point the settings will refresh (other than Image Adjust which is handled separately. If you are using multiple Scalers, select the Scaler you want to connect to using the MAC dropdown box and then press connect.
- Page 8 User Manual English Video Wall Configuration TV Wall (1) 1. Quick Video wall layout options from 1 x 1 to 6 x 6, simply select the configuration you require. TV Wall (2) 1. Use the Row and Column drop down boxes to create a bespoke video wall size 1 – 15 x 1 – 15 and then click on Send to confirm the setting.
- Page 9 User Manual English TV Wall (3) After configuring your array in TV Wall (2), click on FAV 1 – 5 under Save TV Wall Settings to store these values. Click FAV 1 – 5 under Recall TV Wall Settings to use one of the previously saved TV Wall configurations.
- Page 10 User Manual English Image Adjustment 1. Brightness, Contrast, Saturation and Hue can all be amended for each output of a single TV Wall Scaler or multiple TV Wall Scalers. If using multiple Scalers click on ALL IP for each setting which you want to use with all Scalers.
- Page 11 User Manual English Command Parameter Description HELP(?) NONE Show Command list Show Command HELP(?) N N= Command name description Request Current RRES NONE Output Resolution N1=0(640x480@60) 1(480p60), 2(576p50), 3(800x600@60), 4(848x480@60), 5(1024x768@60), 6(720p50), 7(720p60), 8(1280x768@60), 9(1280x800@60), 10(1280x960@60), 11(1280x1024@60), 12(1360x768@60), 13(1366x768@60), Set Output Resolution SRES N1 14(1400x1050@60), to N1...
- Page 12 User Manual English Command Parameter Description 34(V1280_960_60), 35(V1360_768_60), 36(V1366_768_60), 37(V1440_900_60), 38(V1400_1050_60), 39(V1360_1024_60), 40(V1600_900_60), 41(V1600_1200_60), 42(V1680_1050_60), 43(V1920_1200_60), 44(V2048_1080_24_1), 45(V2048_1080_24_2), 46(V2048_1080_60), 47(V2048_1152_1), 48(V2048_1152_2), 49(V2048_1152_3), 50(V3840_2160_24), 51(V3840_2160_25), 52(V3840_2160_30), 53(V4096_2160_24), 54(K_ NO_SIGNAL), 55(K_NO_ SUPPORT) ROSDD NONE Request OSD Status SOSDD N1 N1 = (0 OFF), 1 (ON) Set OSD Status Request OSD H NONE...
- Page 13 User Manual English Command Parameter Description Request Channel N1 N1 = 1 – 4 RHUE N1 Hue Value N1 = 1 – 4 Set Channel N1 SHUE N1 N2 N2 = 0 – 100 (50) Contrast Value N2 N1 = 1 (Brightness) 2 (Contrast) Reset Picture SIMRE N1...
- Page 14 User Manual English Command Parameter Description N2 = 1 – 15 (Column) Format Request H N1 = 0 – 255 Bezel Value SBH N1 Set H Bezel Value Request V N1 = 0 – 255 Bezel Value SBV N1 Set V Bezel Value Request RBEZ Bezel Status...
- Page 15 User Manual English Please Note: All the commands will be not executed unless followed by a carriage return. Commands are case-insensitive. If the IP is changed then the IP Address required for Telnet access will also change accordingly. Input/Output Resolutions Input and Output resolutions supported by the Scaler: Input Resolutions Output Resolutions...
- Page 16 User Manual English Output resolutions supported by the Scaler when the Input resolution is 3840 x 2160: Video Wall 10X10 15X15 640×480 480p@60 (720×480) ...
- Page 17 User Manual English Output resolutions supported by the Scaler when the Input resolution is 4096 x 2160: Video Wall 10X10 15X15 640×480 480p@60 (720×480) ...
- Page 19 LINDY Herstellergarantie – Hinweis für Kunden in Deutschland LINDY gewährt für dieses Produkt über die gesetzliche Regelung in Deutschland hinaus eine zweijährige Herstellergarantie ab Kaufdatum. Die detaillierten Bedingungen dieser Garantie finden Sie auf der LINDY Website aufgelistet bei den AGBs.
-
Page 20: Recycling Information
Batterien und Akkus den Produkten vor der Rückgabe an das Rücknahmesystem entnommen werden müssen und über die Sammel- und Rückgabesysteme für Batterien separat entsorgt werden müssen. Ausführliche Informationen zu diesen Themen finden Sie stets aktuell auf der LINDY Webseite im Fußbereich. France En 2006, l'union Européenne a introduit la nouvelle réglementation (DEEE) pour le recyclage de tout équipement...


Need help?
Do you have a question about the 38135 and is the answer not in the manual?
Questions and answers